


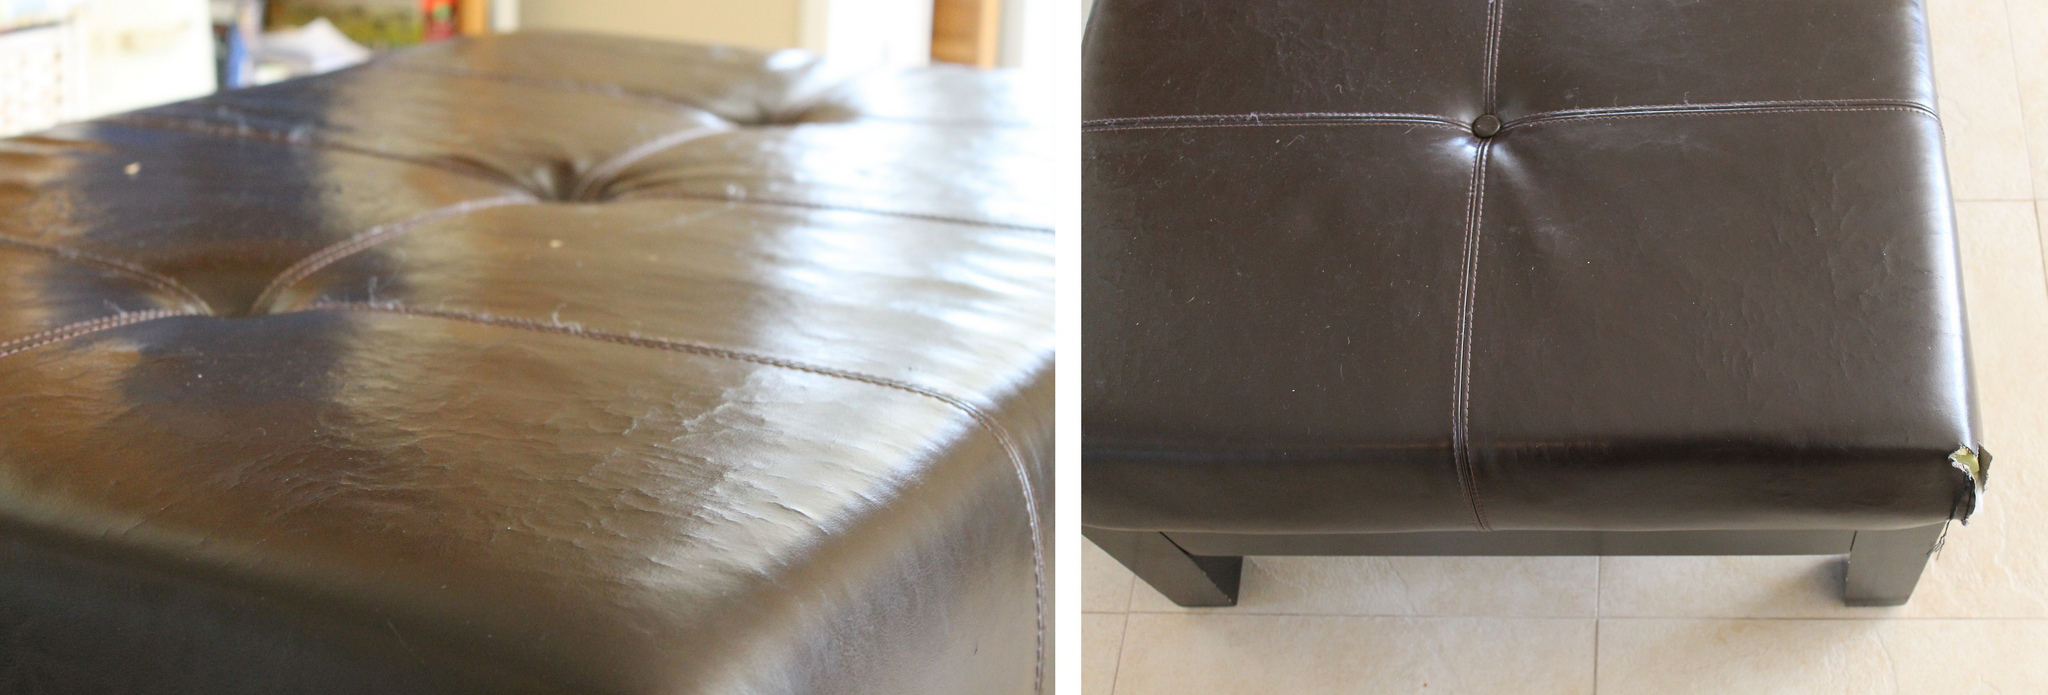
I recently pounced (literally!) on this old ottoman when a friend of mine told me she needed it out of her house. Yes, it was ripped in places, some of the covered buttons were now rather naked and the dark brown covering wasn’t really to my liking, but it was structurally sound, clean and it fitted in the trunk of my car. I just knew it was begging to be brought back to life and recovered in some gorgeous new Spoonflower cotton-linen canvas.
Though each individual piece of furniture will be slightly different to recover, I thought I’d share some of my methods and findings in case you are also tempted to give something like this a whirl.
Before I could even start thinking about browsing through the mouth watering array of new fabric possibilities in the Spoonflower marketplace, I had to set about taking the old ottoman apart, removing the foam from the wooden base and legs, ripping off the old fabric and sanding down the wood. All the fun messy stuff. I must admit to never having recovered a piece of furniture like this before, so if you are an expert and spot some fatal flaws or errors in my methods, please feel free to leave a comment and advise.
I began by ripping away the covering on the underside of the base and once able to get to the screws, I used an electric screwdriver (thanks, husband!) to take the legs off and separate the base from the foam.

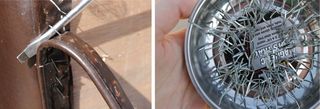
As with any project like this, there are going to be a lot of staples to extract before you can remove the old fabric completely. I’d estimate that there were about 5 million staples in this ottoman (or thereabouts….) and I summoned my inner dentist and removed them with the help of a screwdriver and a pair of pliers. I also discovered a little magnetic dish that was the perfect way to keep the staples away from being stepped on by little feet.
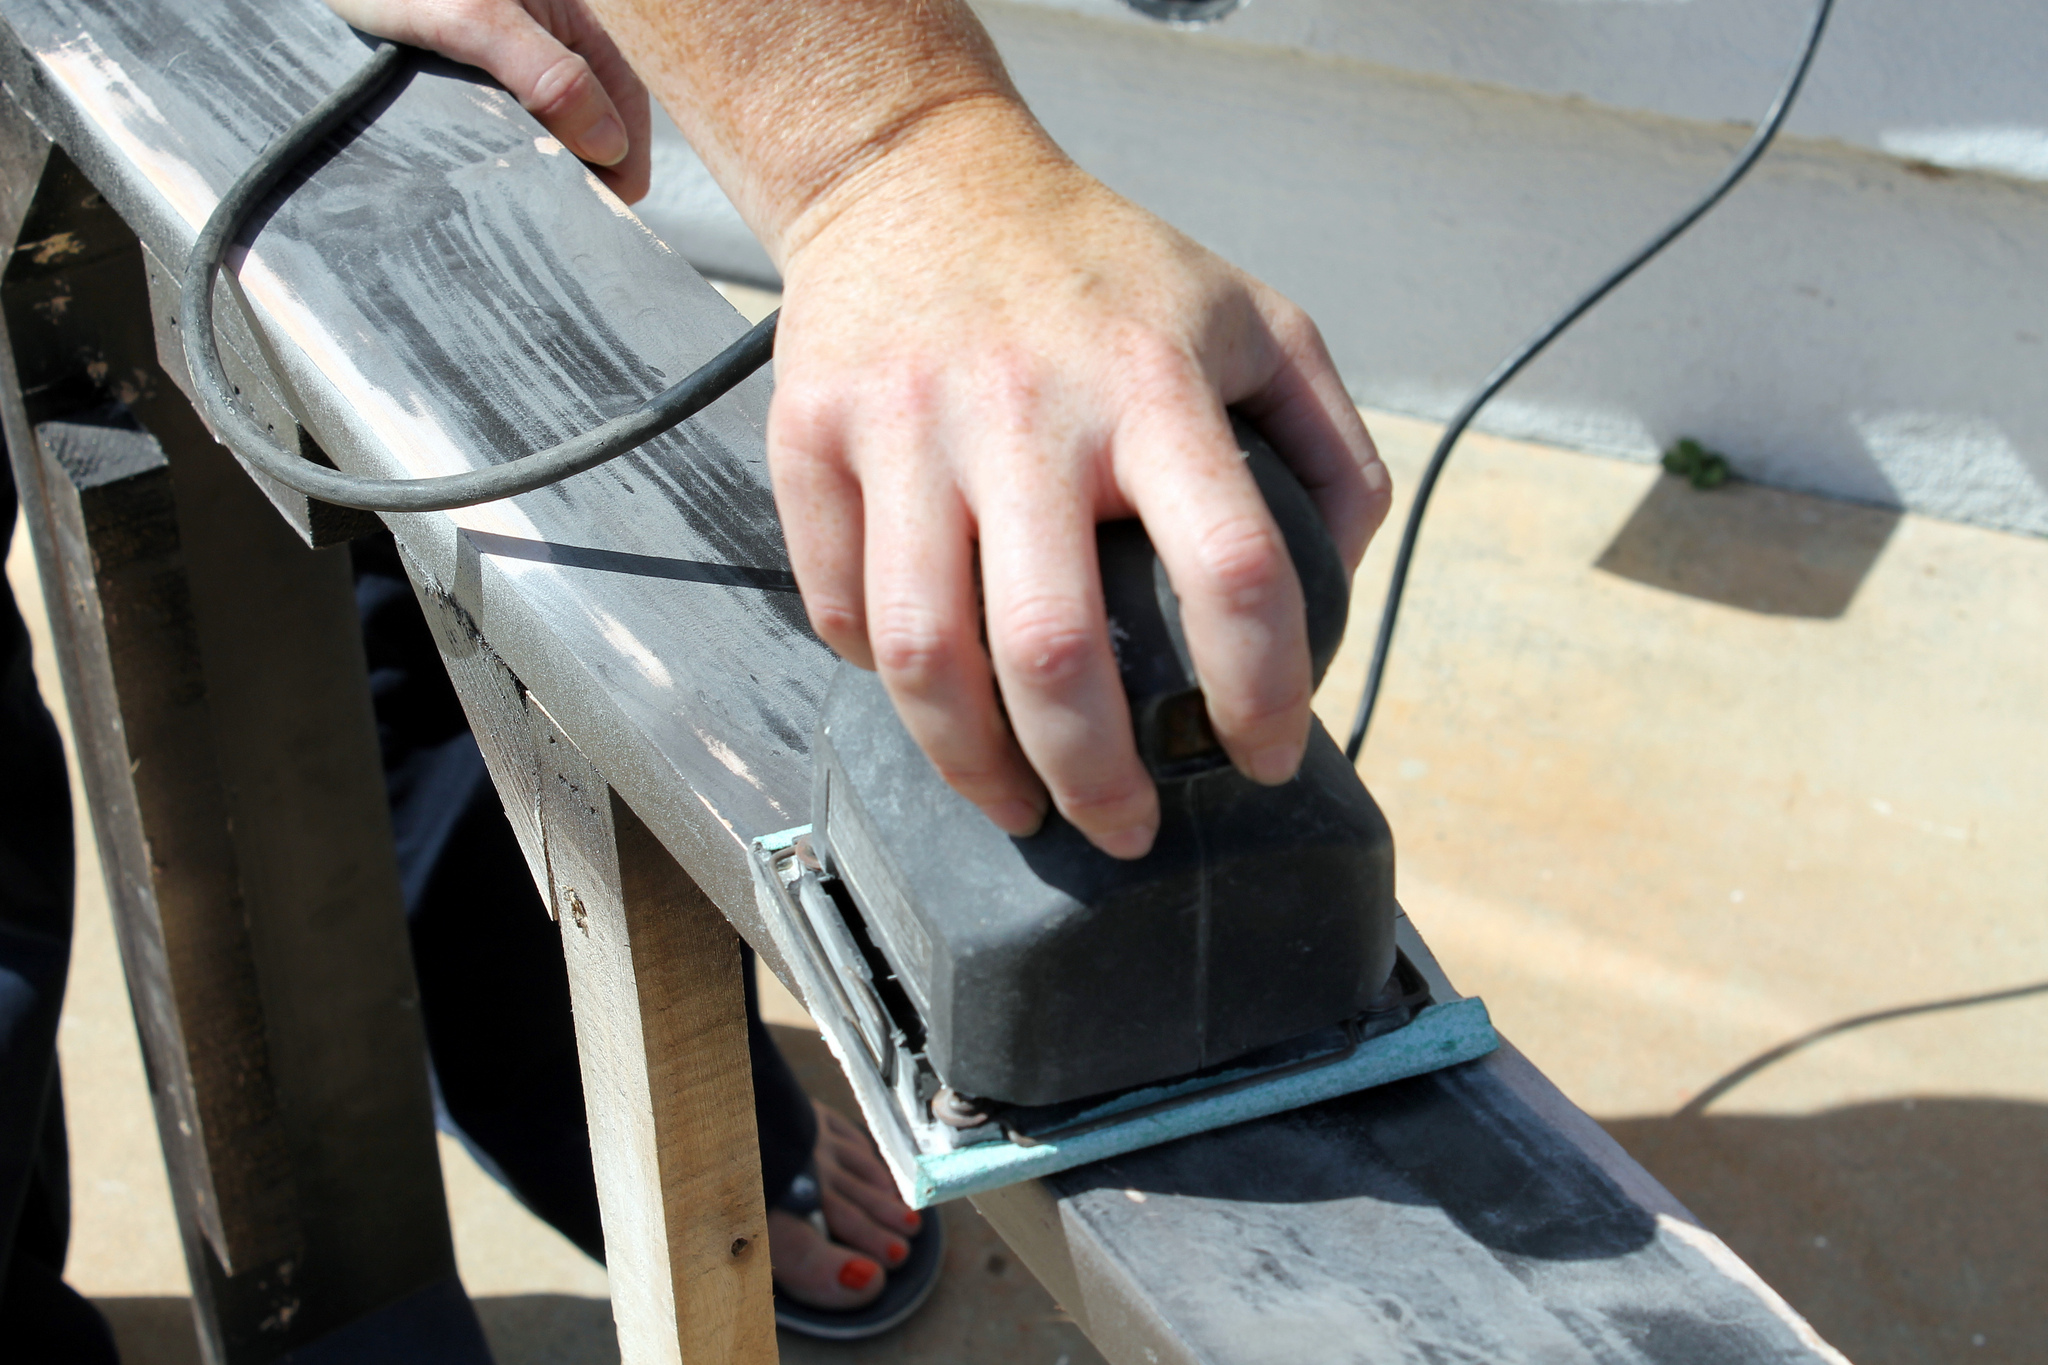
With the wooden base dismantled from the legs, I then sanded down the wood. I didn’t remove the old varnish completely, I just ‘roughed up’ the surface so that it would hold a new paint.
Aside from choosing the fabric, the second best thing about this project was choosing the paint! I consulted with the friendly experts in my local hardware store, who were more than happy to advise me on which kind of paint to use. I ended up using a semi-gloss, which is a paint and primer in one, in bright turquoise. I recommend talking to your local hardware store experts if you have questions about your own projects.
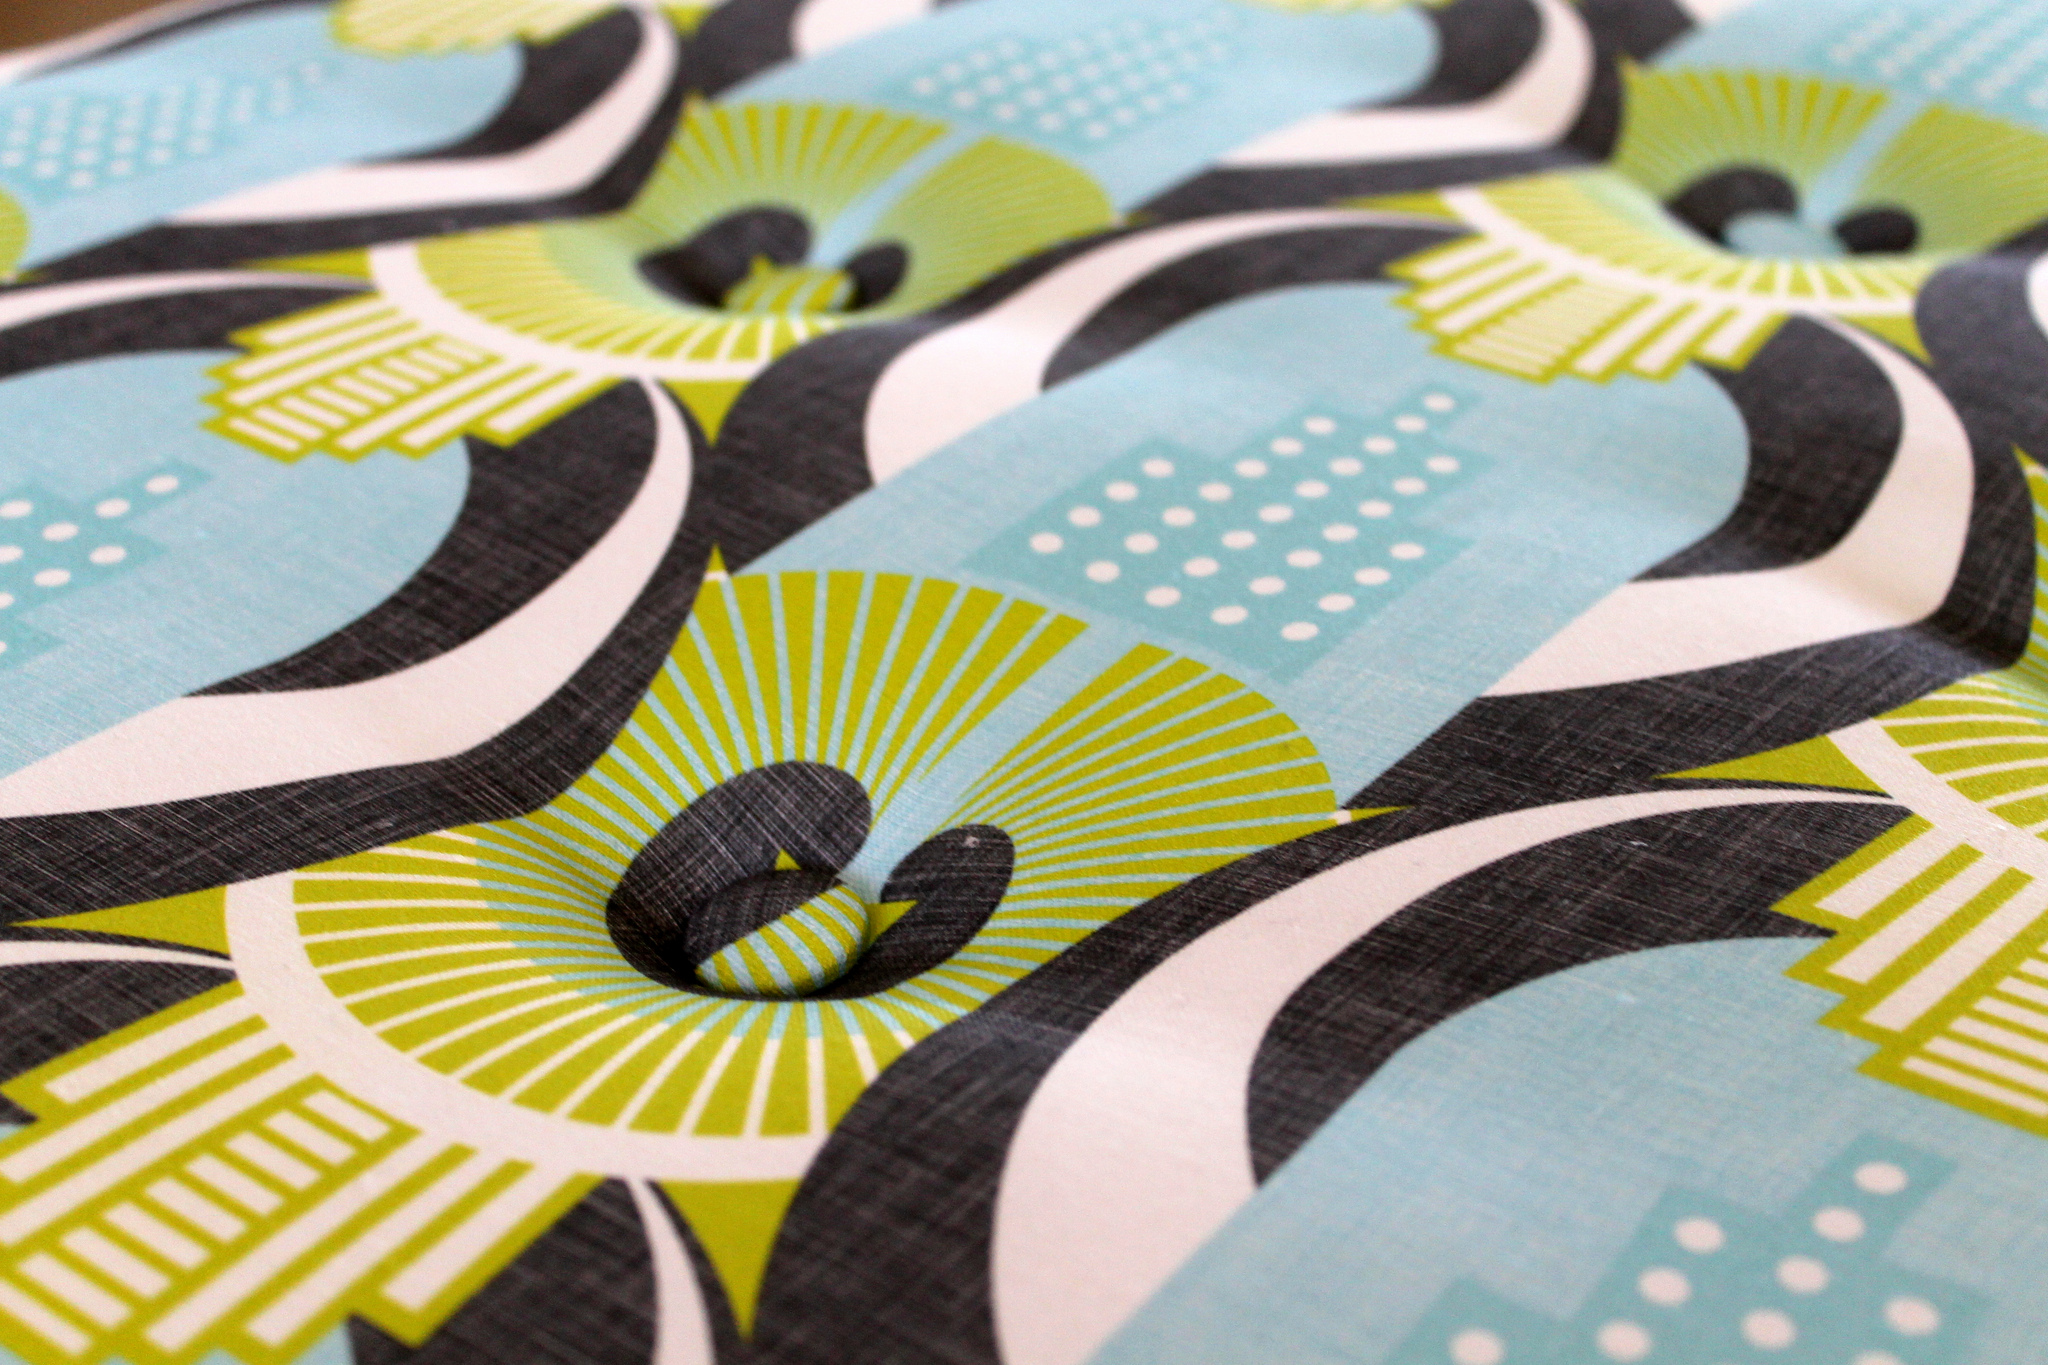
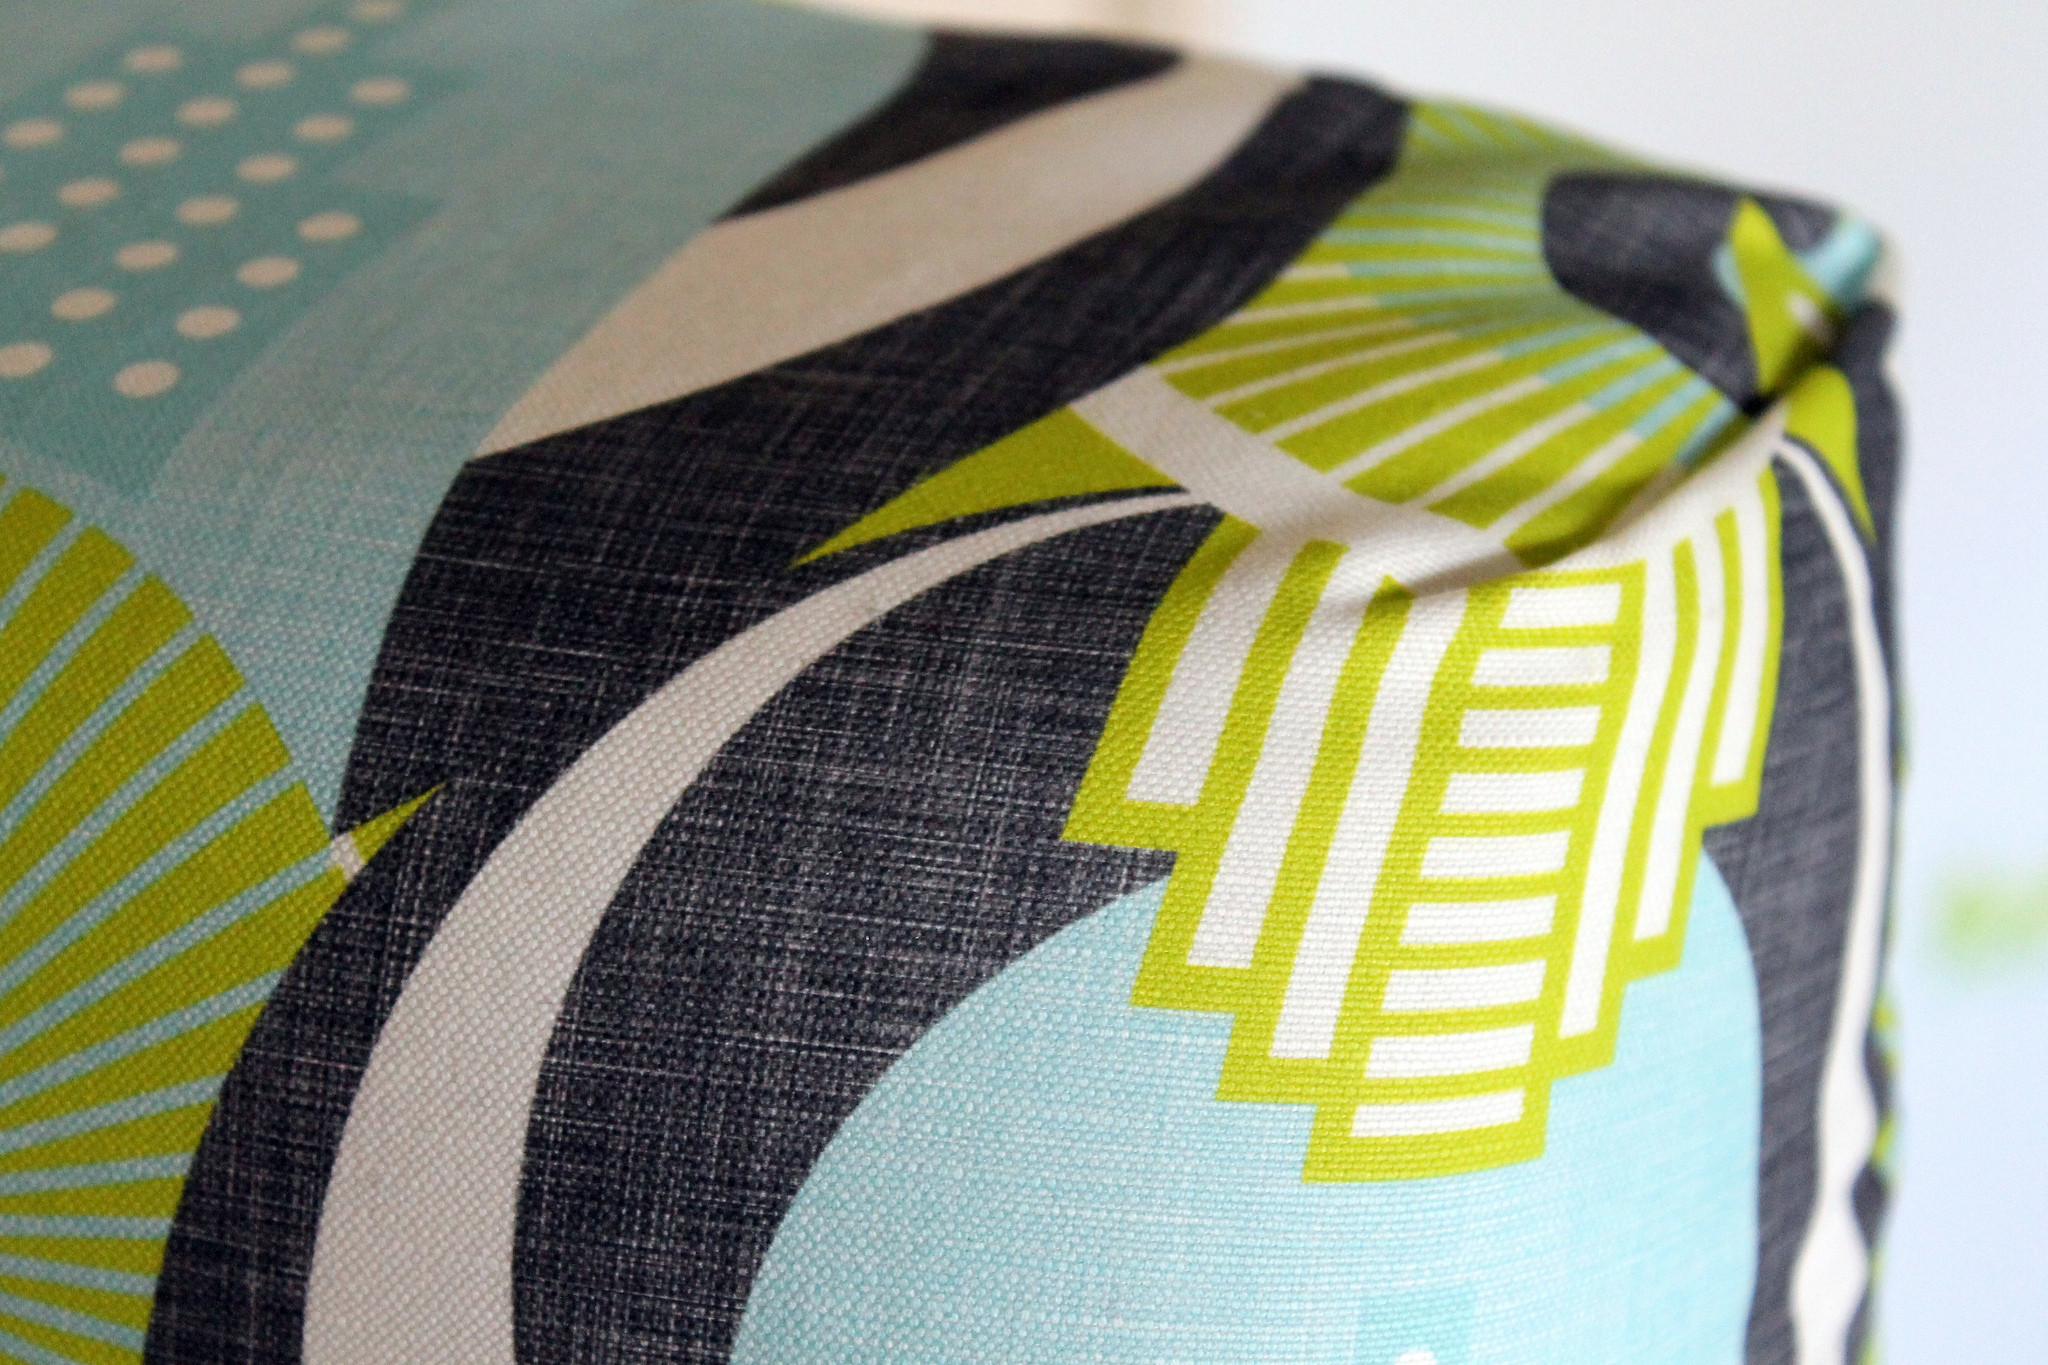
After painting all the woodwork with two coats of paint (and allowing the first coat to dry before painting the next) I was able to move onto the fabric part of the project. I recommend using Spoonflowers heavy- weight linen-cotton canvas. This gorgeous print is called Art Deco Rio De Janeiro by Zesti, the second runner up from the Art Deco Fabric of the Week contest
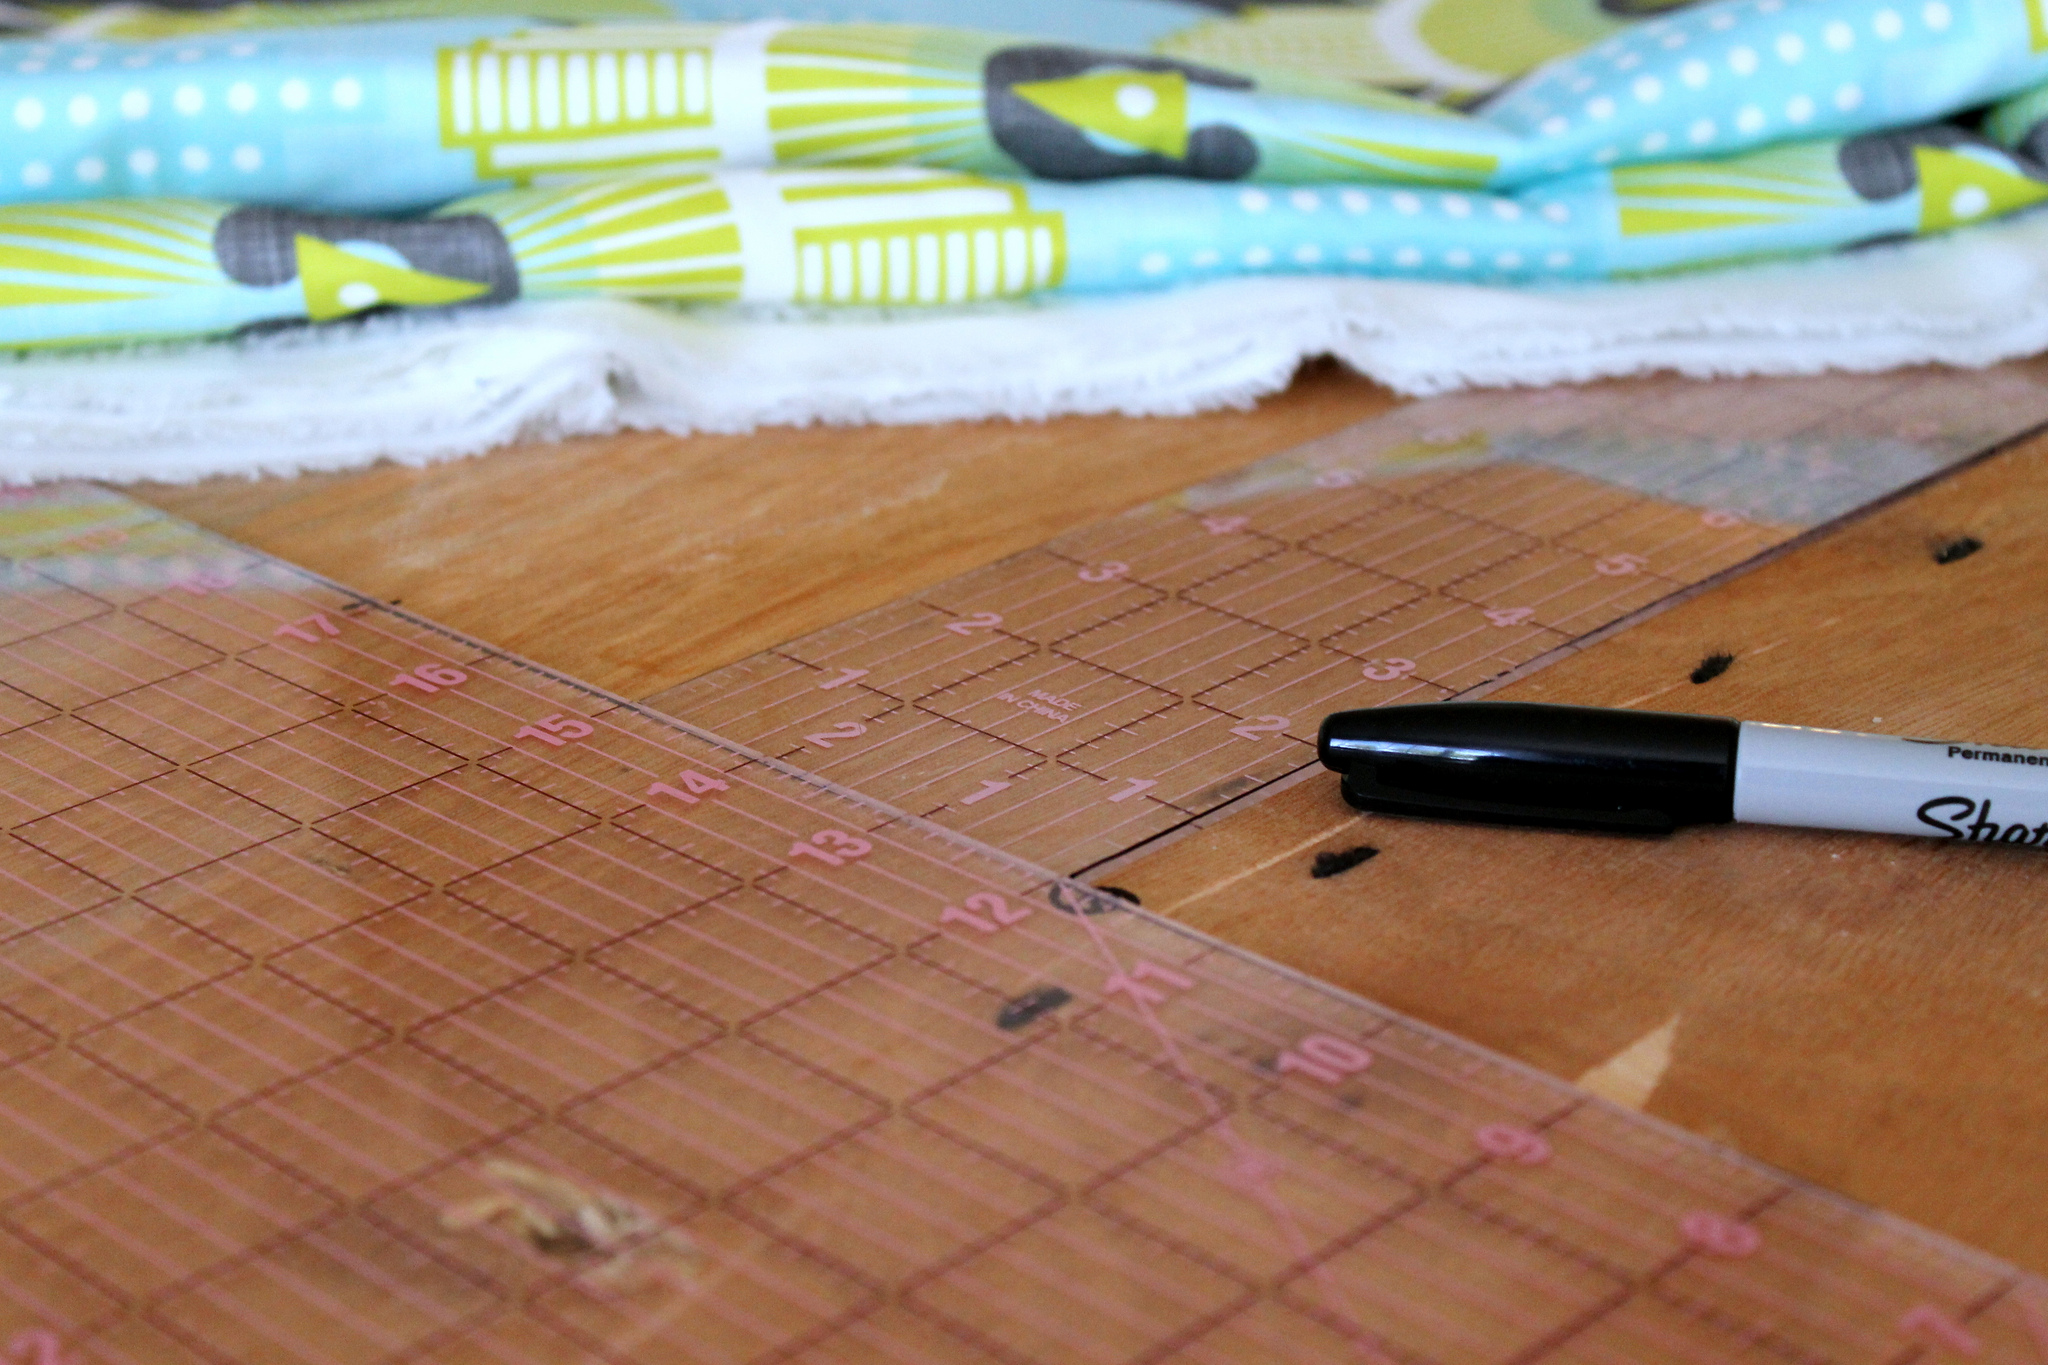
I wanted some tufting on my ottoman and whilst there were originally 3 buttons on the old ottoman, I decided to add a few more to make a total of 11. The fabric I used lent itself to having buttons placed in the center of the triangles on the design, so I started out by taking measurements from the the fabric. I recorded how far apart the centers of the triangles were, up and down and side to side. My foam was glued to a wooden base so — turning the base to face me and starting by finding the center point and working outwards — I measured and marked the position for 11 buttons.
I then used my hand drill to drill holes into the wooden base on each marked point.
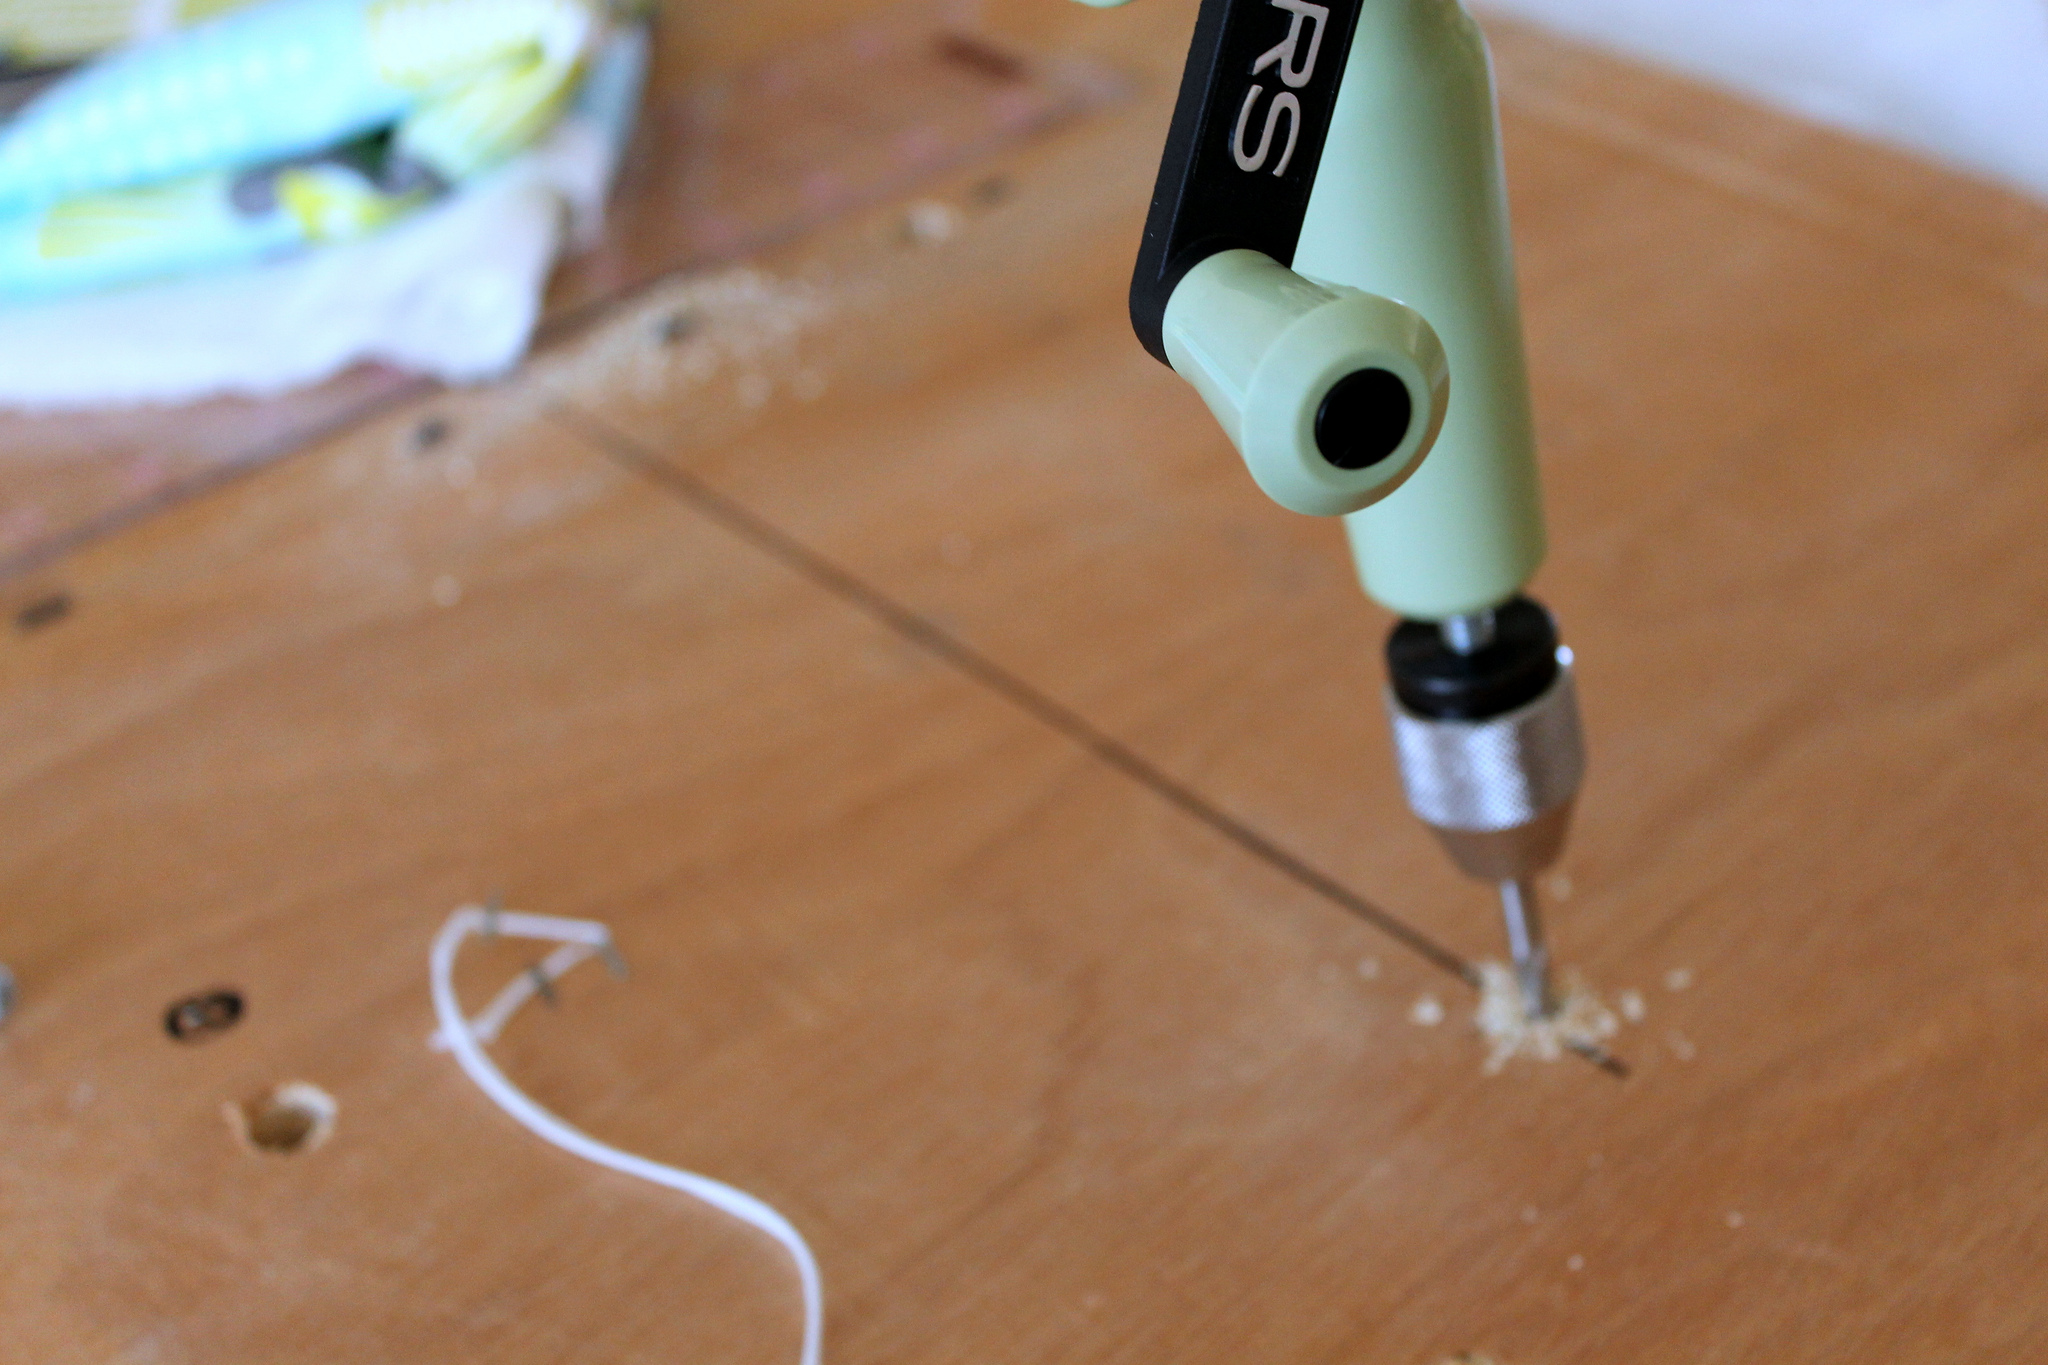
I wanted to check I had measured the position of each hole correctly (math is not one of my greatest skills….) so I poked cocktail sticks into each hole I had drilled, and lay the fabric over the base. By doing so, I was able to make sure that the cocktail sticks poked the fabric in just the right place for me to center my buttons. Which they did. Success first time!

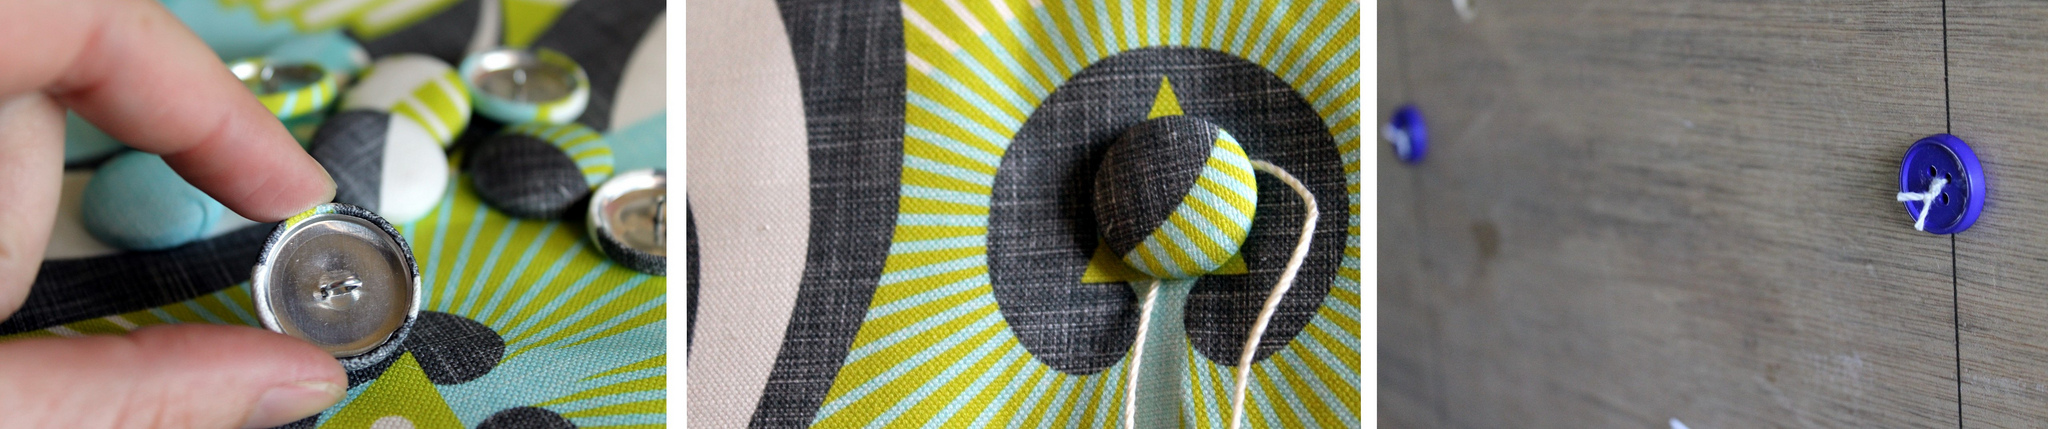
Assured that my holes were drilled in the correct places, I covered 11 buttons with the fabric I was using and, having hunted down an 8” doll making needle, I stitched the buttons through the foam. I secured each covered button with a large plastic button from my supplies at the wooden base to make sure the thread couldn’t get pulled back through the foam. No one likes loose, dangly buttons, right?
With all 11 buttons tightly secure and holding the fabric to the foam (I also checked that I pulled them into the foam evenly) I finished by pulling the fabric taut over the foam and stapling the sides to the wooden base underneath.
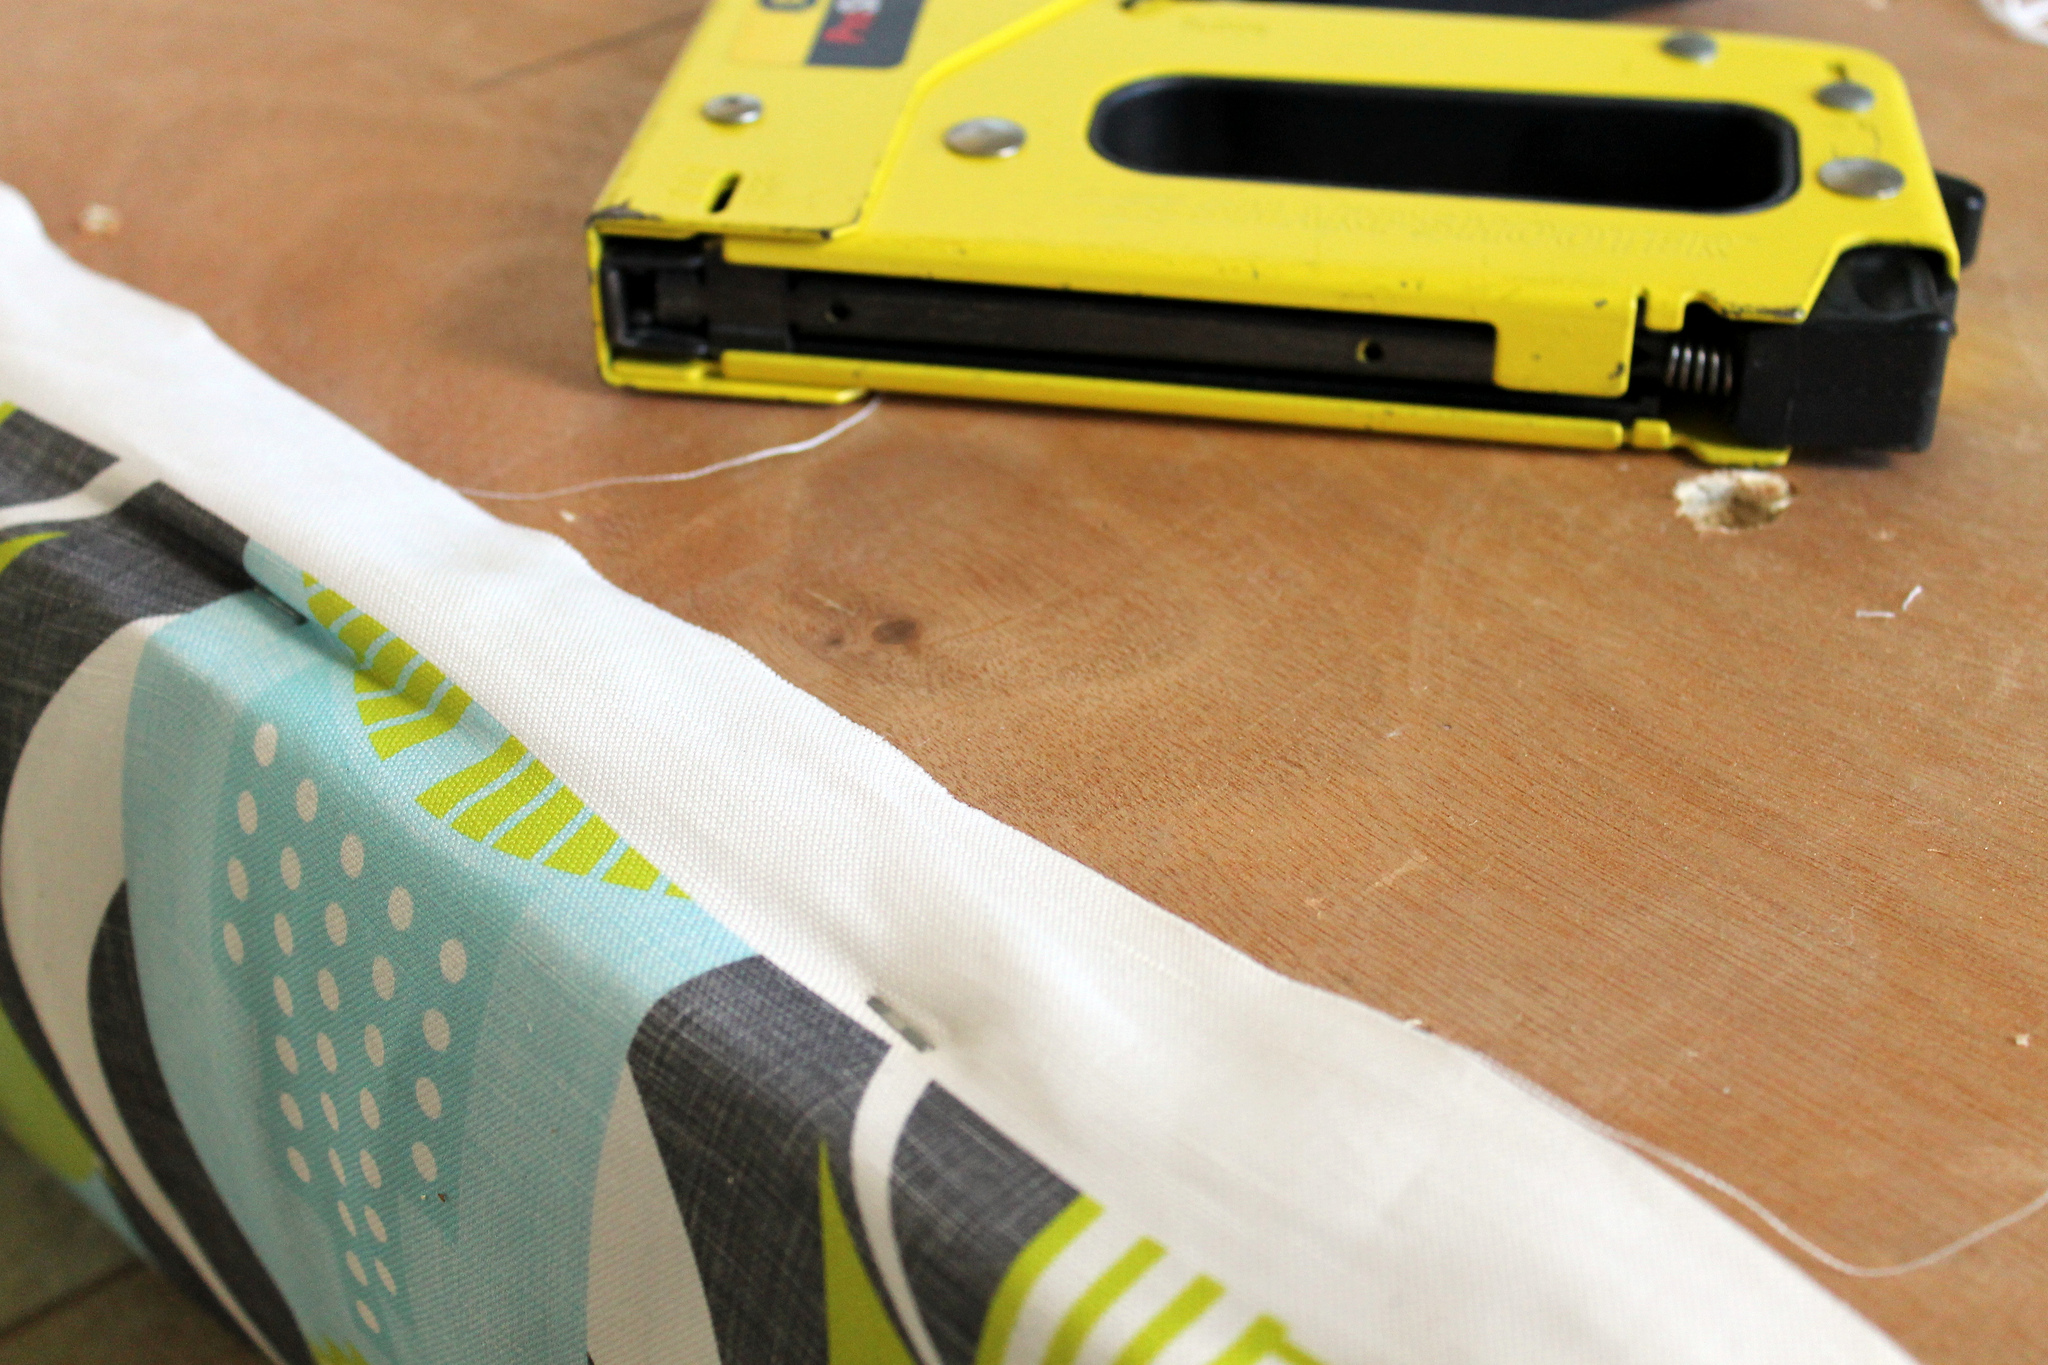
I made sure that the corners were tidy by stapling each side almost to the end of the base, then folding one side of the fabric over the other, to create a neat fold.
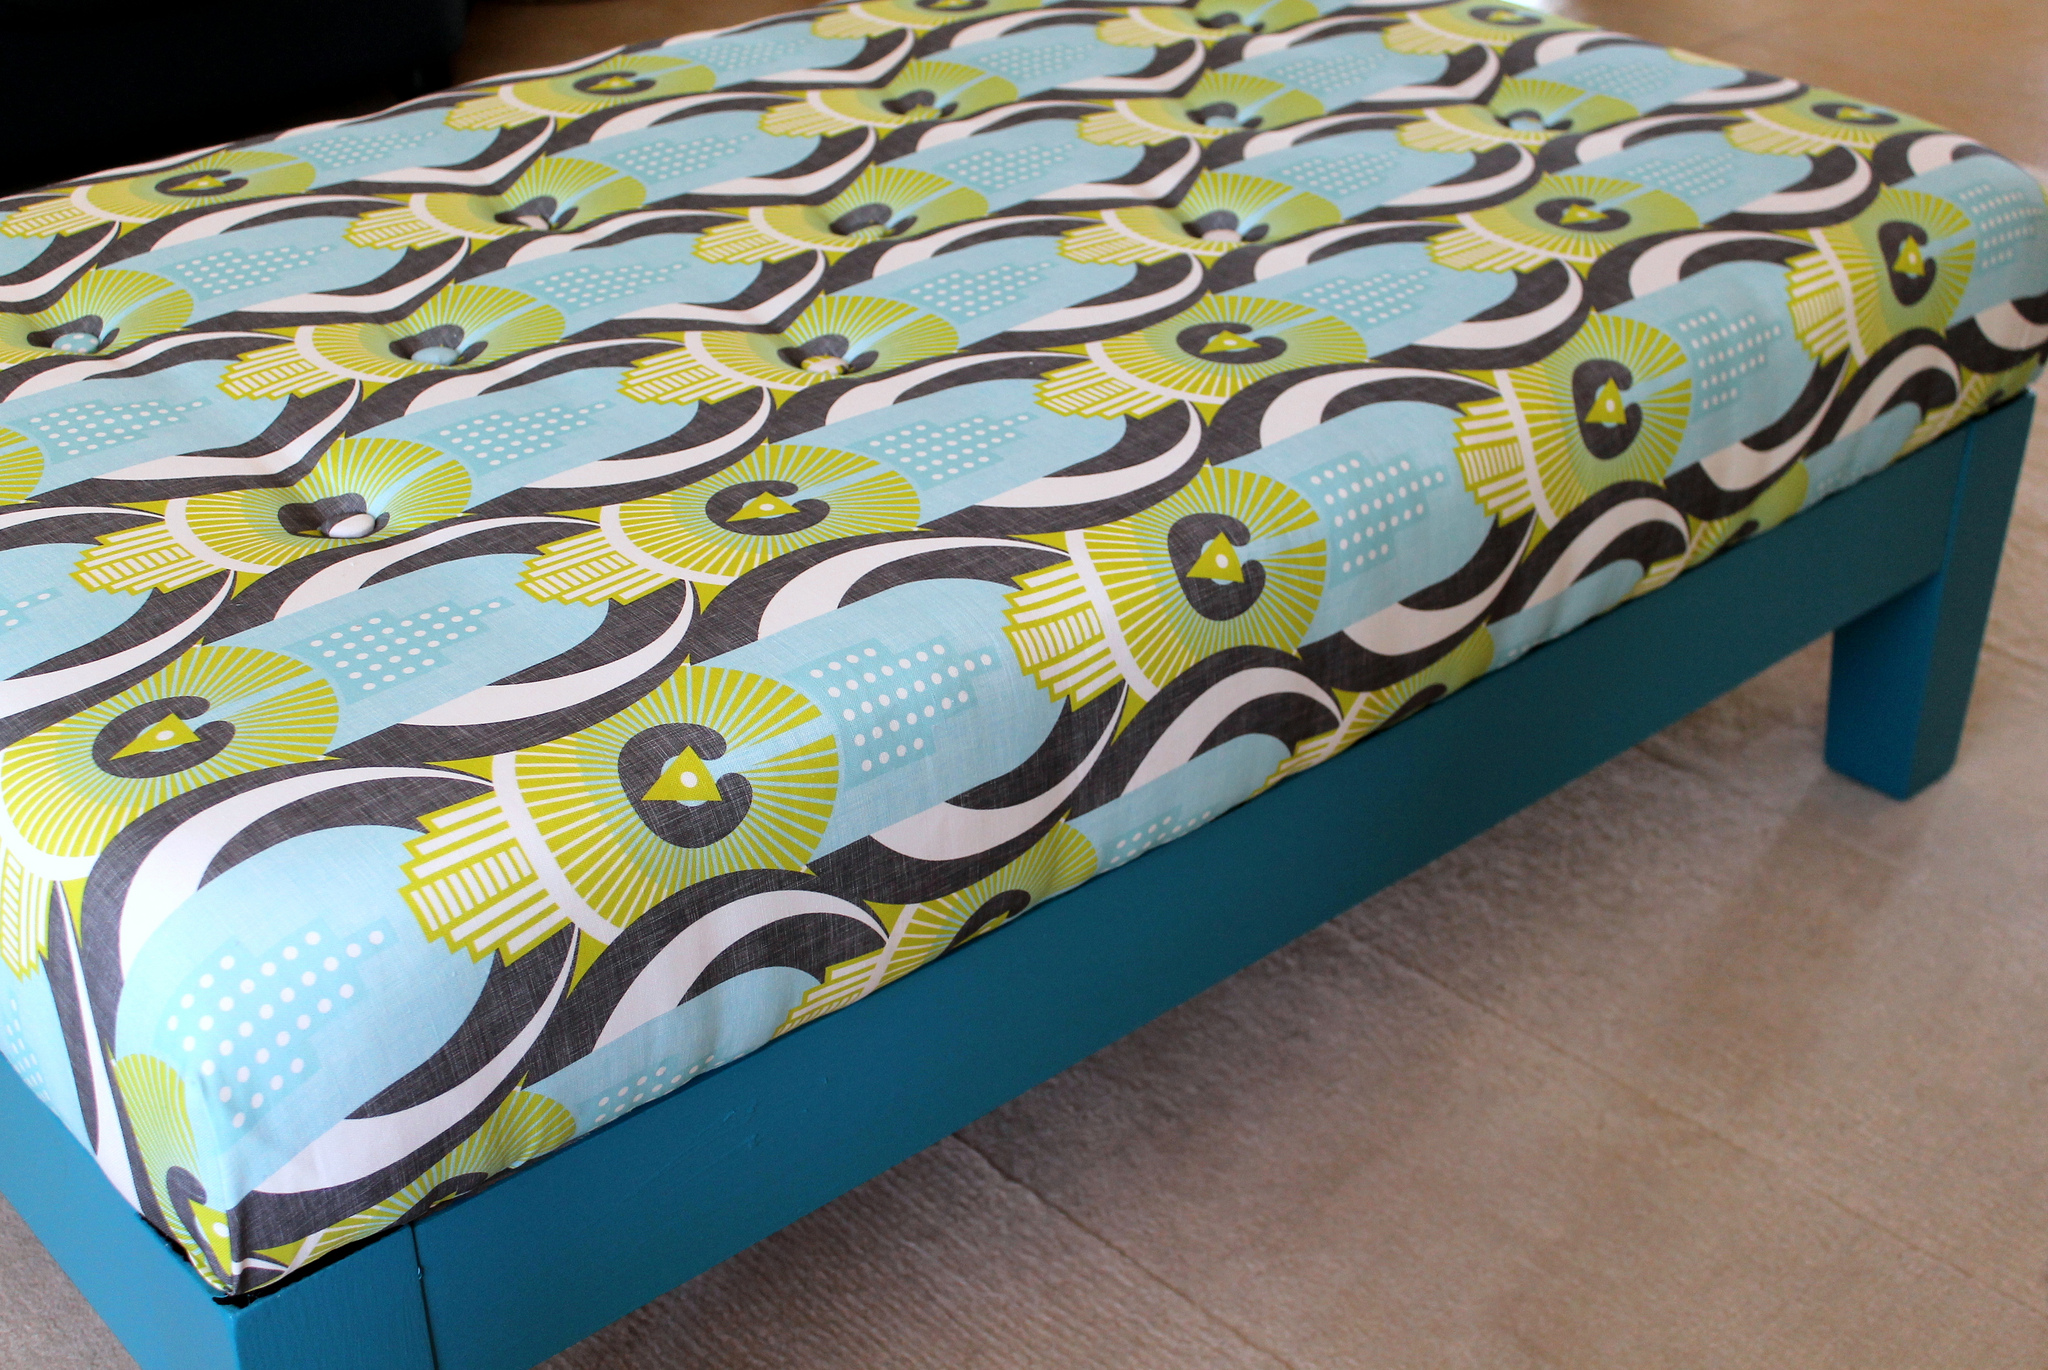
All I had left to do was screw the foam back onto the base and put the legs on, and I was finished. Although I worked on this over a couple of weekends, the total work time was around 8 hours.

I am thrilled to have rescued an old piece of furniture that was no longer loved or wanted and turned it into something beautiful. I haven’t let my children sit on it yet. But I will, once I’ve stopped gazing at it.
About Our Guest Blogger
 Hi! I’m Emma, and as well as working on the Fiskars Design Team, I blog over at Gather & Grand.
I’m an obsessive sewer, often leaping into projects with more enthusiasm than talent, more bravado than skill and more good luck than anything else. This technique has worked well for me so far and more often than not, I make things I love, even if they’re not absolutely perfect. And though I’m no expert, I have a passion for fabric, color and design. I know what I like and what I like makes me smile.


Hi. How much fabric did you order
Hi Steph,
Emma ordered 3 yards of Linen Cotton Canvas to cover her ottoman, which has a 54″ wide printable area. Eco Canvas has the same size if you’re looking for another option. You may need less depending on the size of your ottoman!
I absolutely love this & after recieving my fabric from spoonflower last week it has given me the confidence to upholster a rather unusual shaped chair which shall be a challenge of a first upcycle project! Looking forward to it now! Chloe x