


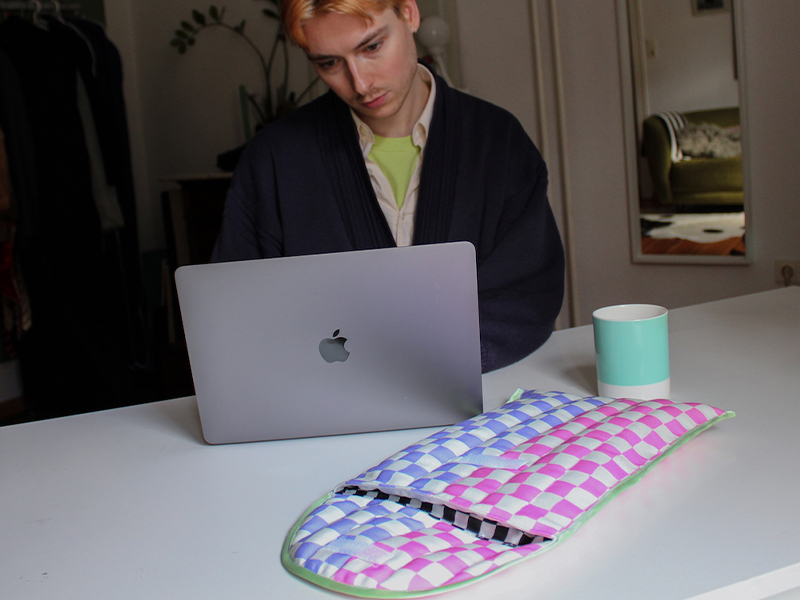
Looking for something that will keep your tech protected AND stylish? This DIY quilted laptop bag is great for all sewists from beginners to professionals, and is easily customizable from size to fabric type. Follow along below with Fritz, a member of Spoonflower’s Marketing Team, for the steps!
Fritz: Hi there! I’m Fritz from the Spoonflower Marketing Team. In this tutorial, I will be showing you how you can sew your own quilted laptop bag!
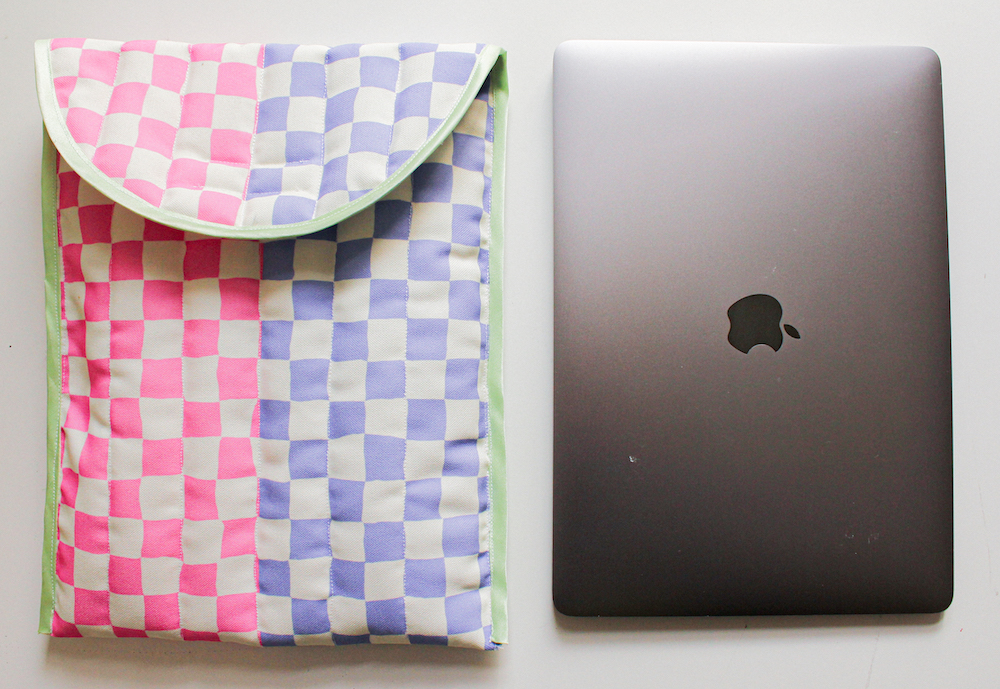
With Spoonflower’s Fill-A-Yard® option, you can add multiple designs to a single yard to use for this project. I opted for two pastel checkerboard designs for the outside of my bag, with a classic black and white checkerboard for the lining. These fabric designs and more can be found within the Checkerboard collection.


Make Your Own Quilted Laptop Bag
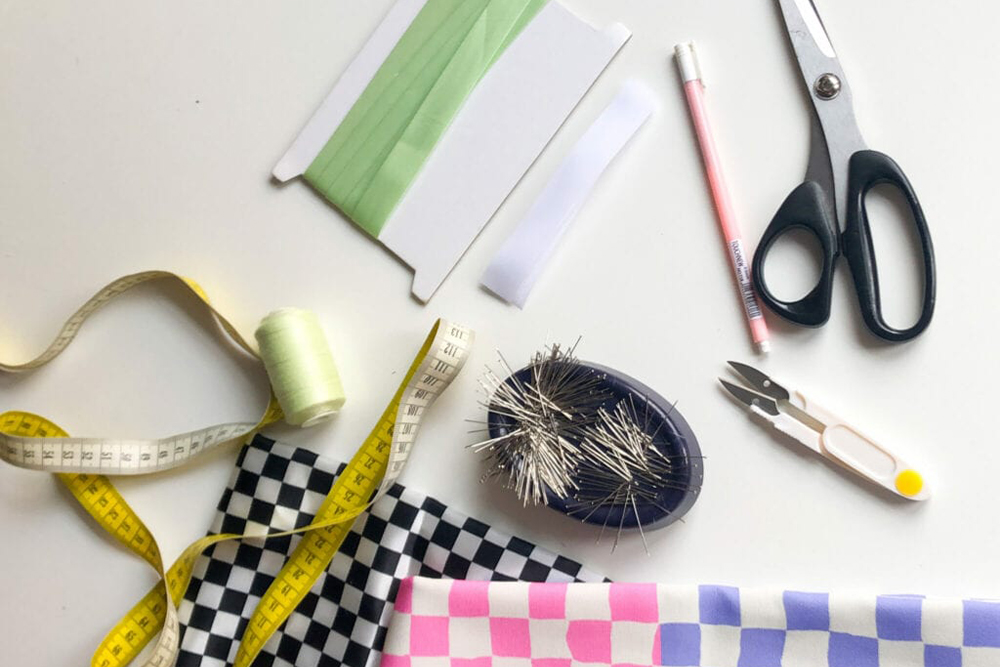
Materials
- 1 yard outer fabric (I recommend Recycled Canvas, Petal Signature Cotton™ or Lightweight Cotton Twill)
- 1 yard inner fabric (Satin, Organic Cotton Sateen or Cotton Poplin are great options)
- 1 yard quilt batting
- Sew-on Velcro fasteners
- Bias tape (you can buy or make this)
- Drawing compass
- Scissors
- Tailor’s chalk or marker
- Pins
- Sewing machine
- Matching thread
- Ruler and/or tape measure
- Iron
Note: We will also be using a 1/2″ (1 cm) seam allowance throughout this tutorial!
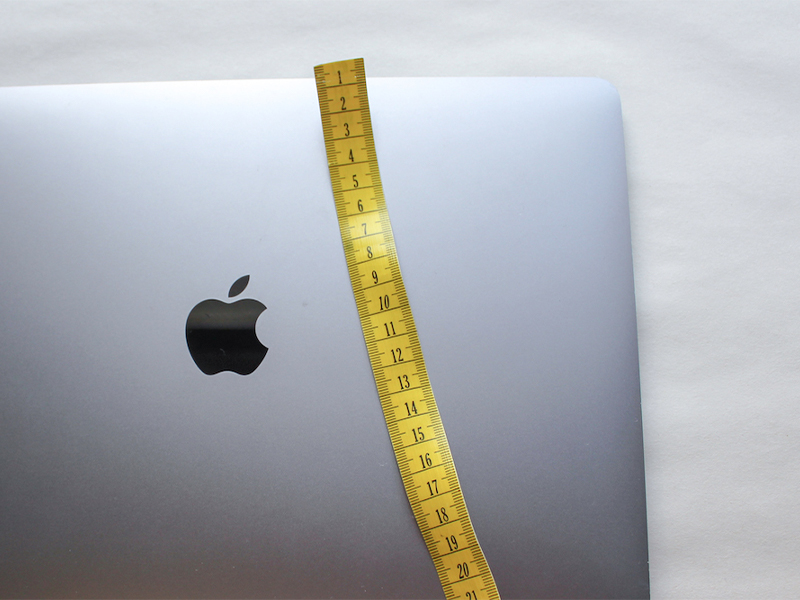
1. Create The Laptop Bag Pattern
First, measure the edges of your laptop (width and length) and transfer those measurements to paper. You can also put your laptop on paper and outline it with a pencil.
Add 1.5″ (4 cm) to each edge so your laptop has a bit of wiggle room when inside the finished bag (seam allowance of 1/2″ (1.27 cm) is not yet included).
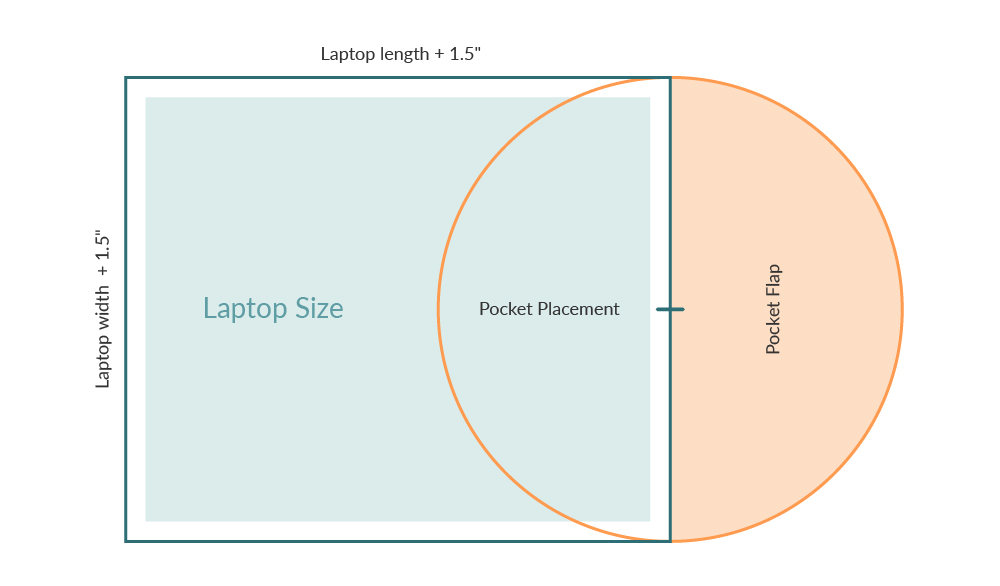
Referencing the diagram below, place your drawing compass in the middle of one of the short ends and draw a circle from one corner to the other. This will become the pocket flap for your bag!
Cut the large rectangle (laptop pocket) and semicircle (pocket flap) to get your pattern pieces.
2. Cut the Outer Fabric Pieces
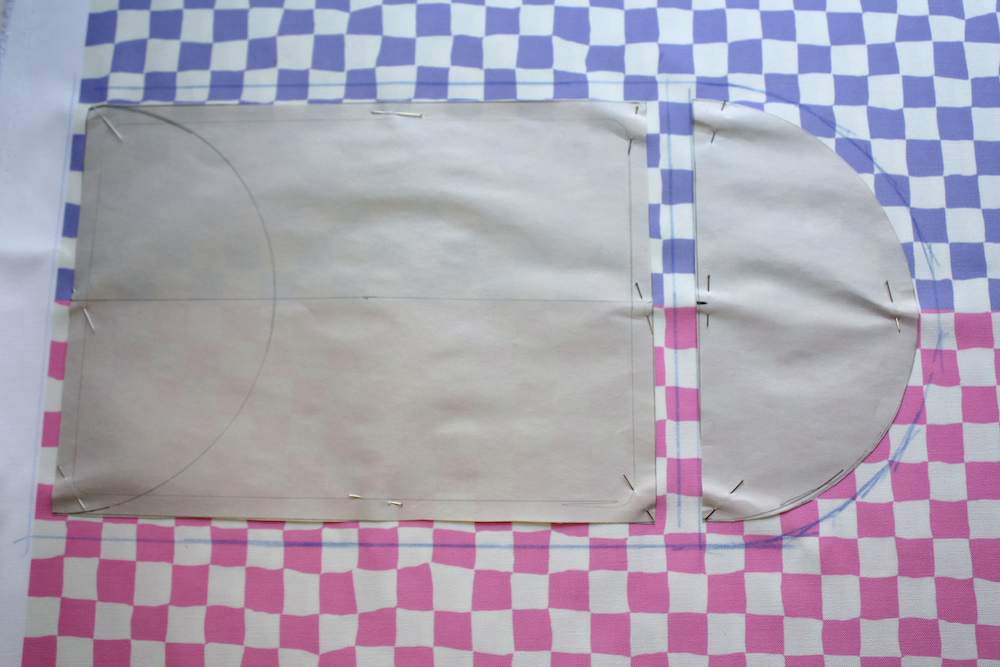
Pin your pattern pieces onto the fabric.
First we’ll cut out the large rectangle (the the main part of the bag). If you’re using multiple fabric designs with Fill-A-Yard like I am, position the pattern so your two prints meet in the middle of two designs. Then draw a 1/2″ (1 cm) seam allowance around it.
Draw another 1/2″ (1 cm) seam allowance on one of the short ends. Position the semicircle next to it, draw one more 1/2″ (1 cm) seam allowance around the curved line. Cut the pieces, making sure you cut two rectangles and two semicircles.
For your lining, fold the fabric in the middle and pin the large rectangle with one of the short ends to the folded edge. After adding seam allowance, cut the lining. You should now have one long piece that is twice the width of your rectangle pattern.

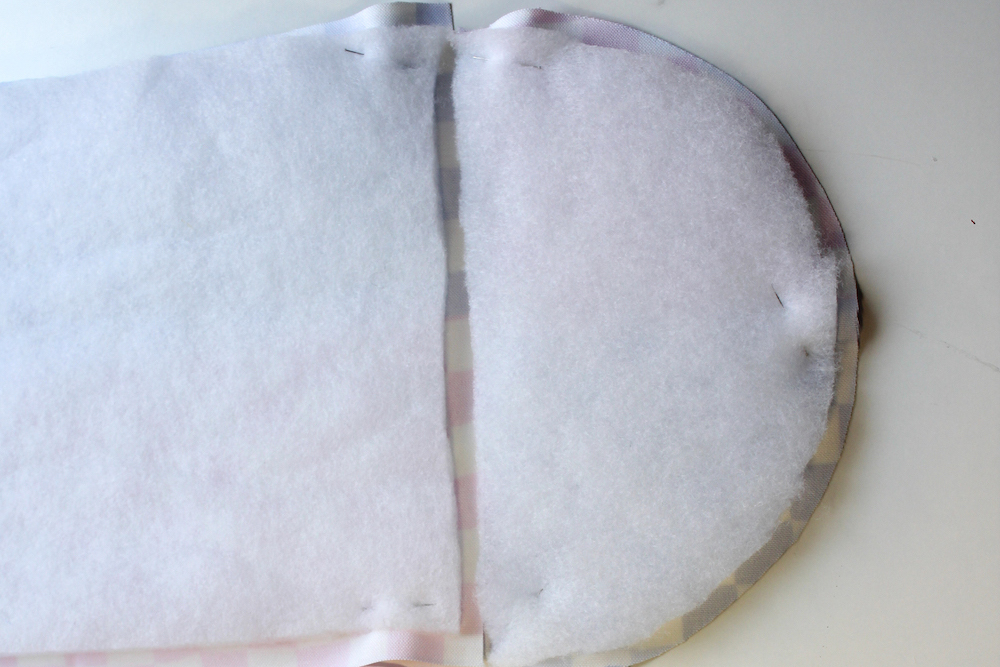
Pin the same pattern pieces onto your quilters’ batting. For the batting, we won’t add a seam allowance, as that would get in the way when sewing all the pieces together later on. Cut out the rectangle twice and the semicircle once.
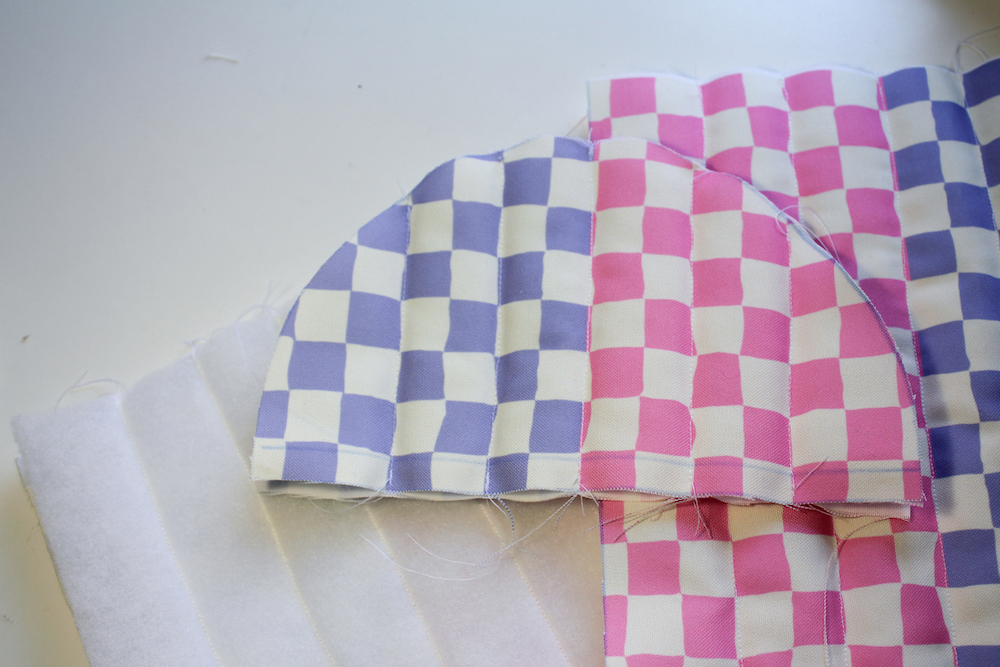
Finished fabric pattern pieces: 2x rectangles outer fabric, 2x rectangles batting, 2x semicircles outer fabric, 1x semicircle batting, 1x lining.


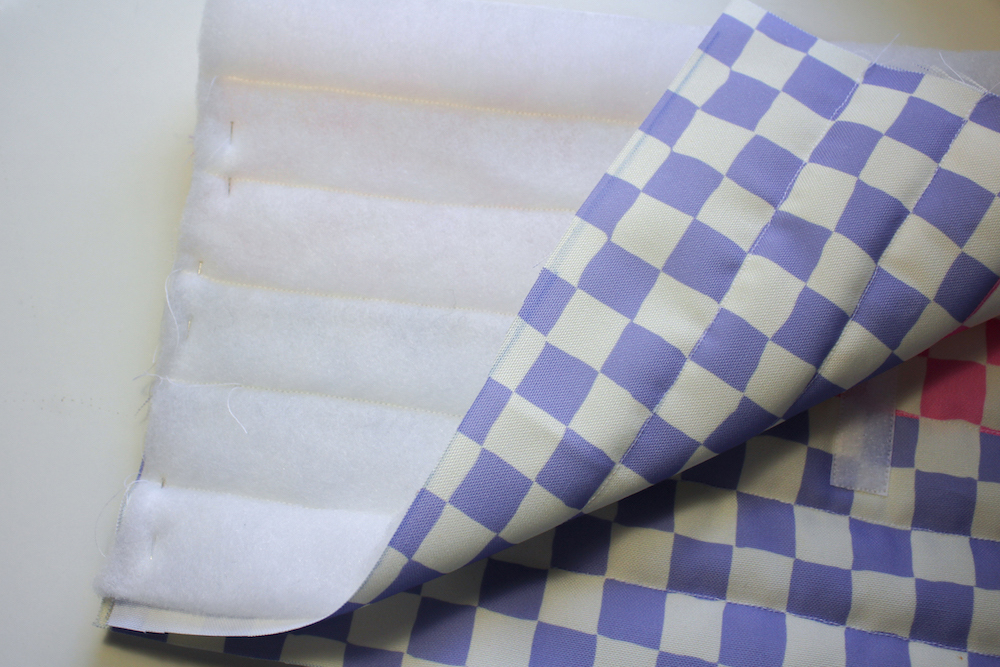
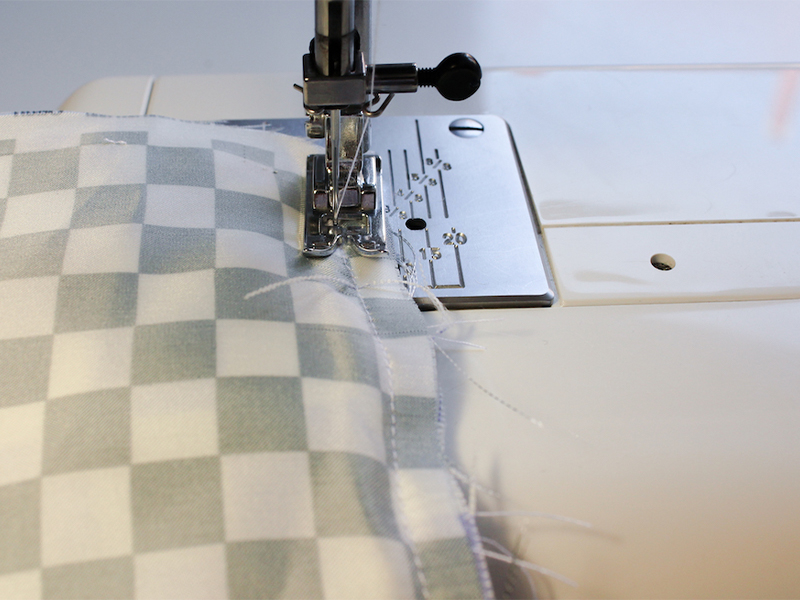
3. Topstitch the Outer Fabric and Batting
Place the batting on top of your two rectangle outer pieces and pin in place. Take the semicircle outer pieces and pin the batting inside (like a sandwich!). Make sure to center your batting pieces so that 1/2″ (1 cm) of space is left around the edge.
Now you’re ready to bring out the sewing machine and topstitch the batting to the outer fabric on each piece. The good thing about patterns like checkerboard, plaid, or stripes is that they do the job for you when it comes to topstitching—you can simply sew along the printed lines! How many stitching details you add are up to you.

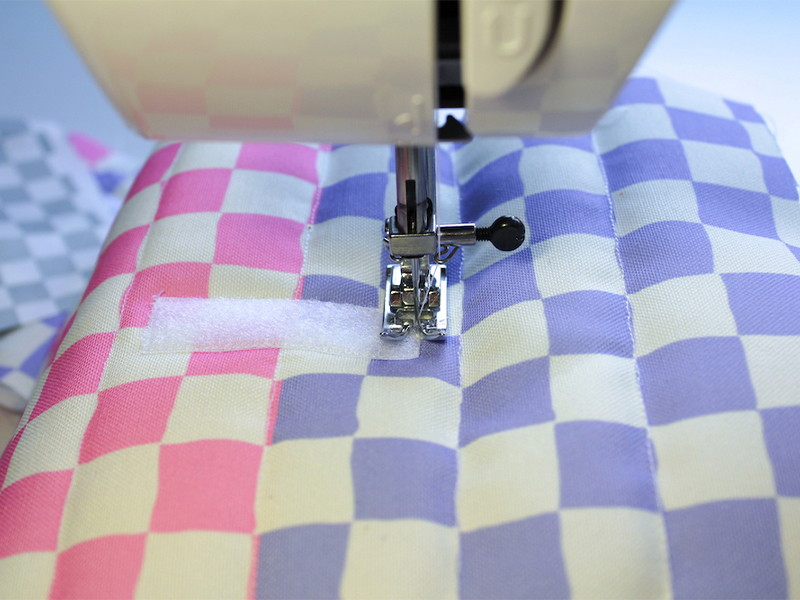
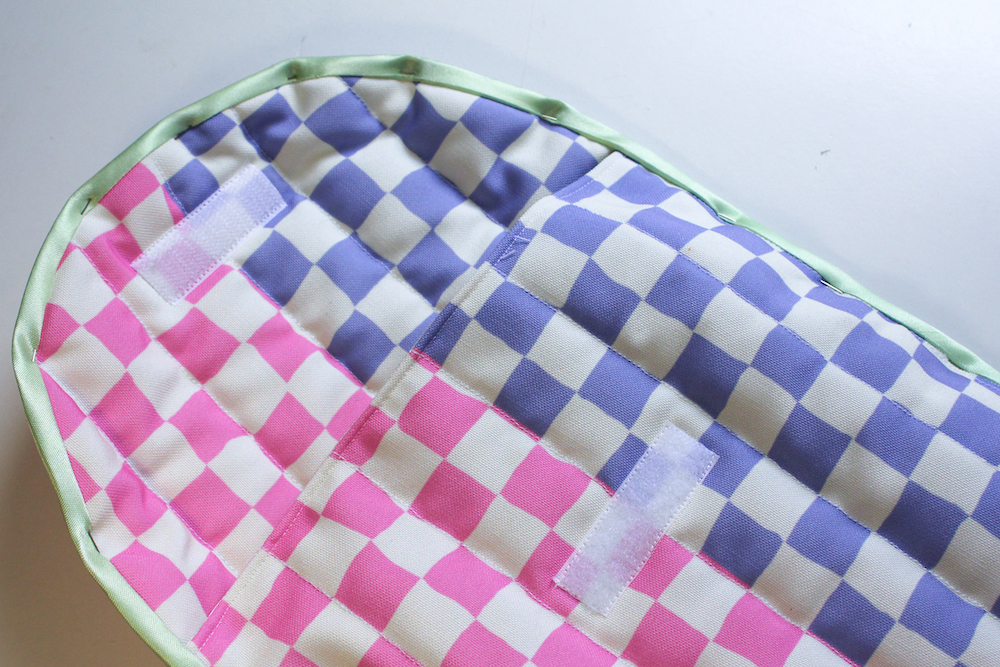
4. Sew on the Velcro Fastener
Cut about 2″ (5 cm) of both sides of your Velcro fastener. Place one of the pieces in the middle of the top of one rectangle, and the other on the curved edge of your flap. I recommend having these Velcro pieces relatively close to the edges so that the bag closes well once everything is sewn together. On mine, the main pocket fastener is 3.25″ (8 cm) away from the edge, and 3.5″ (9 cm) for the flap.
Place these two pieces on top of each other to test that the Velcro is in the right spot before sewing, we want our bag to fasten properly!
5. Sew the Main Pieces Together
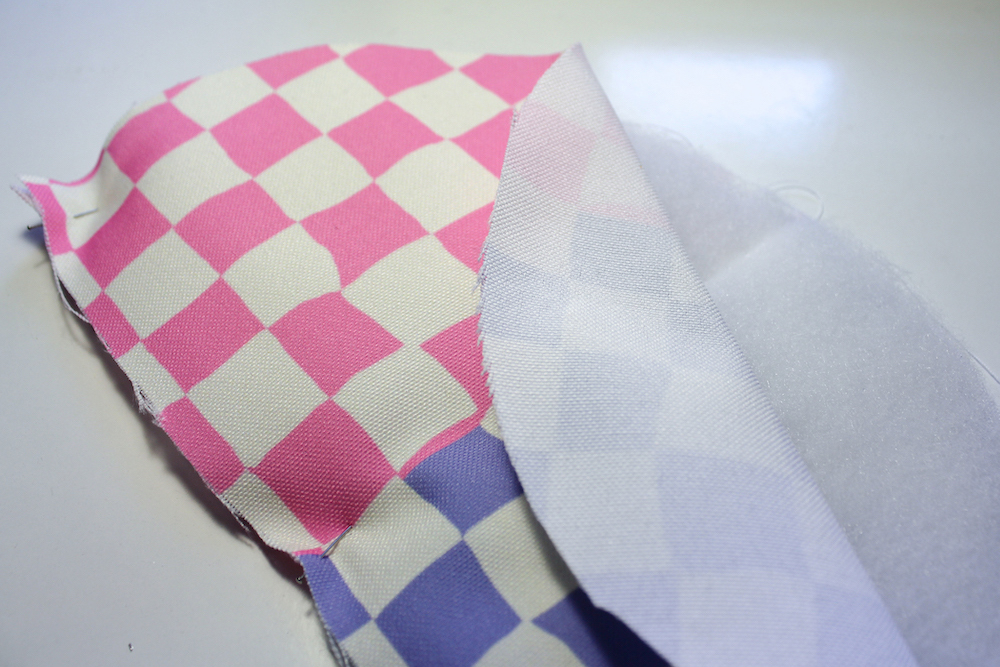
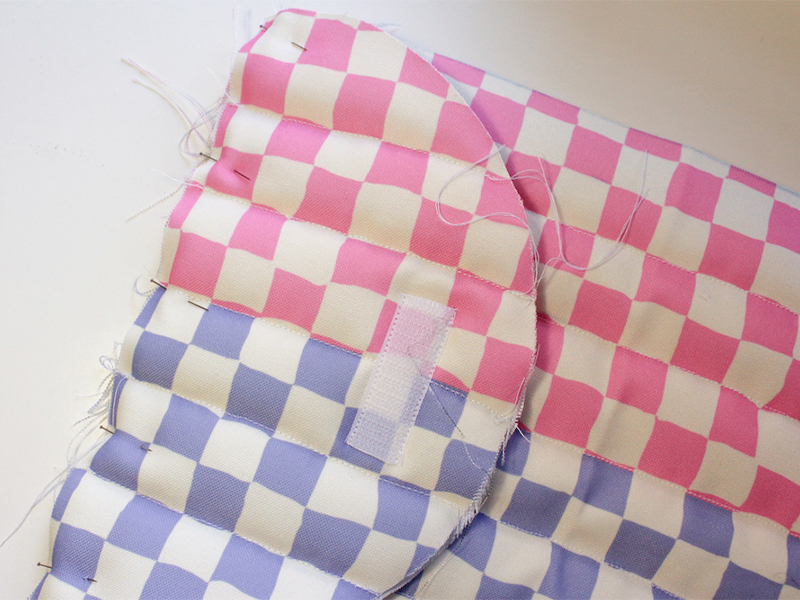
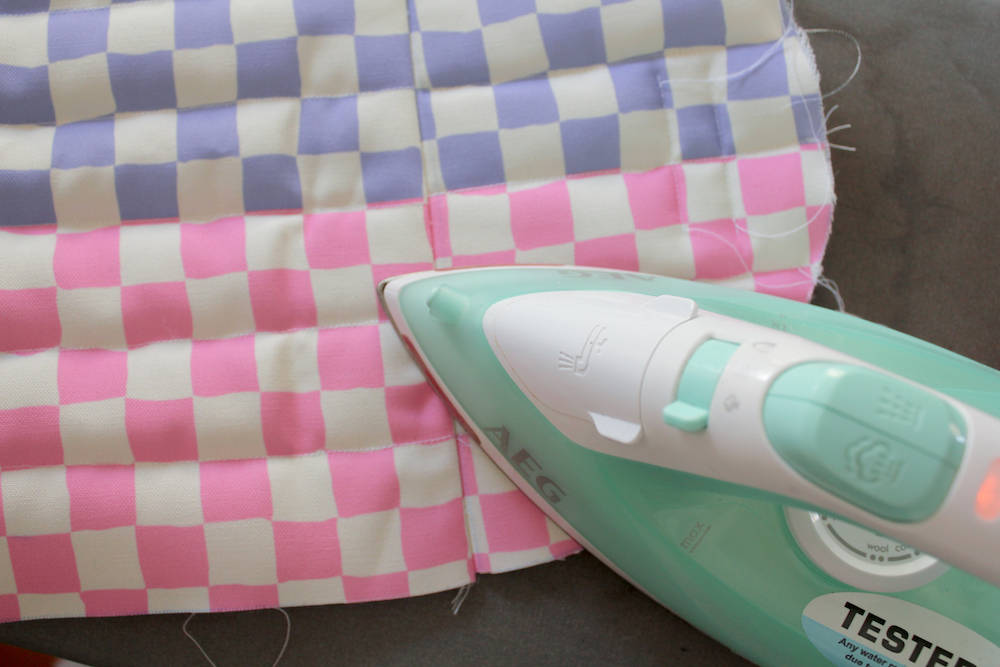
Now place your two quilted rectangles with the right sides (printed sides) together and pin the bottom side (the one without Velcro). Sew that edge together with a 1/2″ (1 cm) seam allowance. Open this sewn piece up, lay it flat printed-side up, and use an iron to press and separate the seams.
Pin the flap on top of the shorter side opposite of the Velcro rectangle, pointed inwards, Velcro-side up.
6. Add the Lining
Place the lining’s printed/right side on the printed side of the bag, so the flap is sandwiched in between. Pin off the two shorter sides and stitch together with a 1/2″ (1 cm) seam allowance.
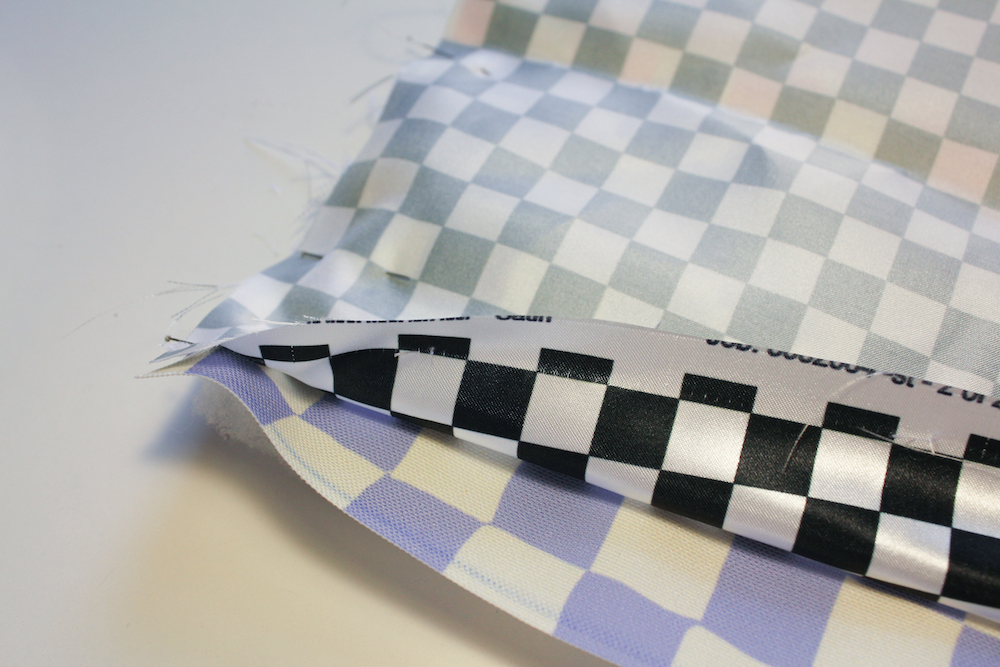

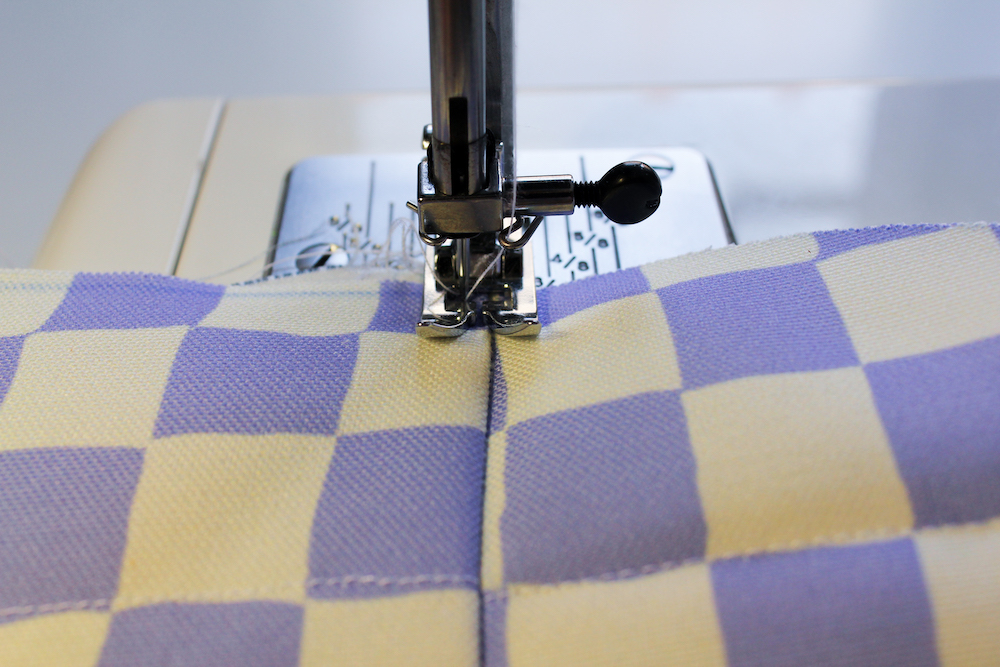
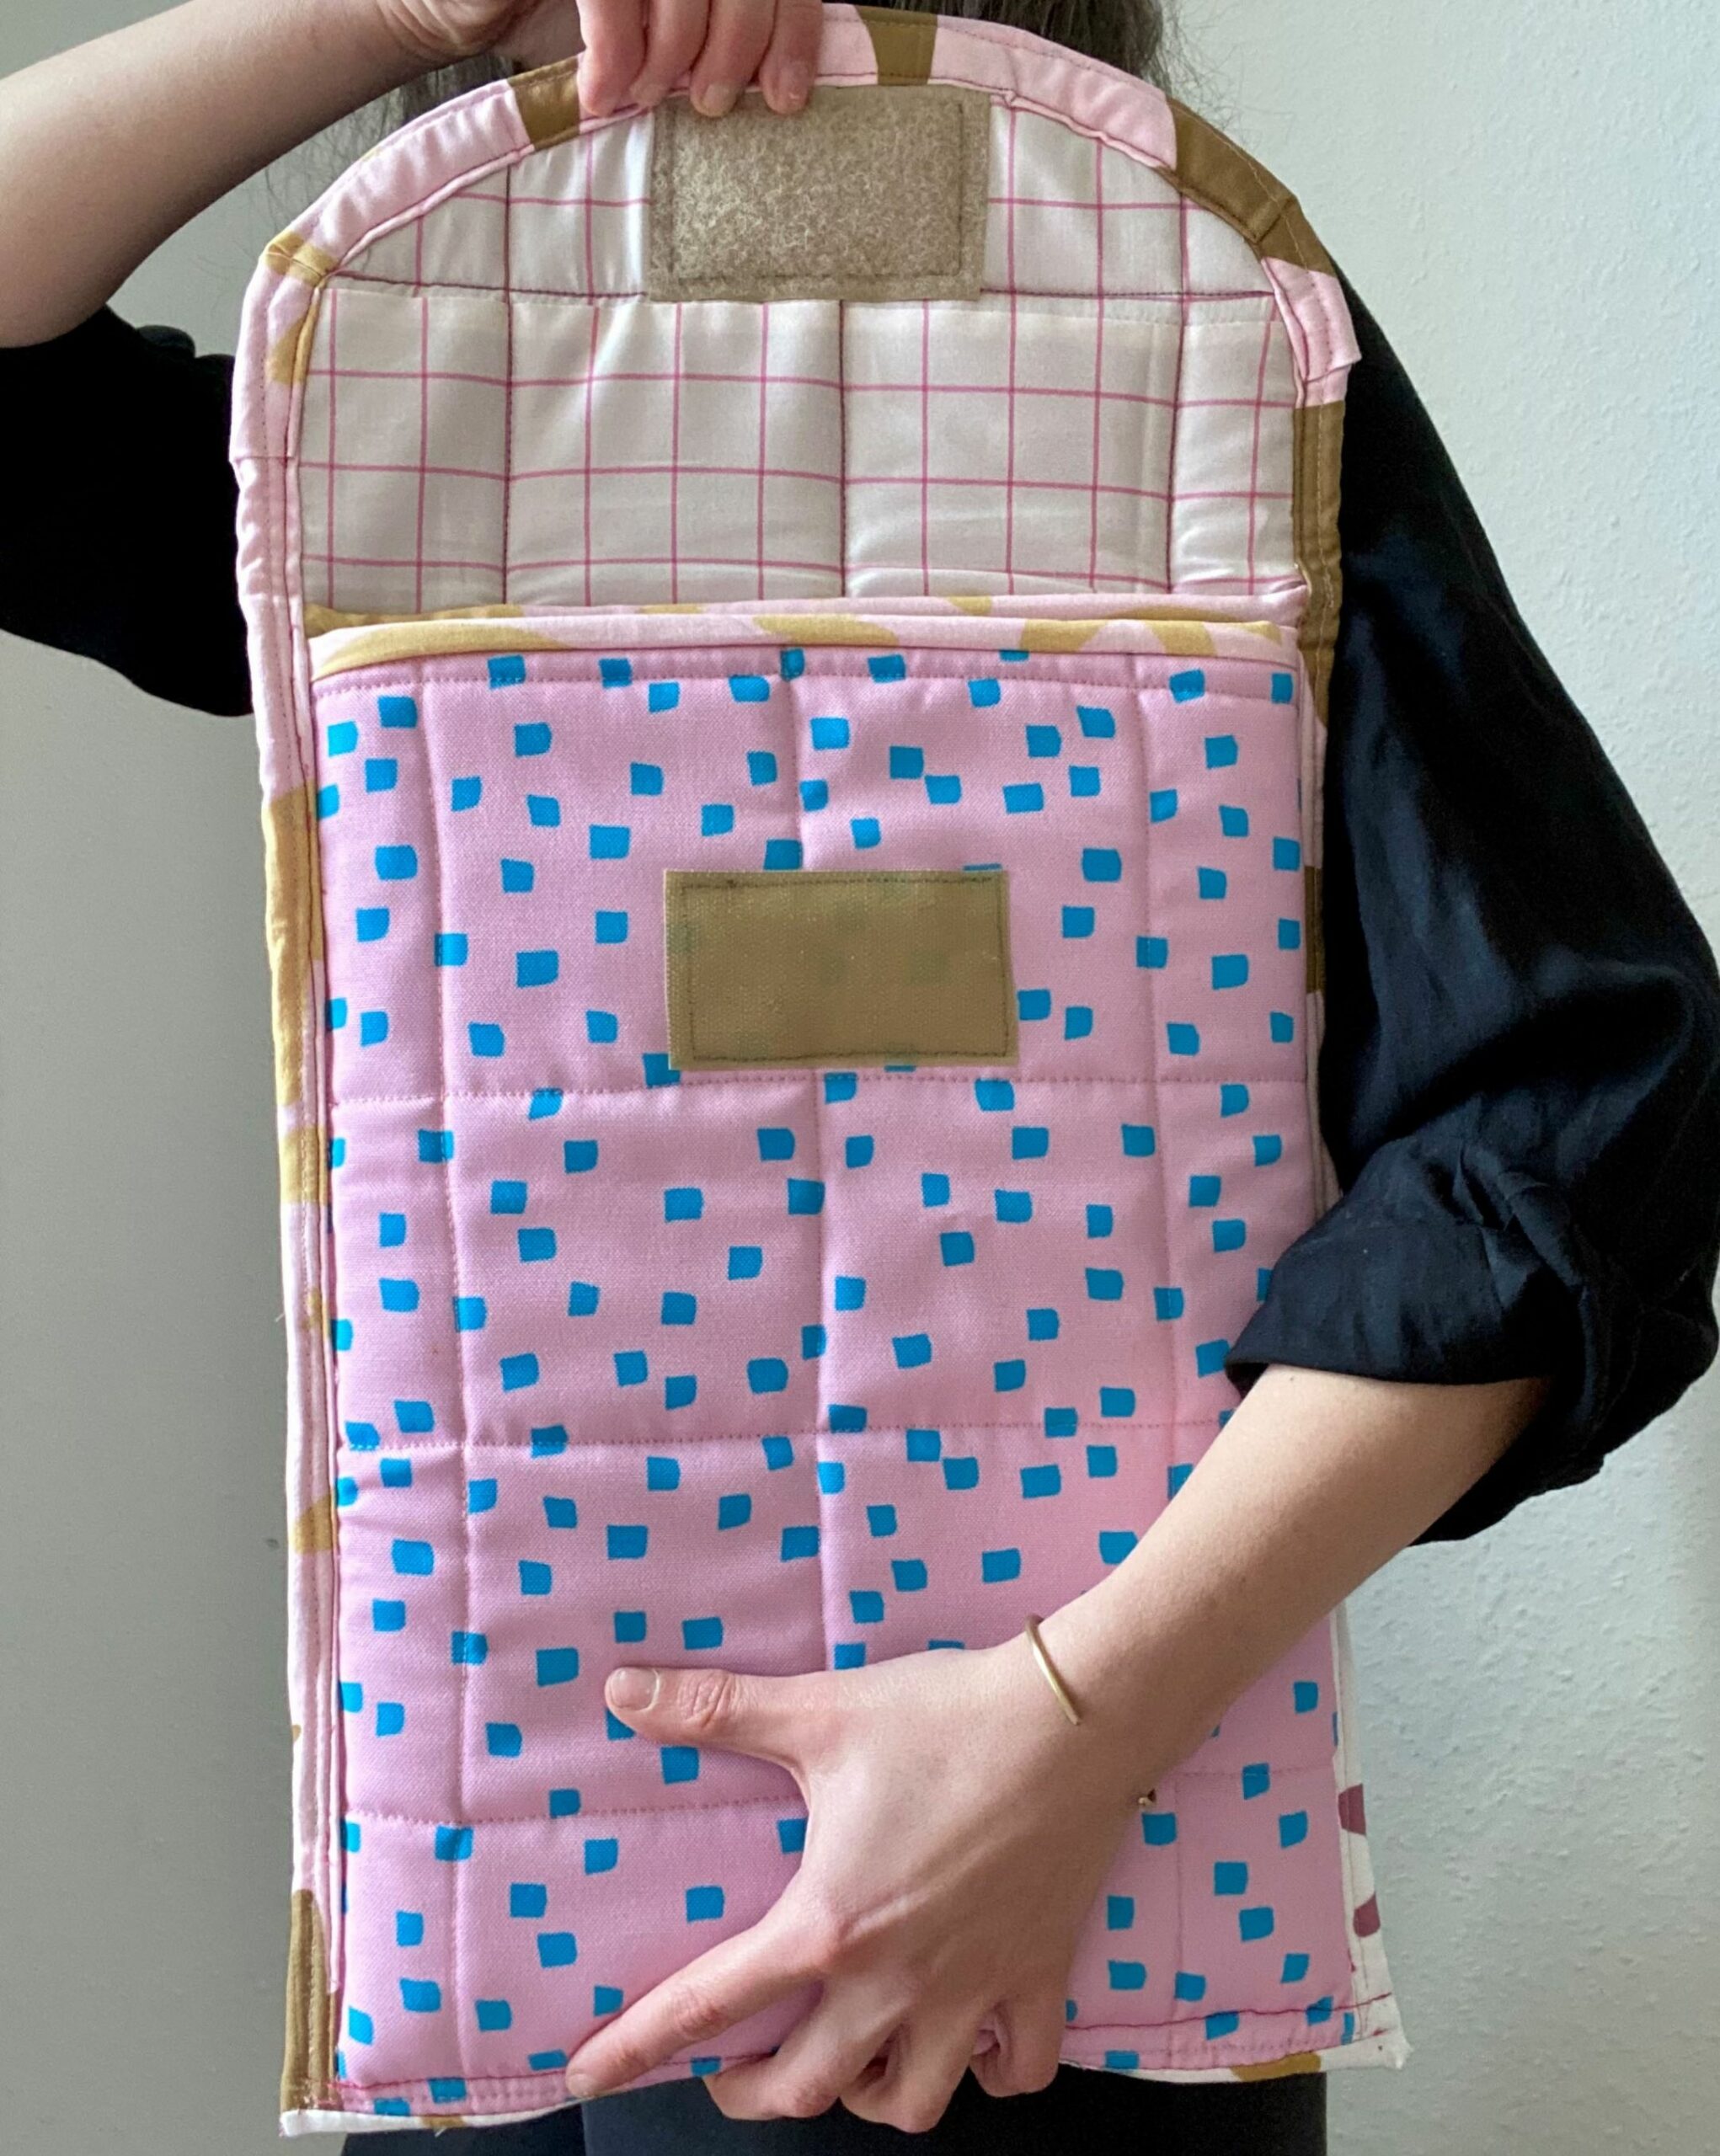
Flip the whole thing inside out and iron the short end seams flat. I also added another topstitch on the flap right on the seam. Fold your bag in half on the middle seam with the lining on the inside—it should start to look like the end result!
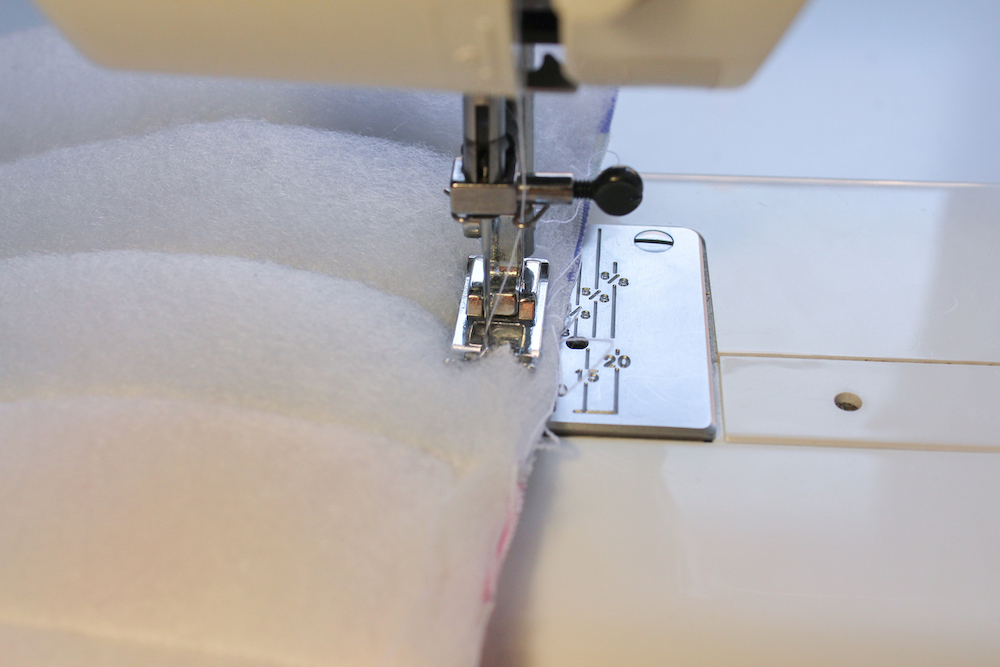
Sew the rest of the bag together on the sides that are still open (minus the opening at the top), a few millimeters from the edge. This step ensures that your layers don’t slip around when sewing on the bias tape and everything looks cleaner in the end.


7. Attach the Bias Tape
We’re almost finished! Open your bias tape and place it right side down with the edge of the tape against the edge of the bag. Fold the bias tape over the edge, pin it down on the other side, and stitch on the edge.

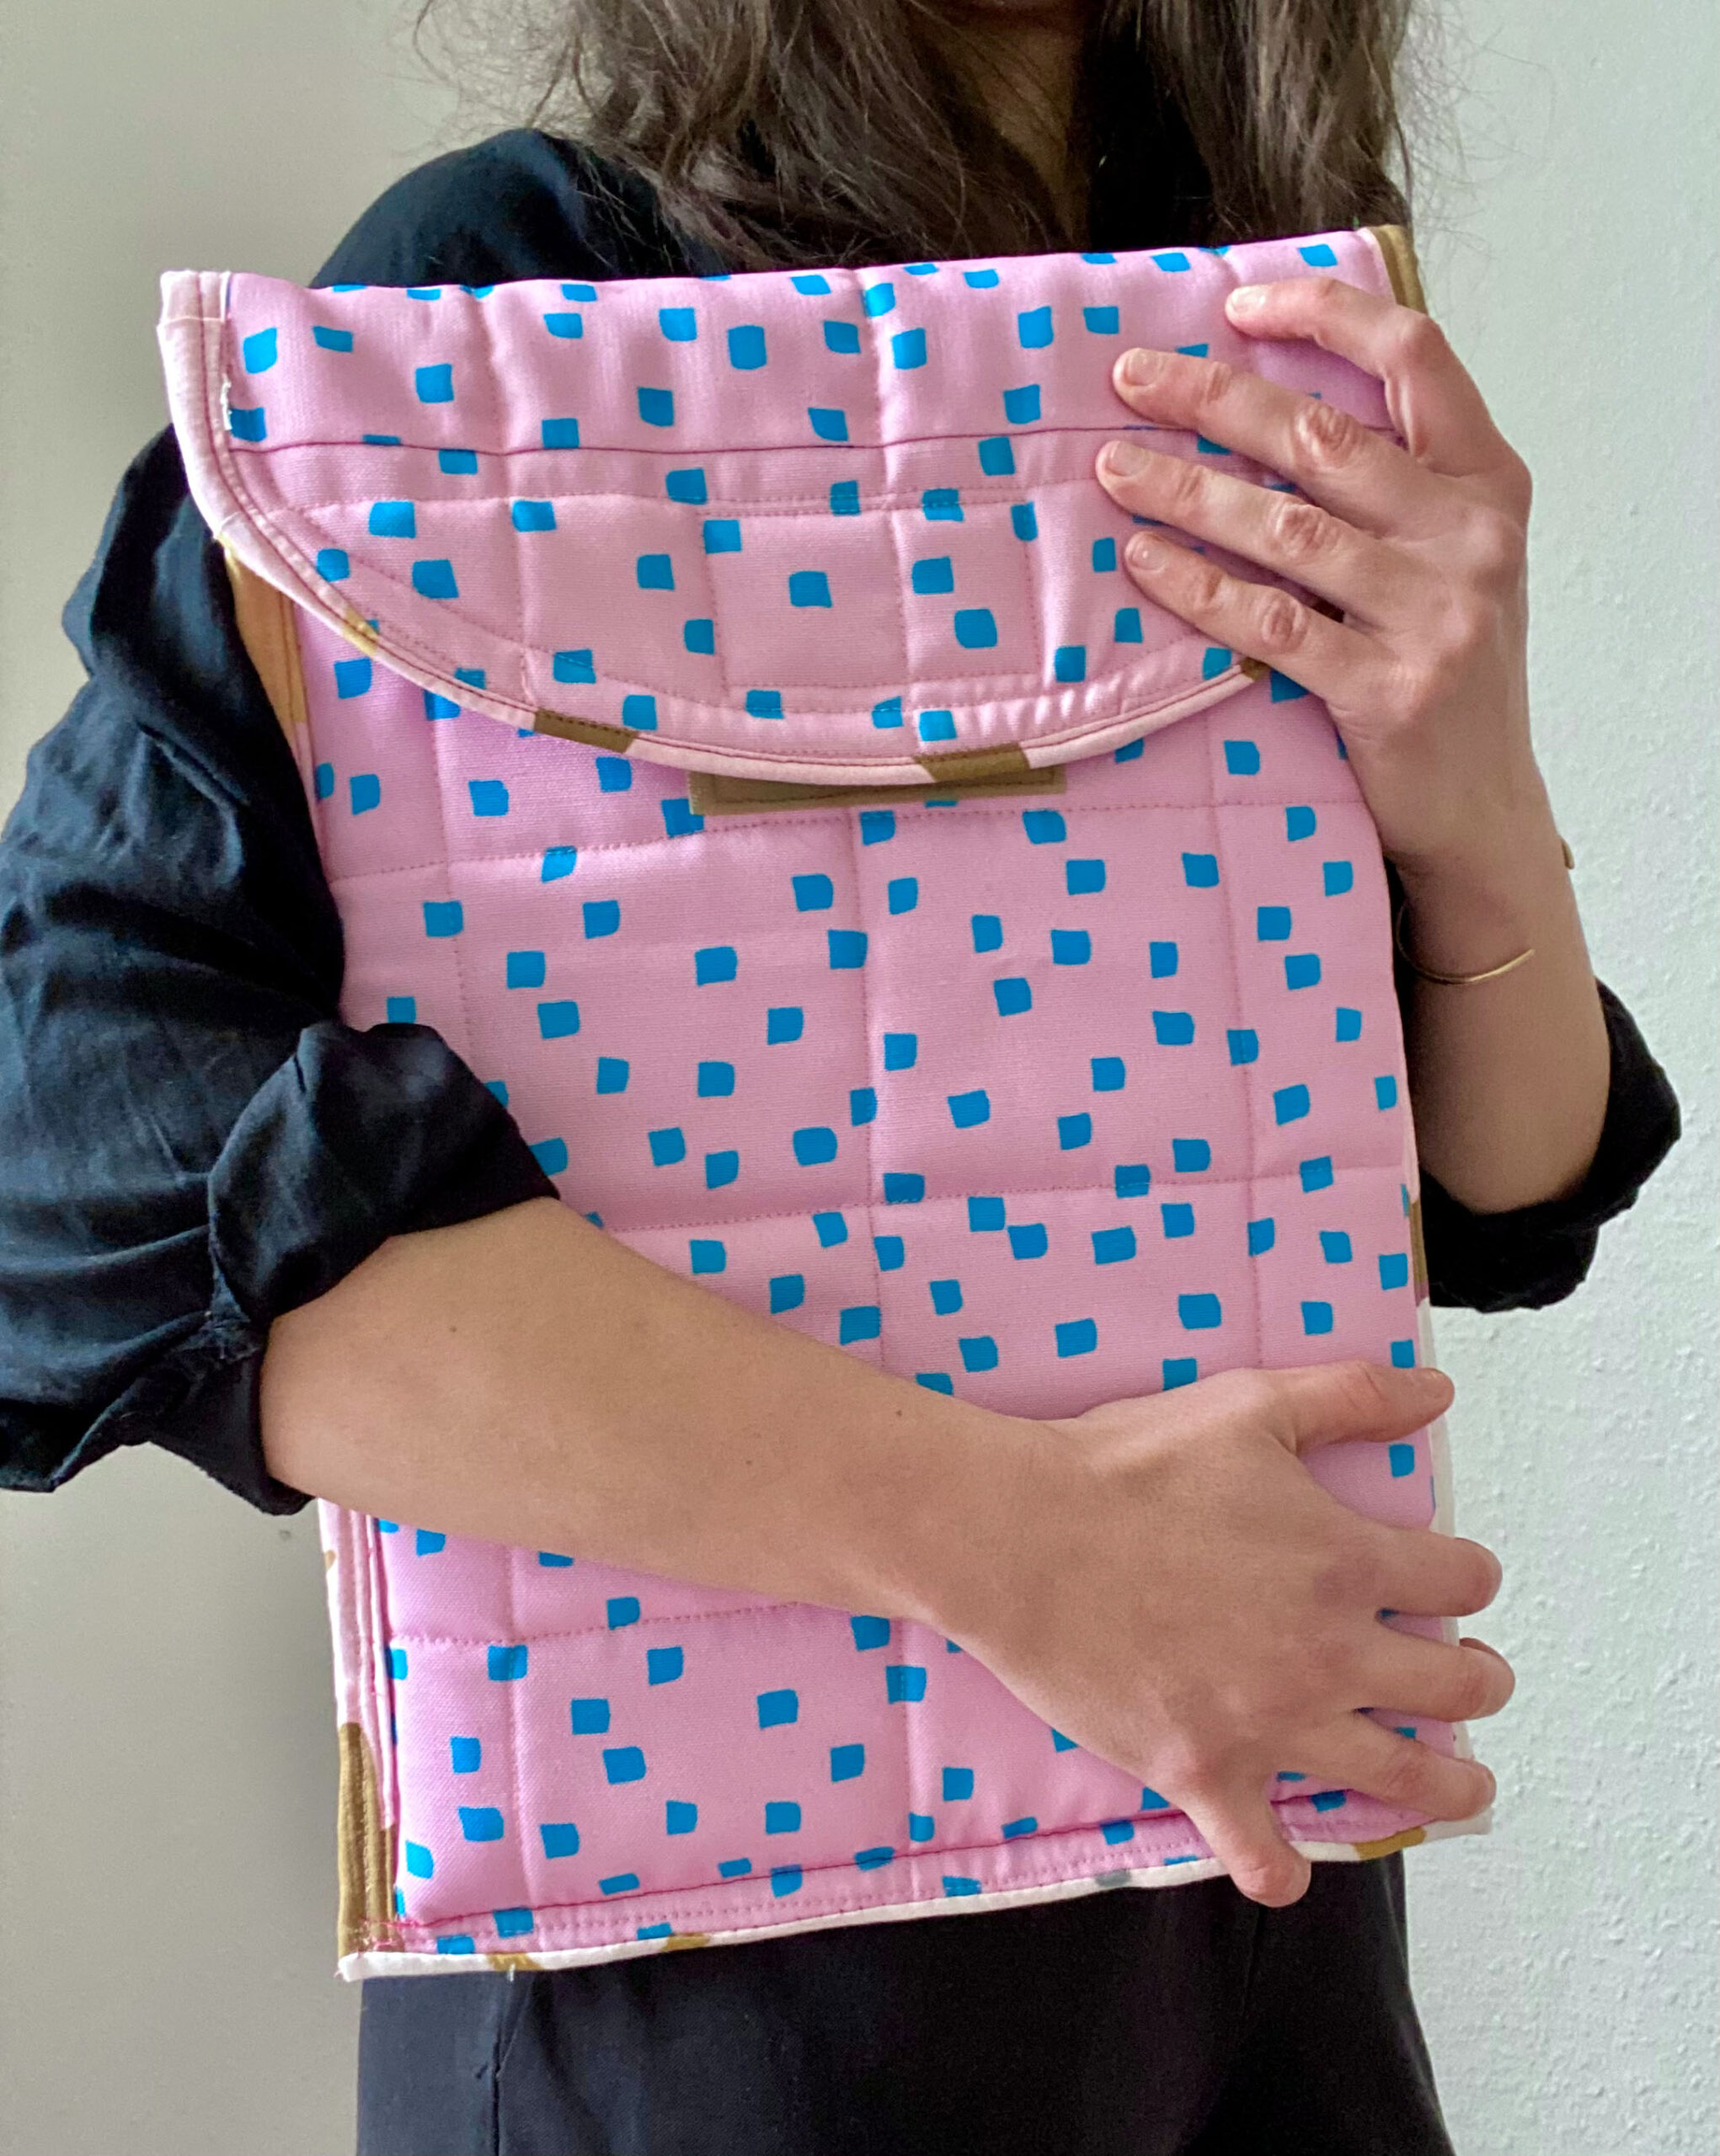
Tada! Your laptop bag is now ready.
Don’t forget to tag your creations on Instagram with #Spoonflower so we can check them out! Thanks for following along!


Such a cute inspiring piece! But I noticed you did not mention how you went about the straight line channel sewing you did to create the “quilted” look. We improvised and ran into so much puckering. Can you share how you approached that part of the project. Thanks!
Thanks Megan!
This wasn’t my project, but I’ve looked into what causes puckering as I know that’s frustrating!
There’s a section in this post that suggests using a walking foot or an even-feed foot to prevent puckering which can happen in quilting thanks to all the layers.
Hope that helps!
Best,
Betsy
Spoonflower
Hi! Just to confirm..there is no added seam allowance on the pocket flap pattern piece?
Hi Laura!
It means there’s no added seam allowance on the batting, but I can see how you might have been confused! 🙂
In case anyone else has questions about that point, I’ve updated the post to reflect that point. So sorry for the confusion!
Best,
Betsy
Spoonflower
Wow! Looks cute!
I’d just been looking for a protective case for my MacBook air when I saw this post. I guess I will make one myself))
Thanks
The laptop cover is adorable. This will be my next project for my granddaughter. Wonderful instructions and pics. Very clear.
Thank you this was a fun project to make.