


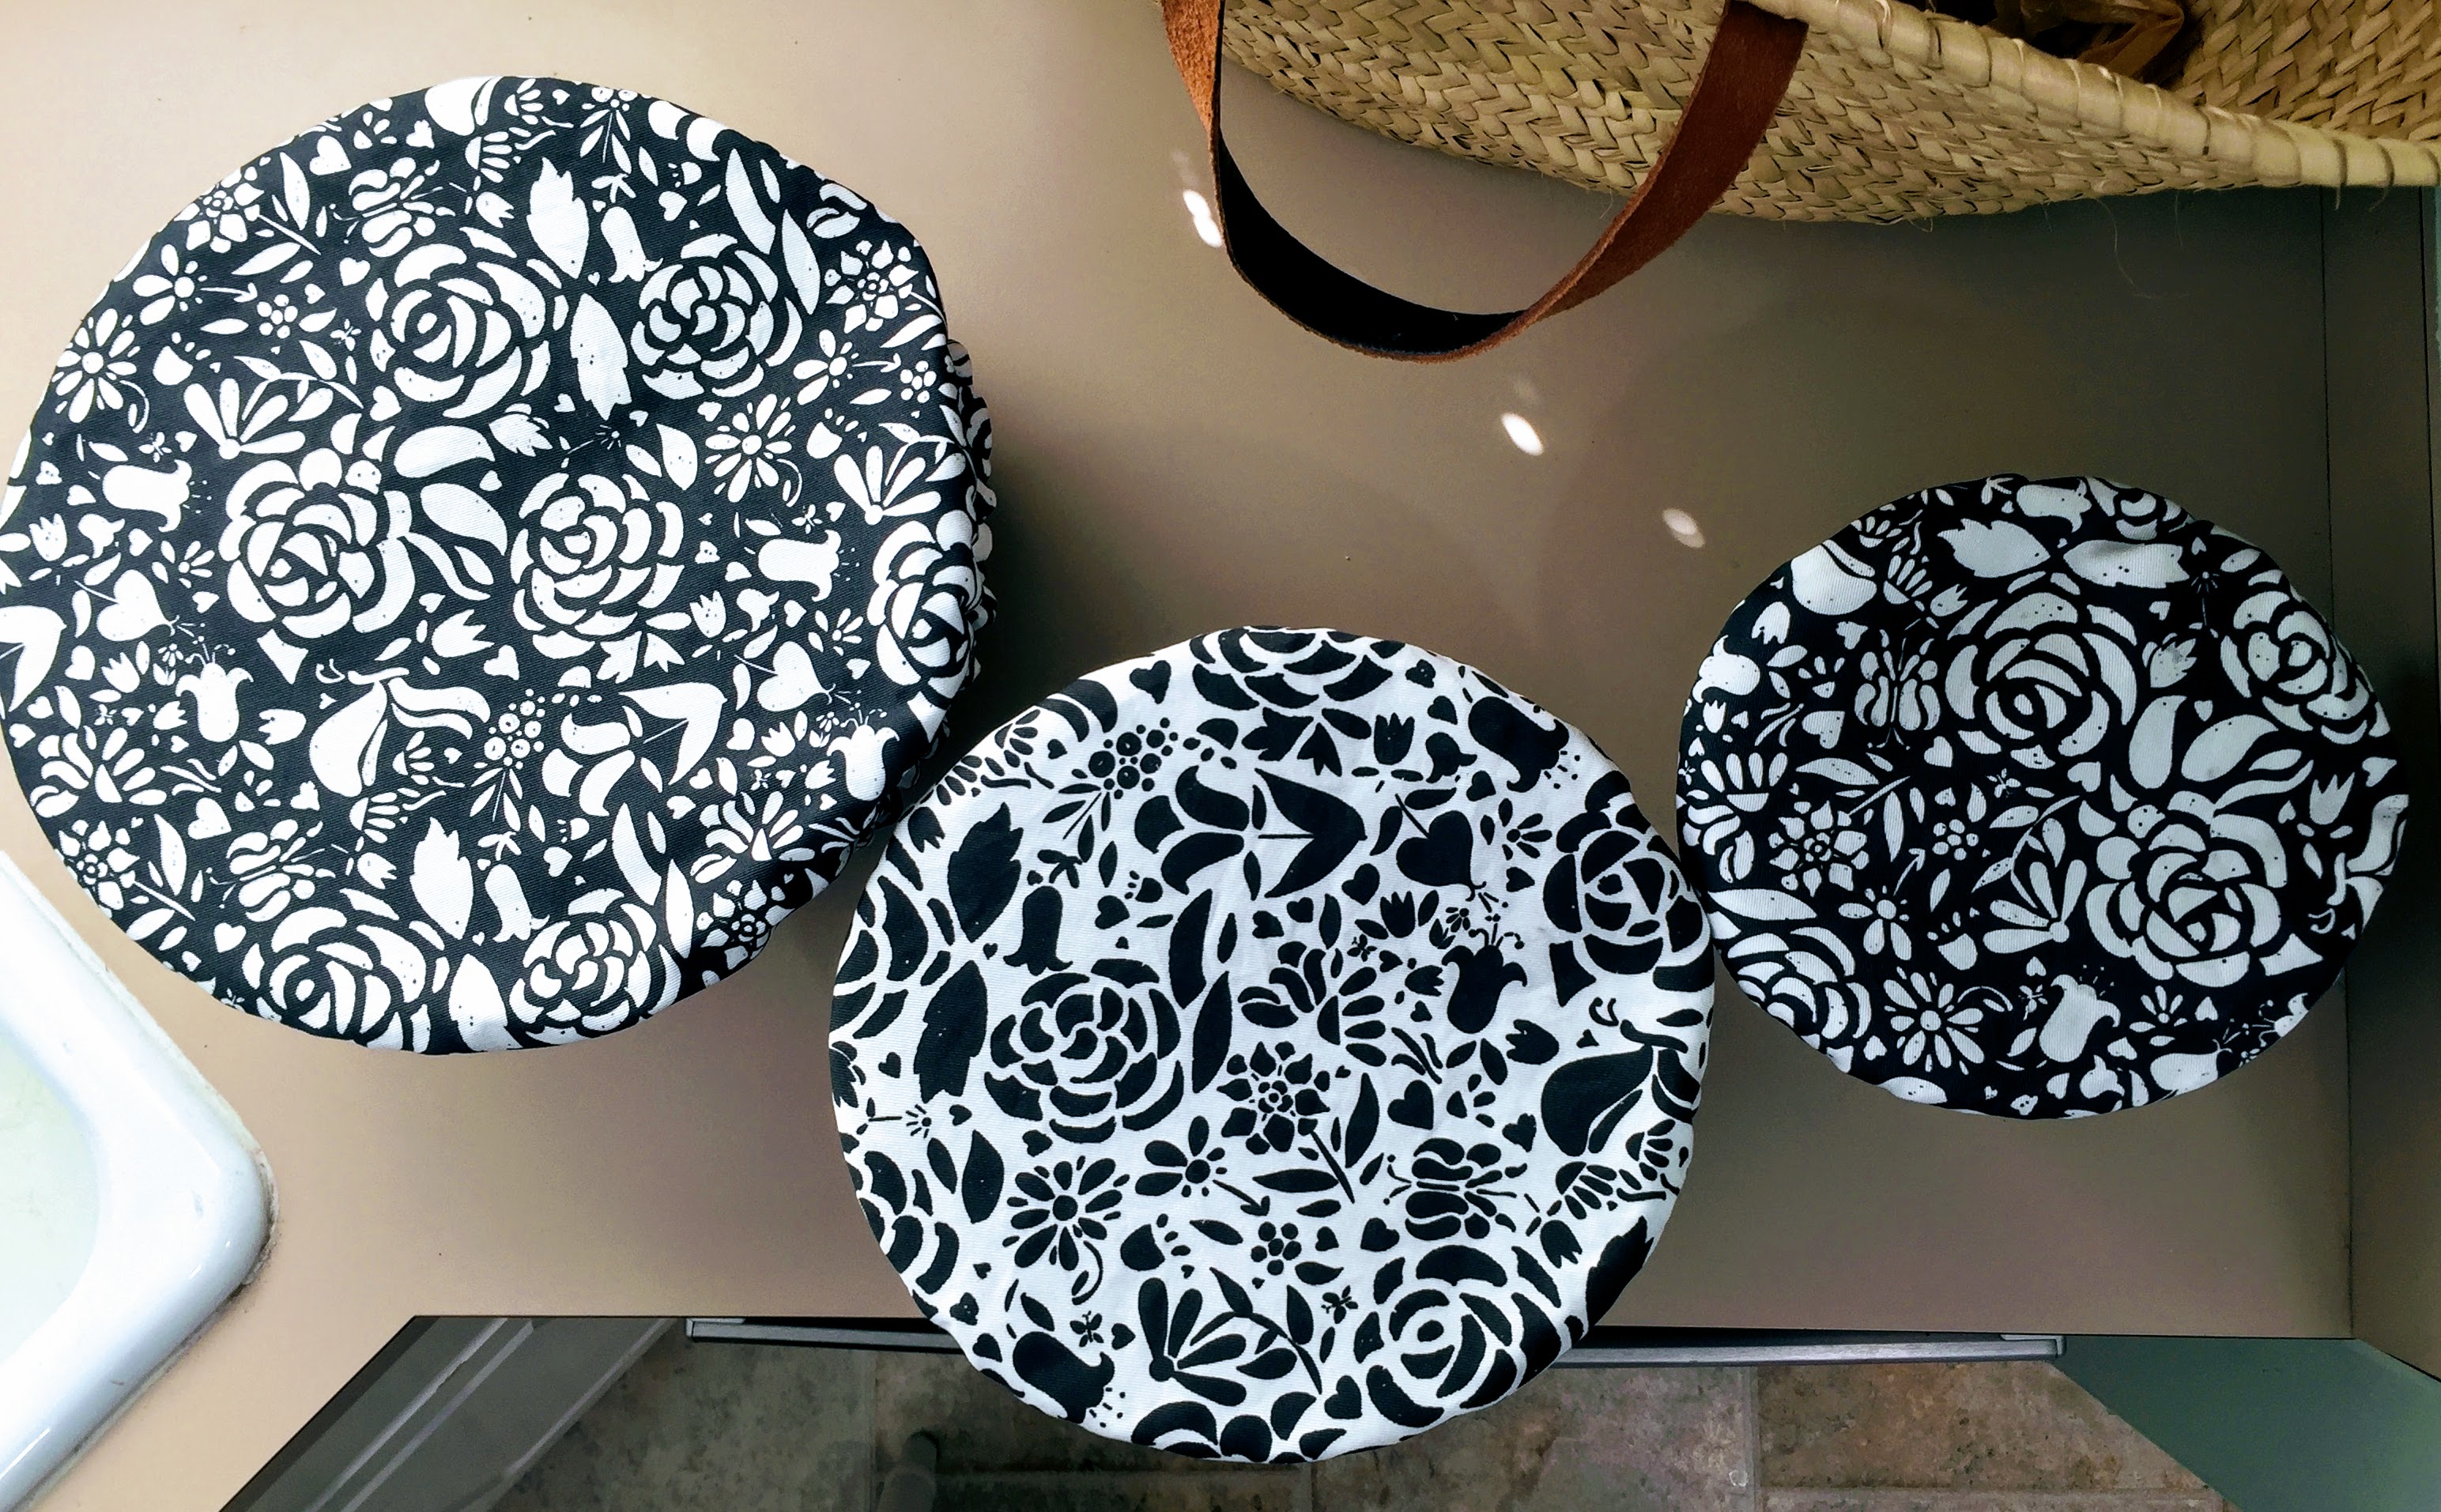
Recently I spotted some cotton bowl covers on an artisanal kitchenware website that were lovely yet pricy. After a bit of searching and some trial-and-error, I settled on an easy technique to make my own unique, double-sided covers using Lightweight Cotton Twill. These covers are perfect for resting your dough for baked goods, covering pasta or salad for a picnic, or even protecting your stand mixer bowl from dust. Read on for the full how-to!
What fabric should I use for this project?
You could use Petal Signature Cotton®, Organic Sweet Pea Gauze™ (a great pick for culturing kefir or kombucha) or large scraps of any woven cotton fabric for this project. I recommend Lightweight Cotton Twill as it has a luxurious texture and hand, plus it doesn’t really wrinkle so it looks and feels super high-end.

Materials
- 2 yards of coordinating designs in Lightweight Cotton Twill (will make approx. 8+ bowl covers, (so you’ll have gifts for friends!). OR, to make approximately 2 bowl covers, you’ll need just 2 fat quarters of coordinating designs. You can also use half the amount of fabric and make half the number of covers if you use the same design on the front and back.
- Mixing bowls
- Washable pencil or marker
- Cotton thread in any color—keep in mind it will show on the outside
- Rotary cutter and mat or fabric scissors
- Sewing machine and heavyweight needle – I used a 100/16 needle for woven fabrics
- Small safety pin
- 3 yards of 1/4” elastic – I used braided elastic but knit will work as well (one pack will make about four covers for 8” bowls)
- Pinking shears or serger (optional)
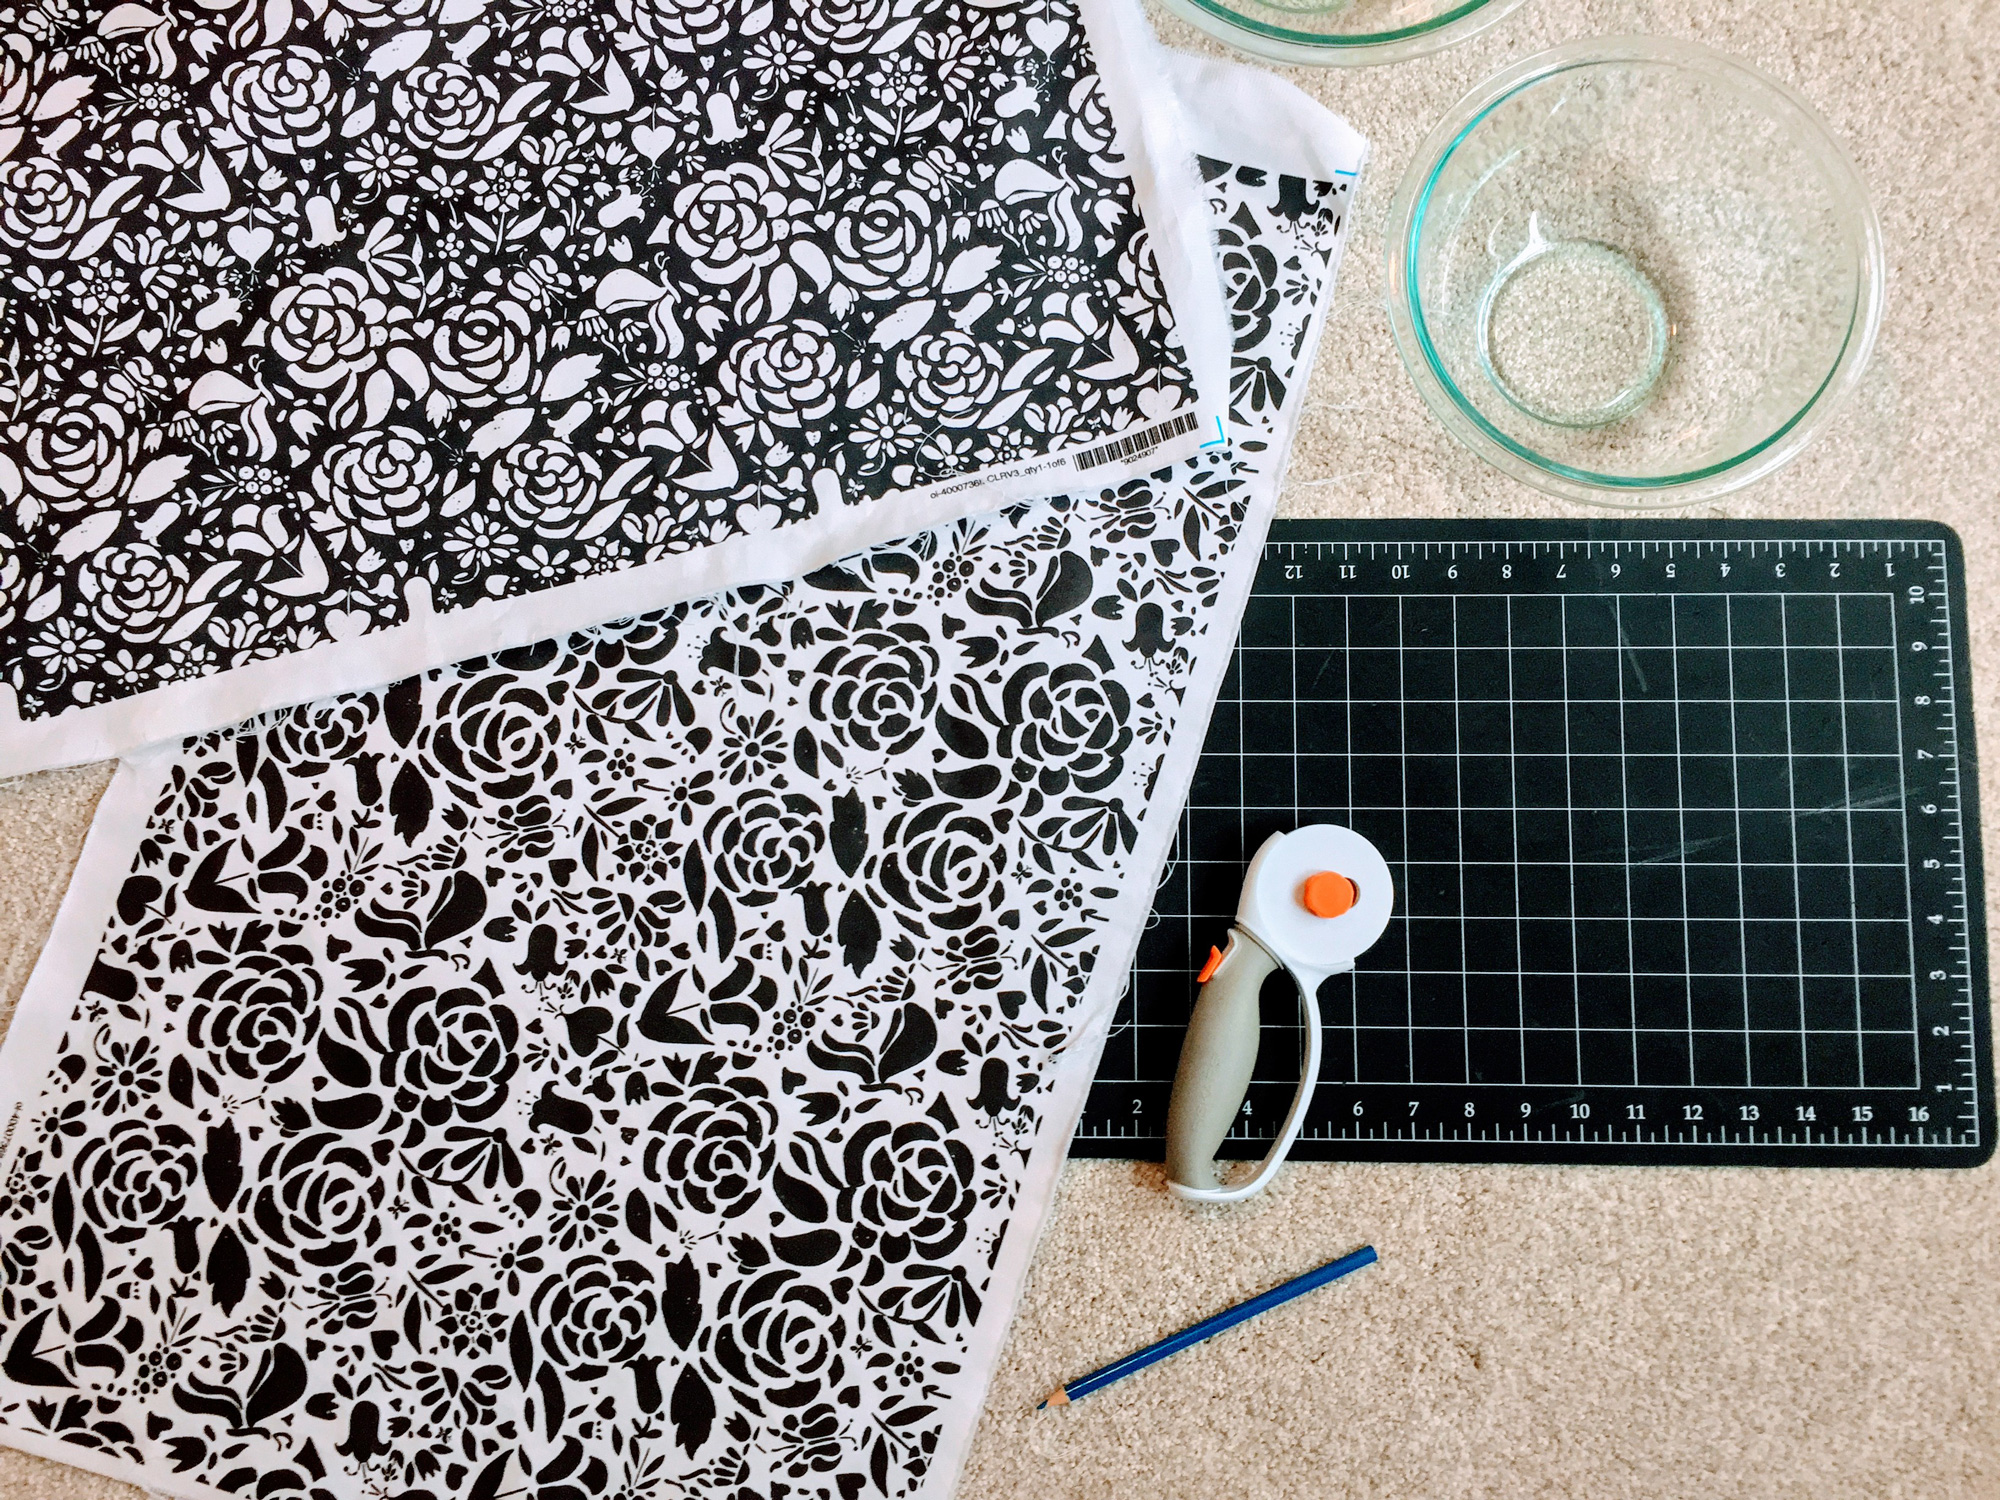
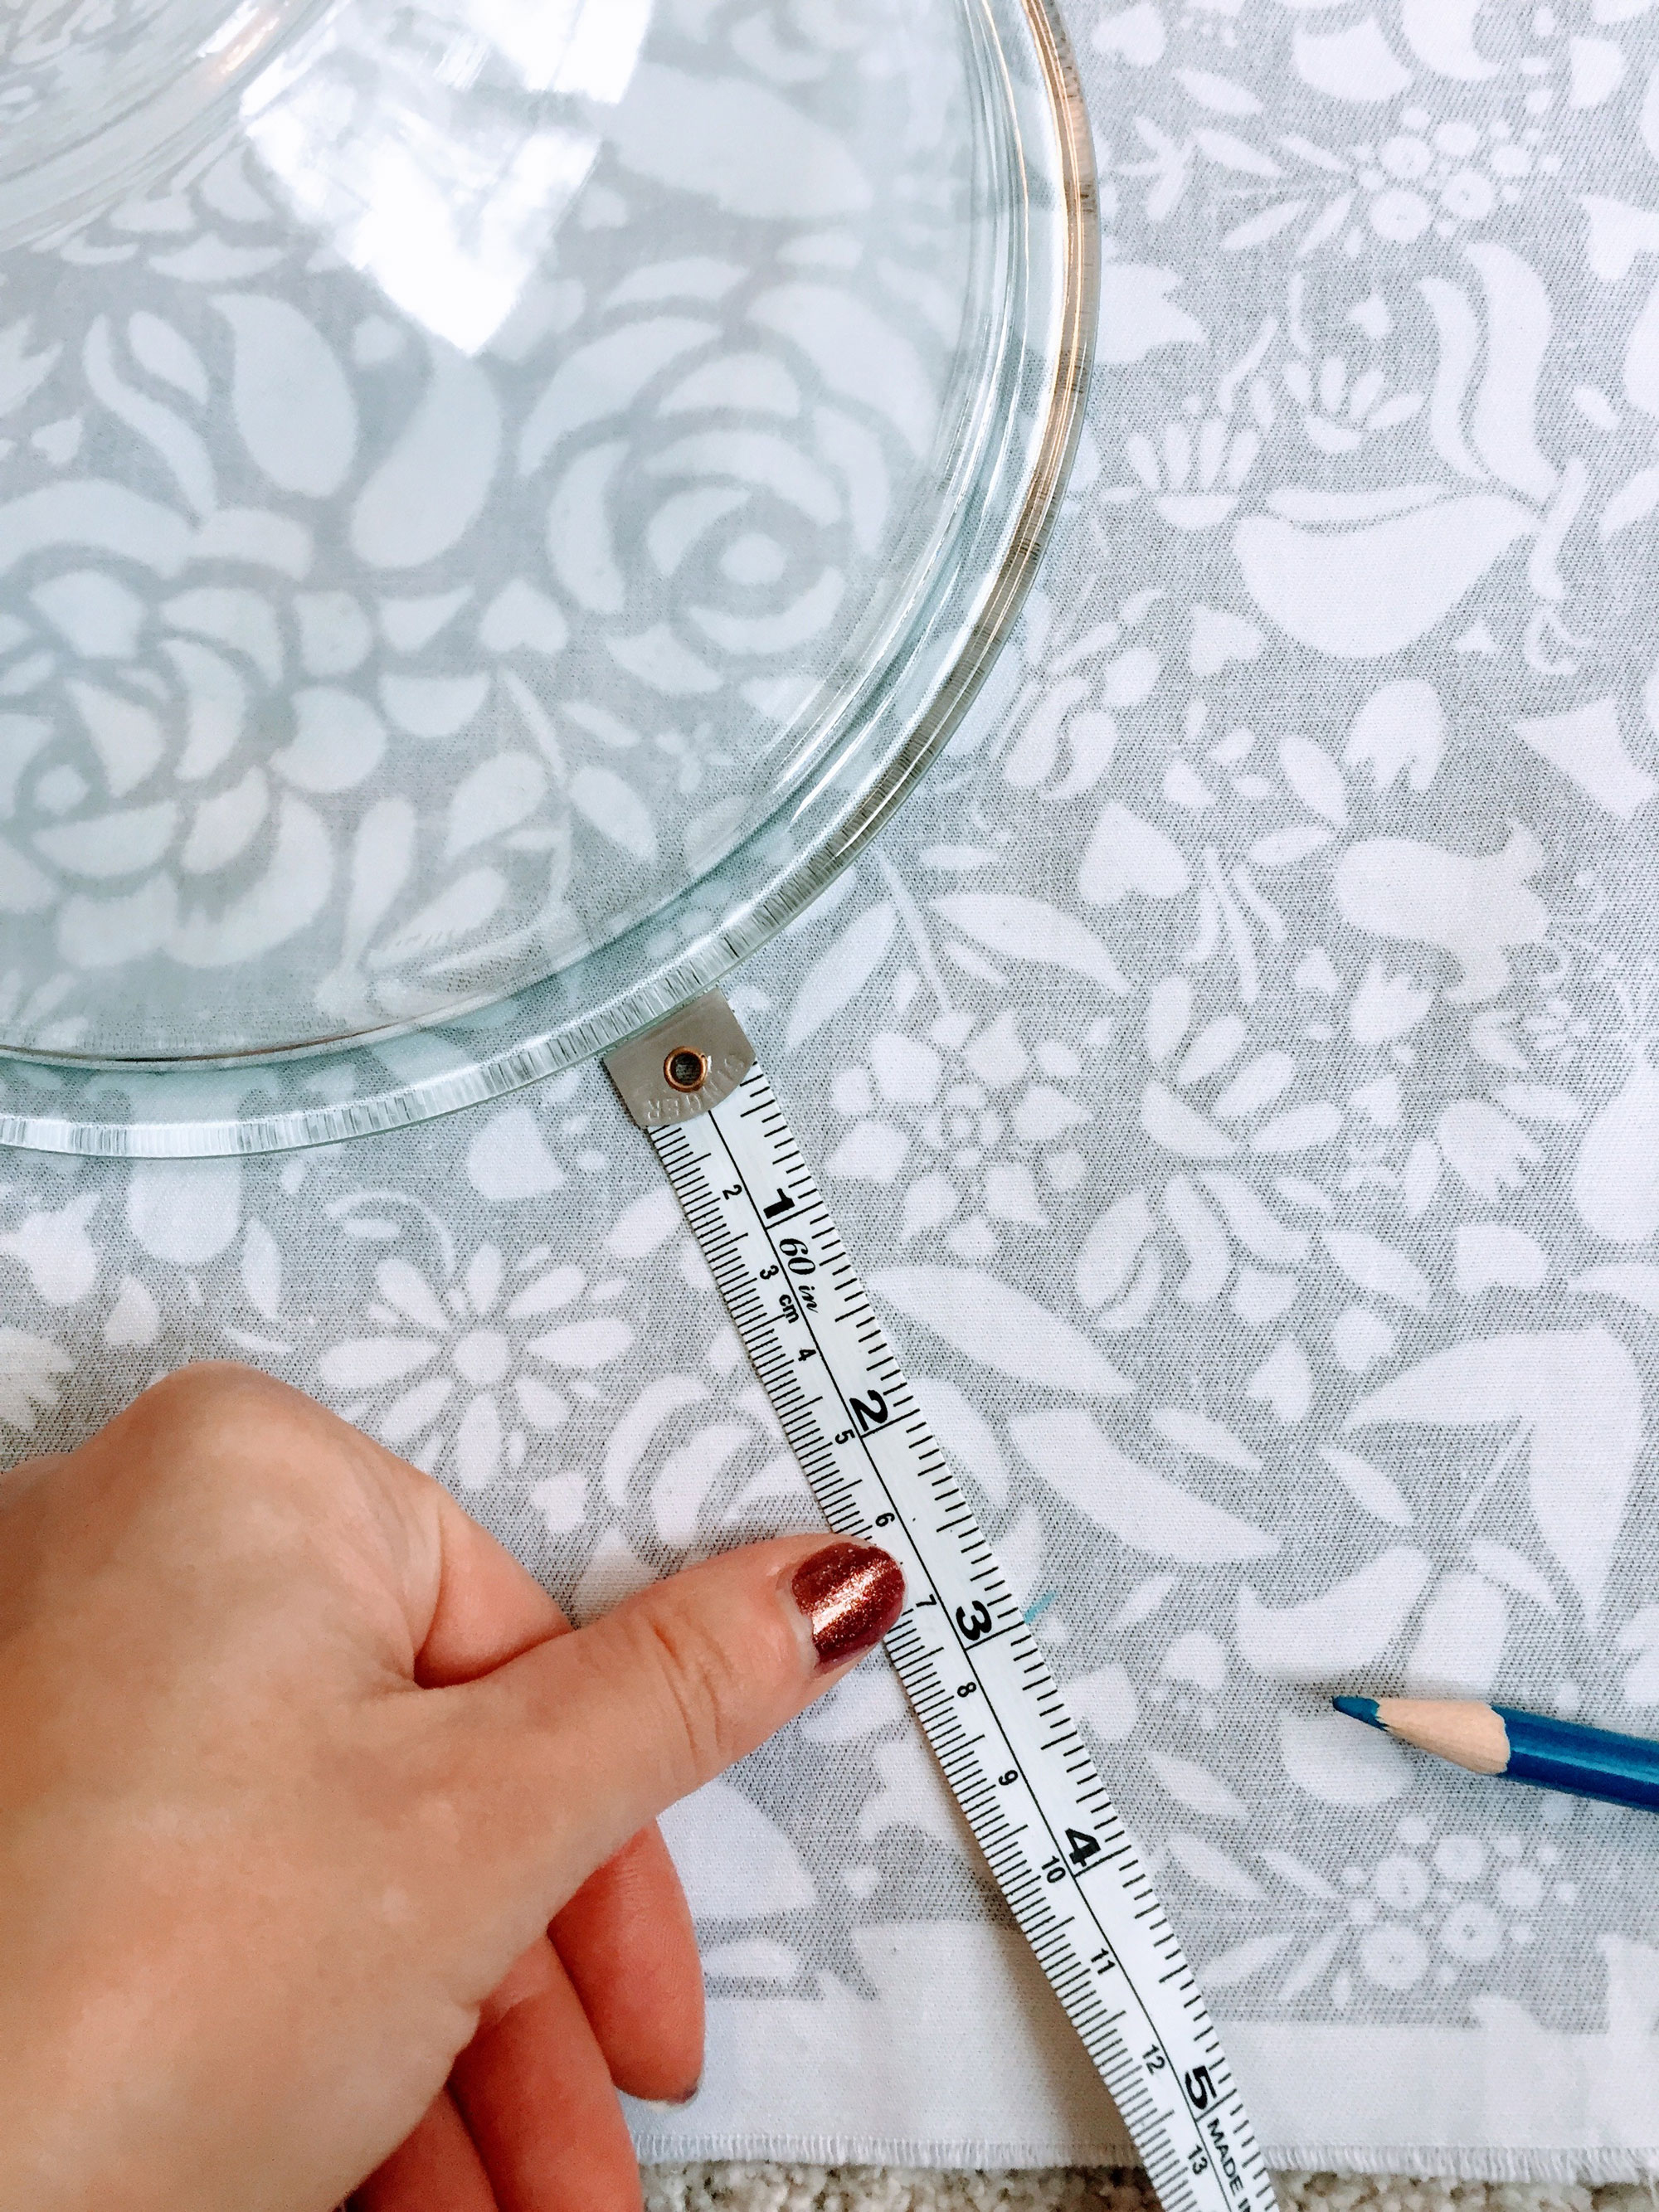
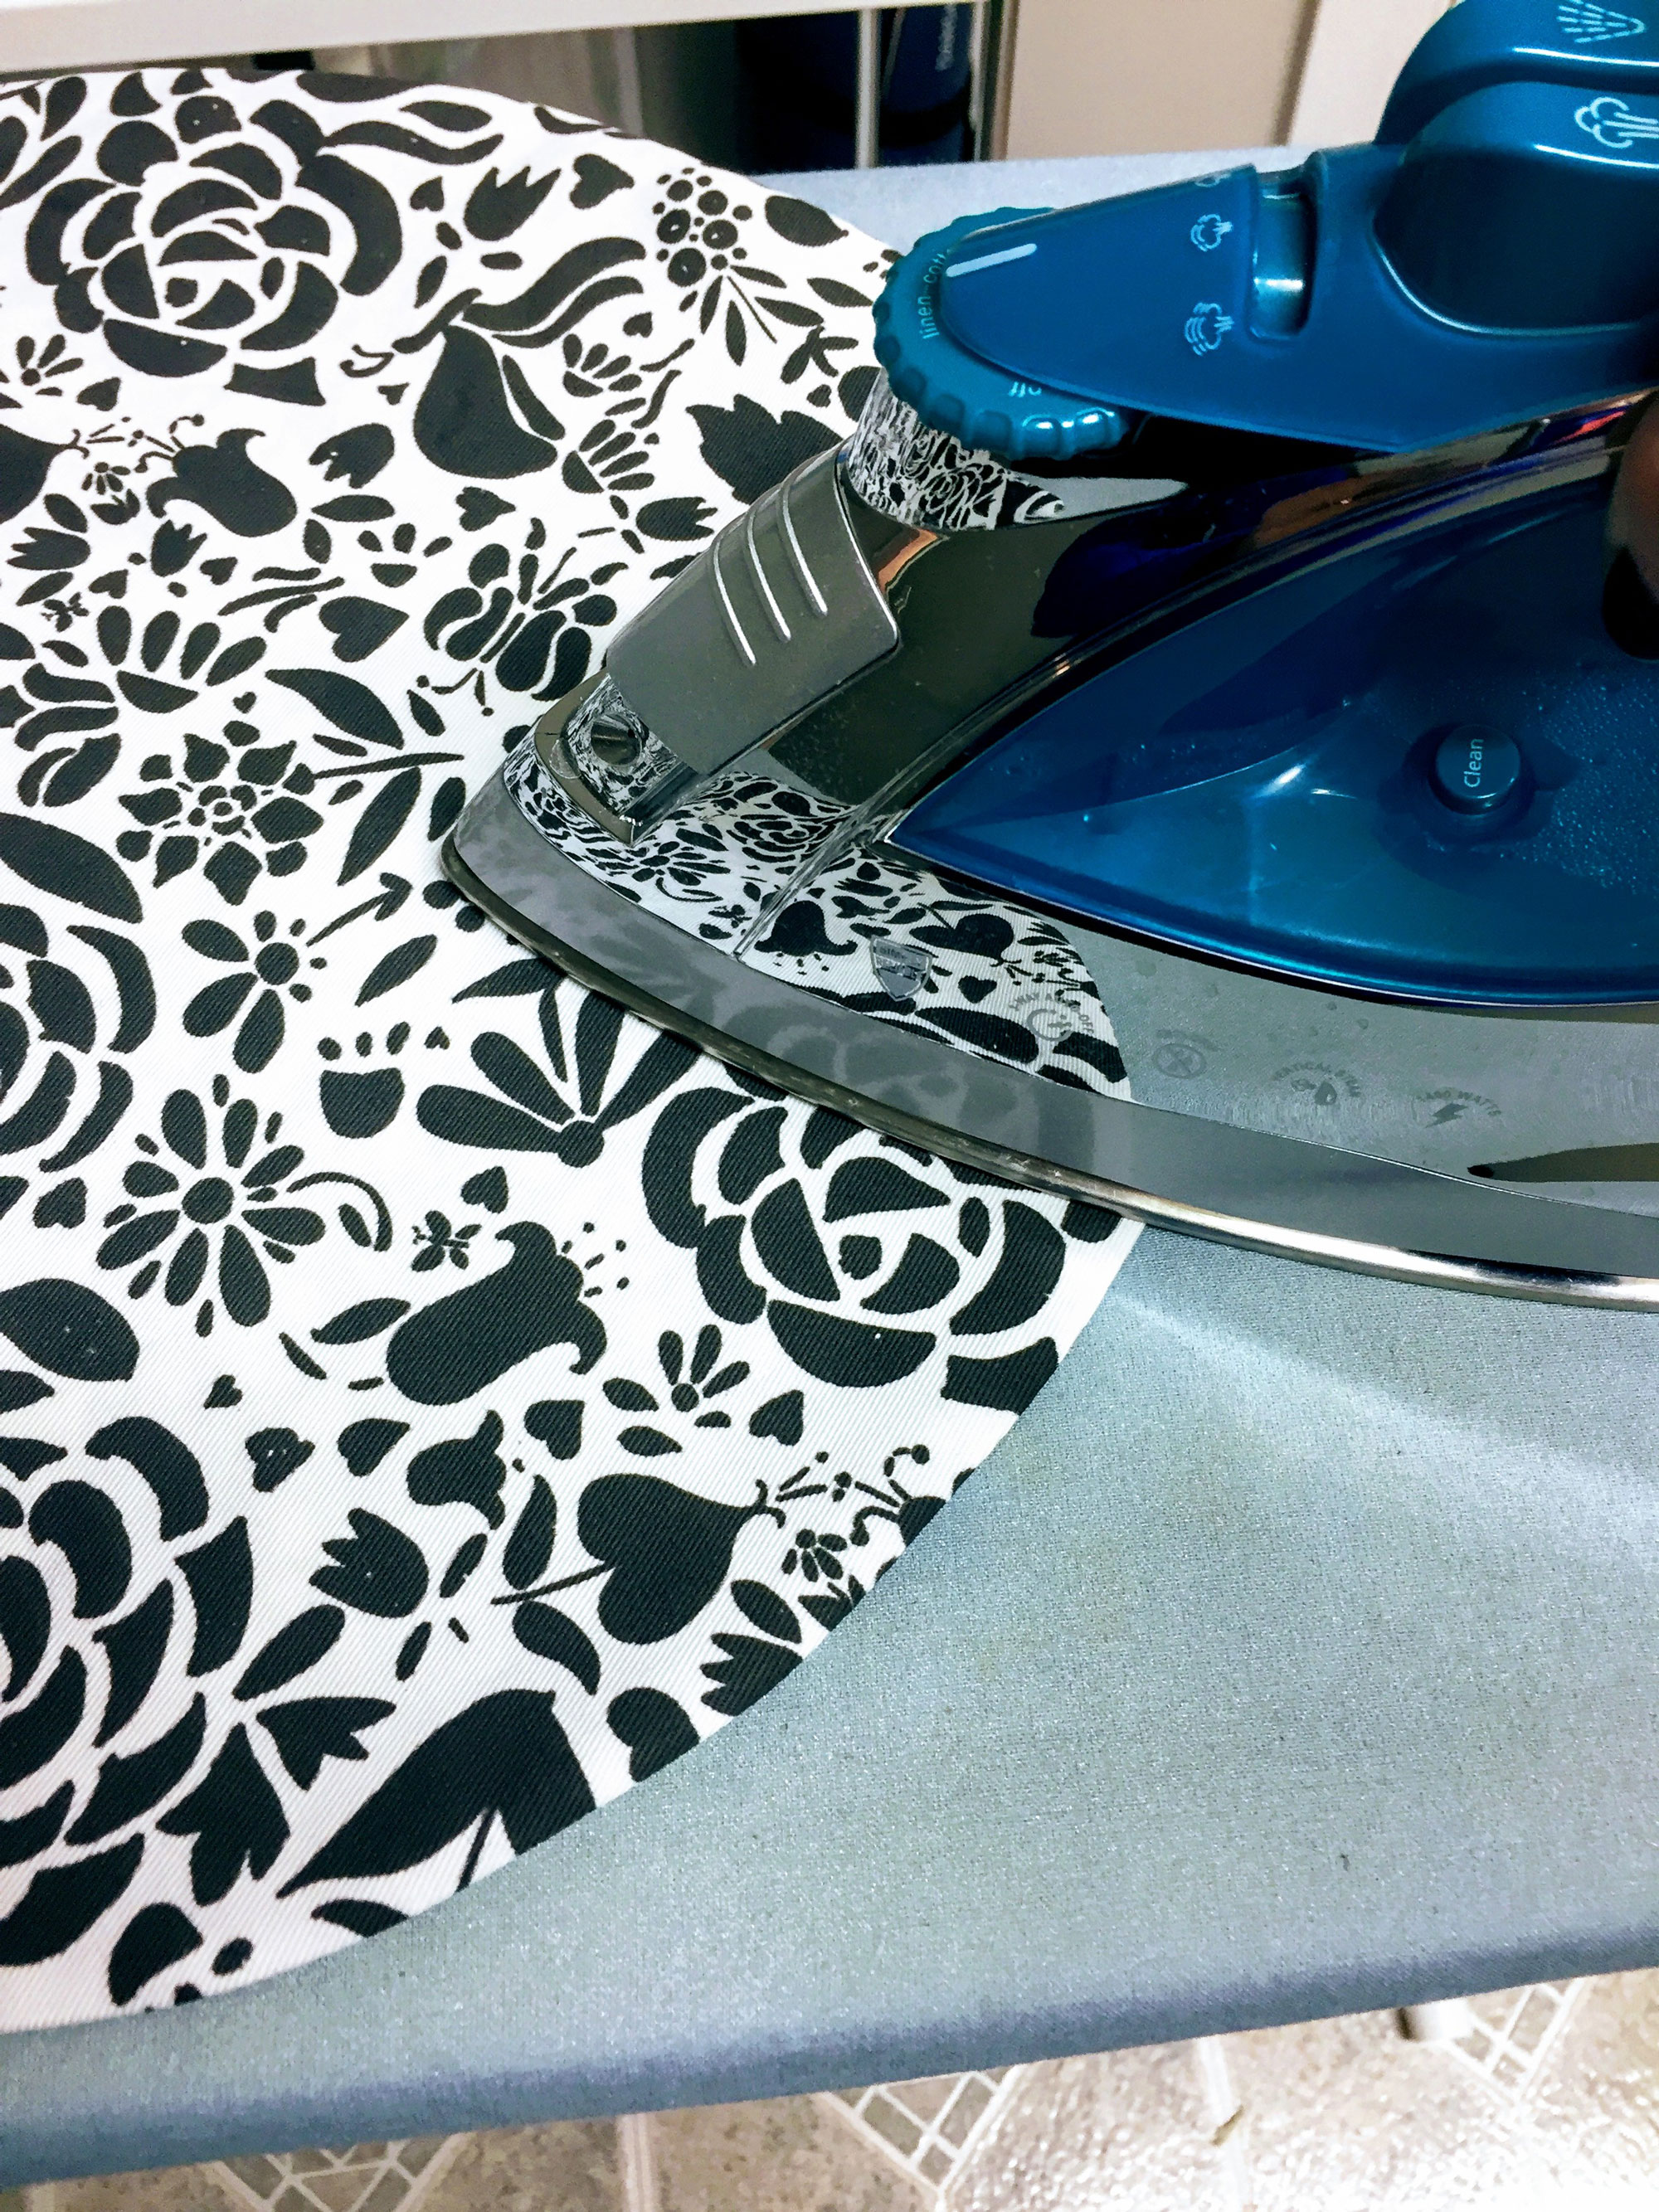
Step 1: Prepare and measure materials
Prewash your fabric with cold water, low-heat dry, and iron it. Gather the bowls you are making covers for and put them on the reverse side of one of your pieces of fabric. Take a look to see if the bowls have a lip or not. If they do, mark out a 3” seam allowance every few inches with your washable pencil or marker. If the bowls don’t have a lip, you can measure out as little as a 2.5” seam allowance or stick with 3″ for a longer cover. Use the bowl curve as a guide to connect the measurements or simply freehand a circle between your lines with your pencil or marker.
Step 2: Cut out fabric
Use your rotary cutter and mat to cut out your circle. Place that circle on your coordinating fabric to trace and cut out another circle the same size.

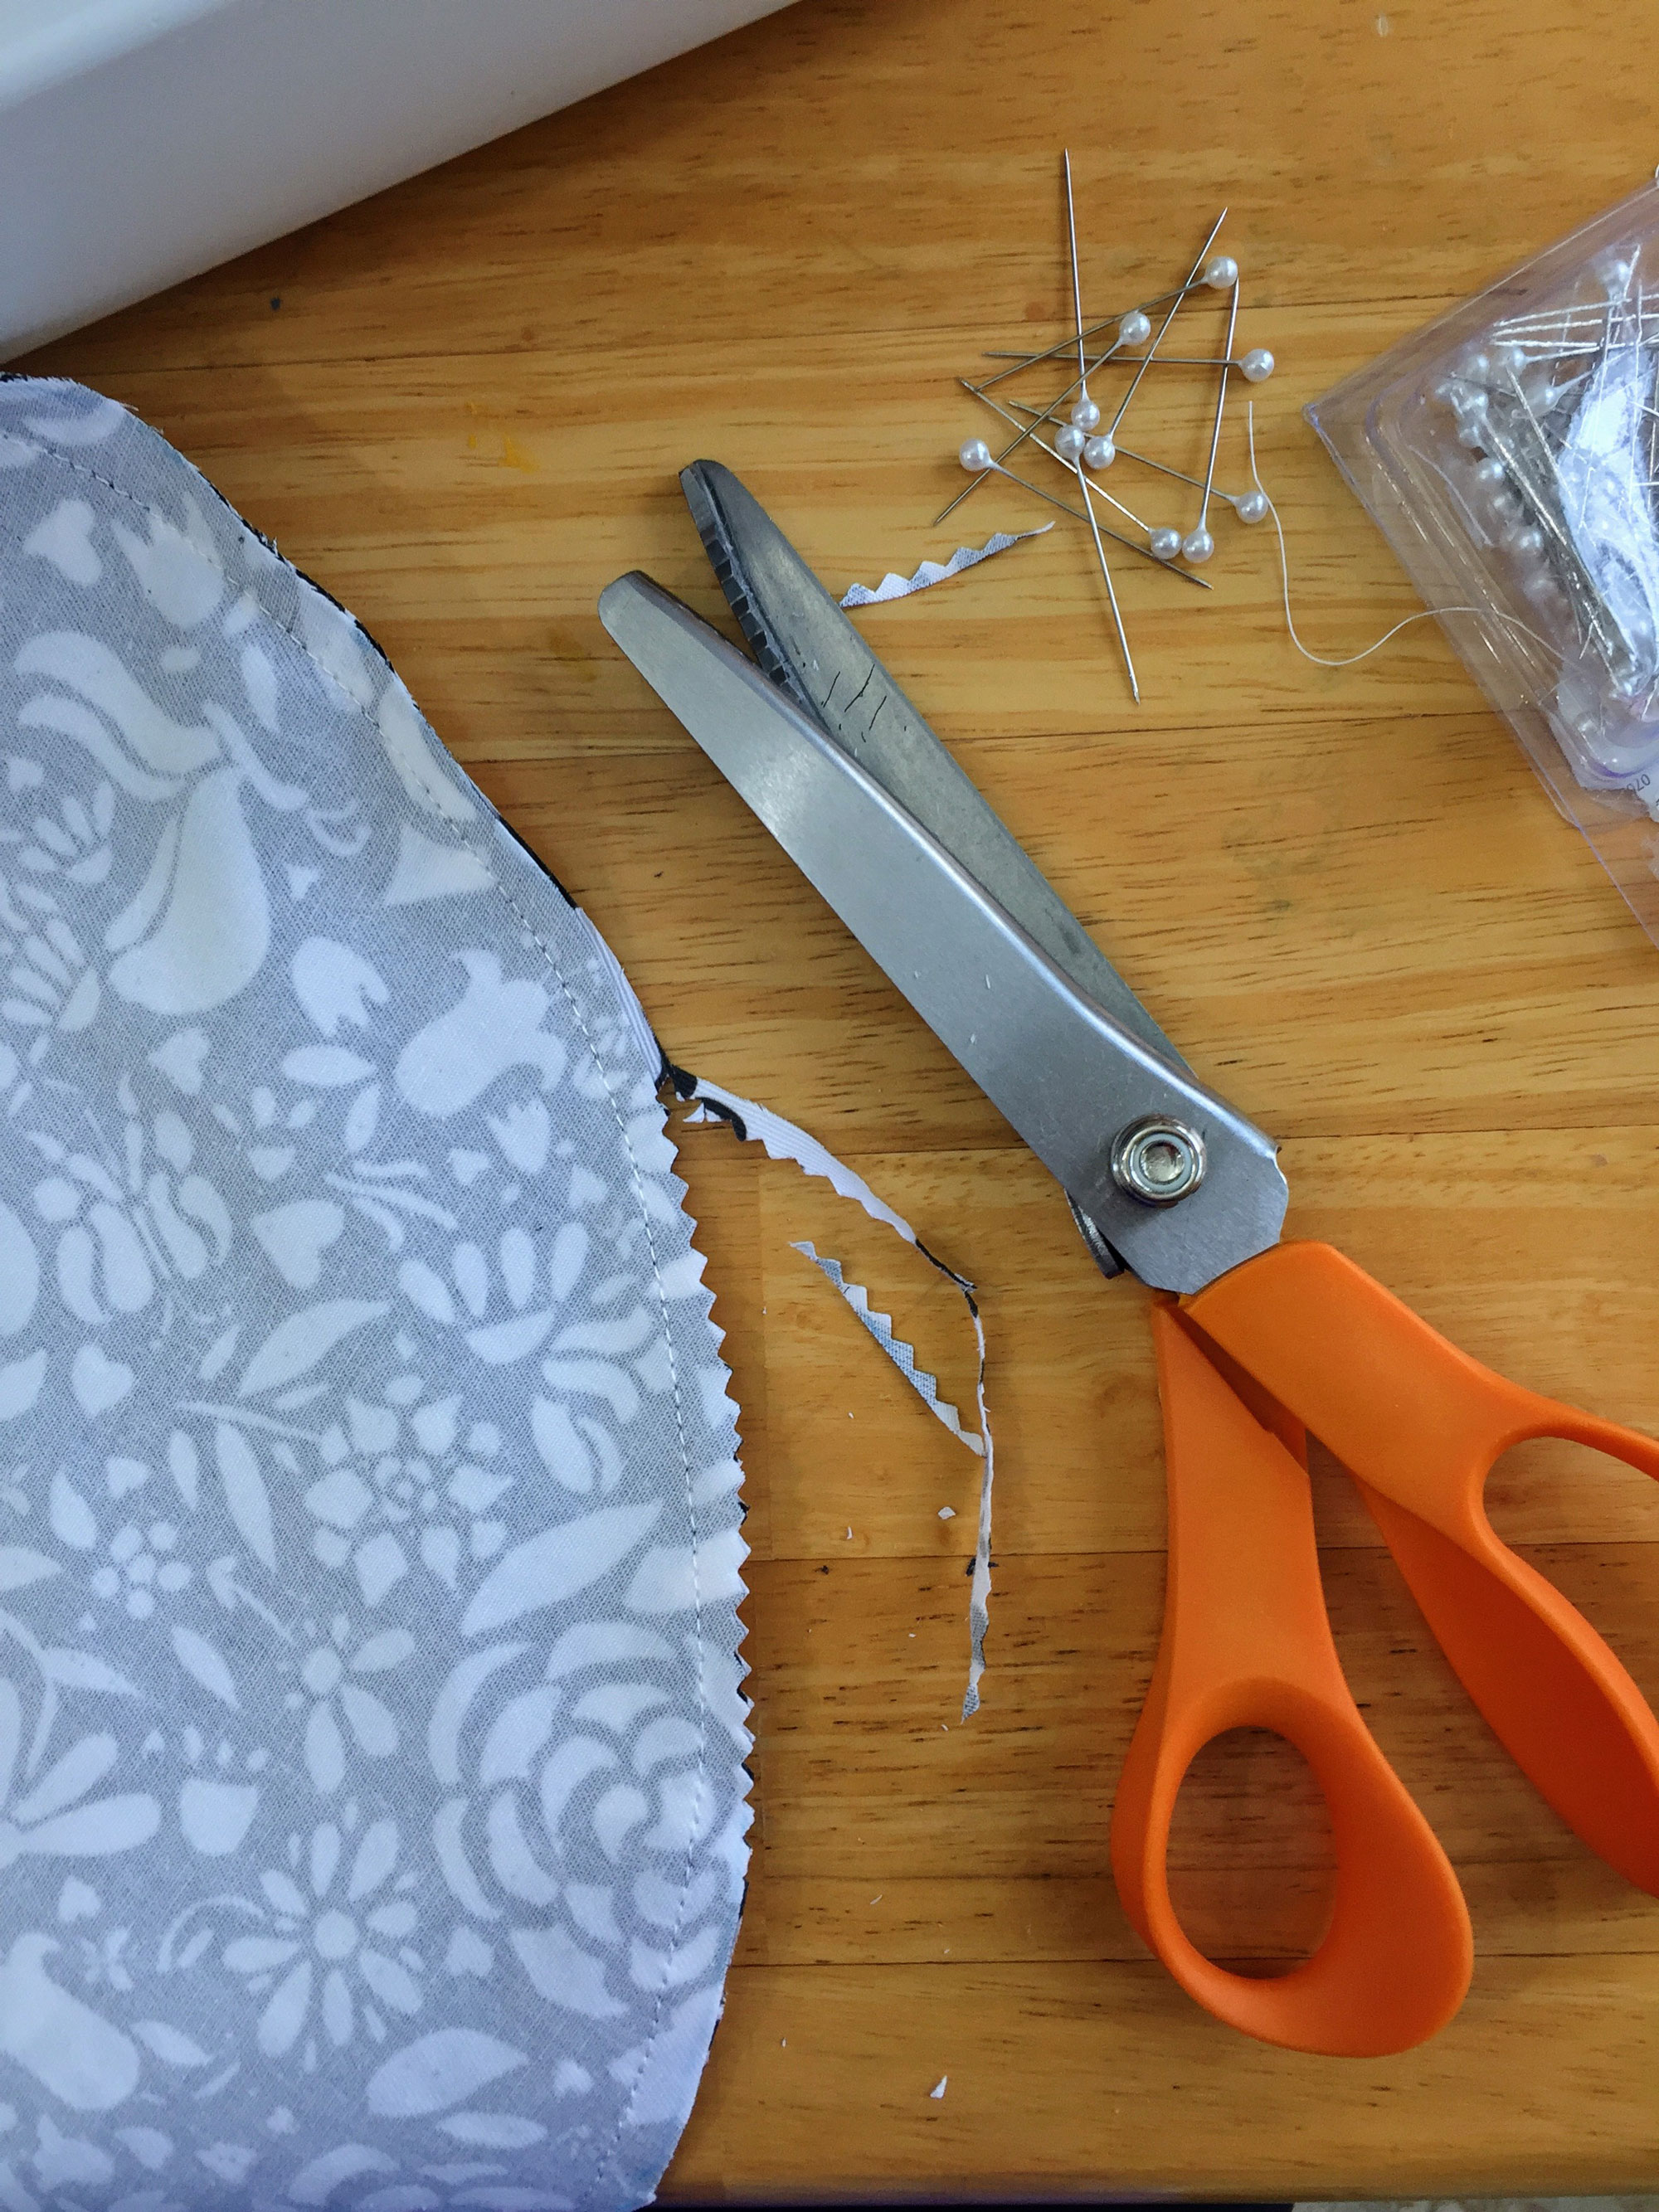
Step 3: Sew the outer seam
Place your fabric right sides together and pin around the edges. Sew around the edge of the circle using a 1/4” seam allowance, leaving a 2” opening. Use pinking shears to trim the excess fabric, reducing bulk and preventing fraying or, alternatively, serge around the circumference leaving the same 2″ opening.

Step 4: Press fabric
Pull the fabric through the 2″ opening so the right sides are facing out. Press the fabric, making sure to tuck and fold the opening under.
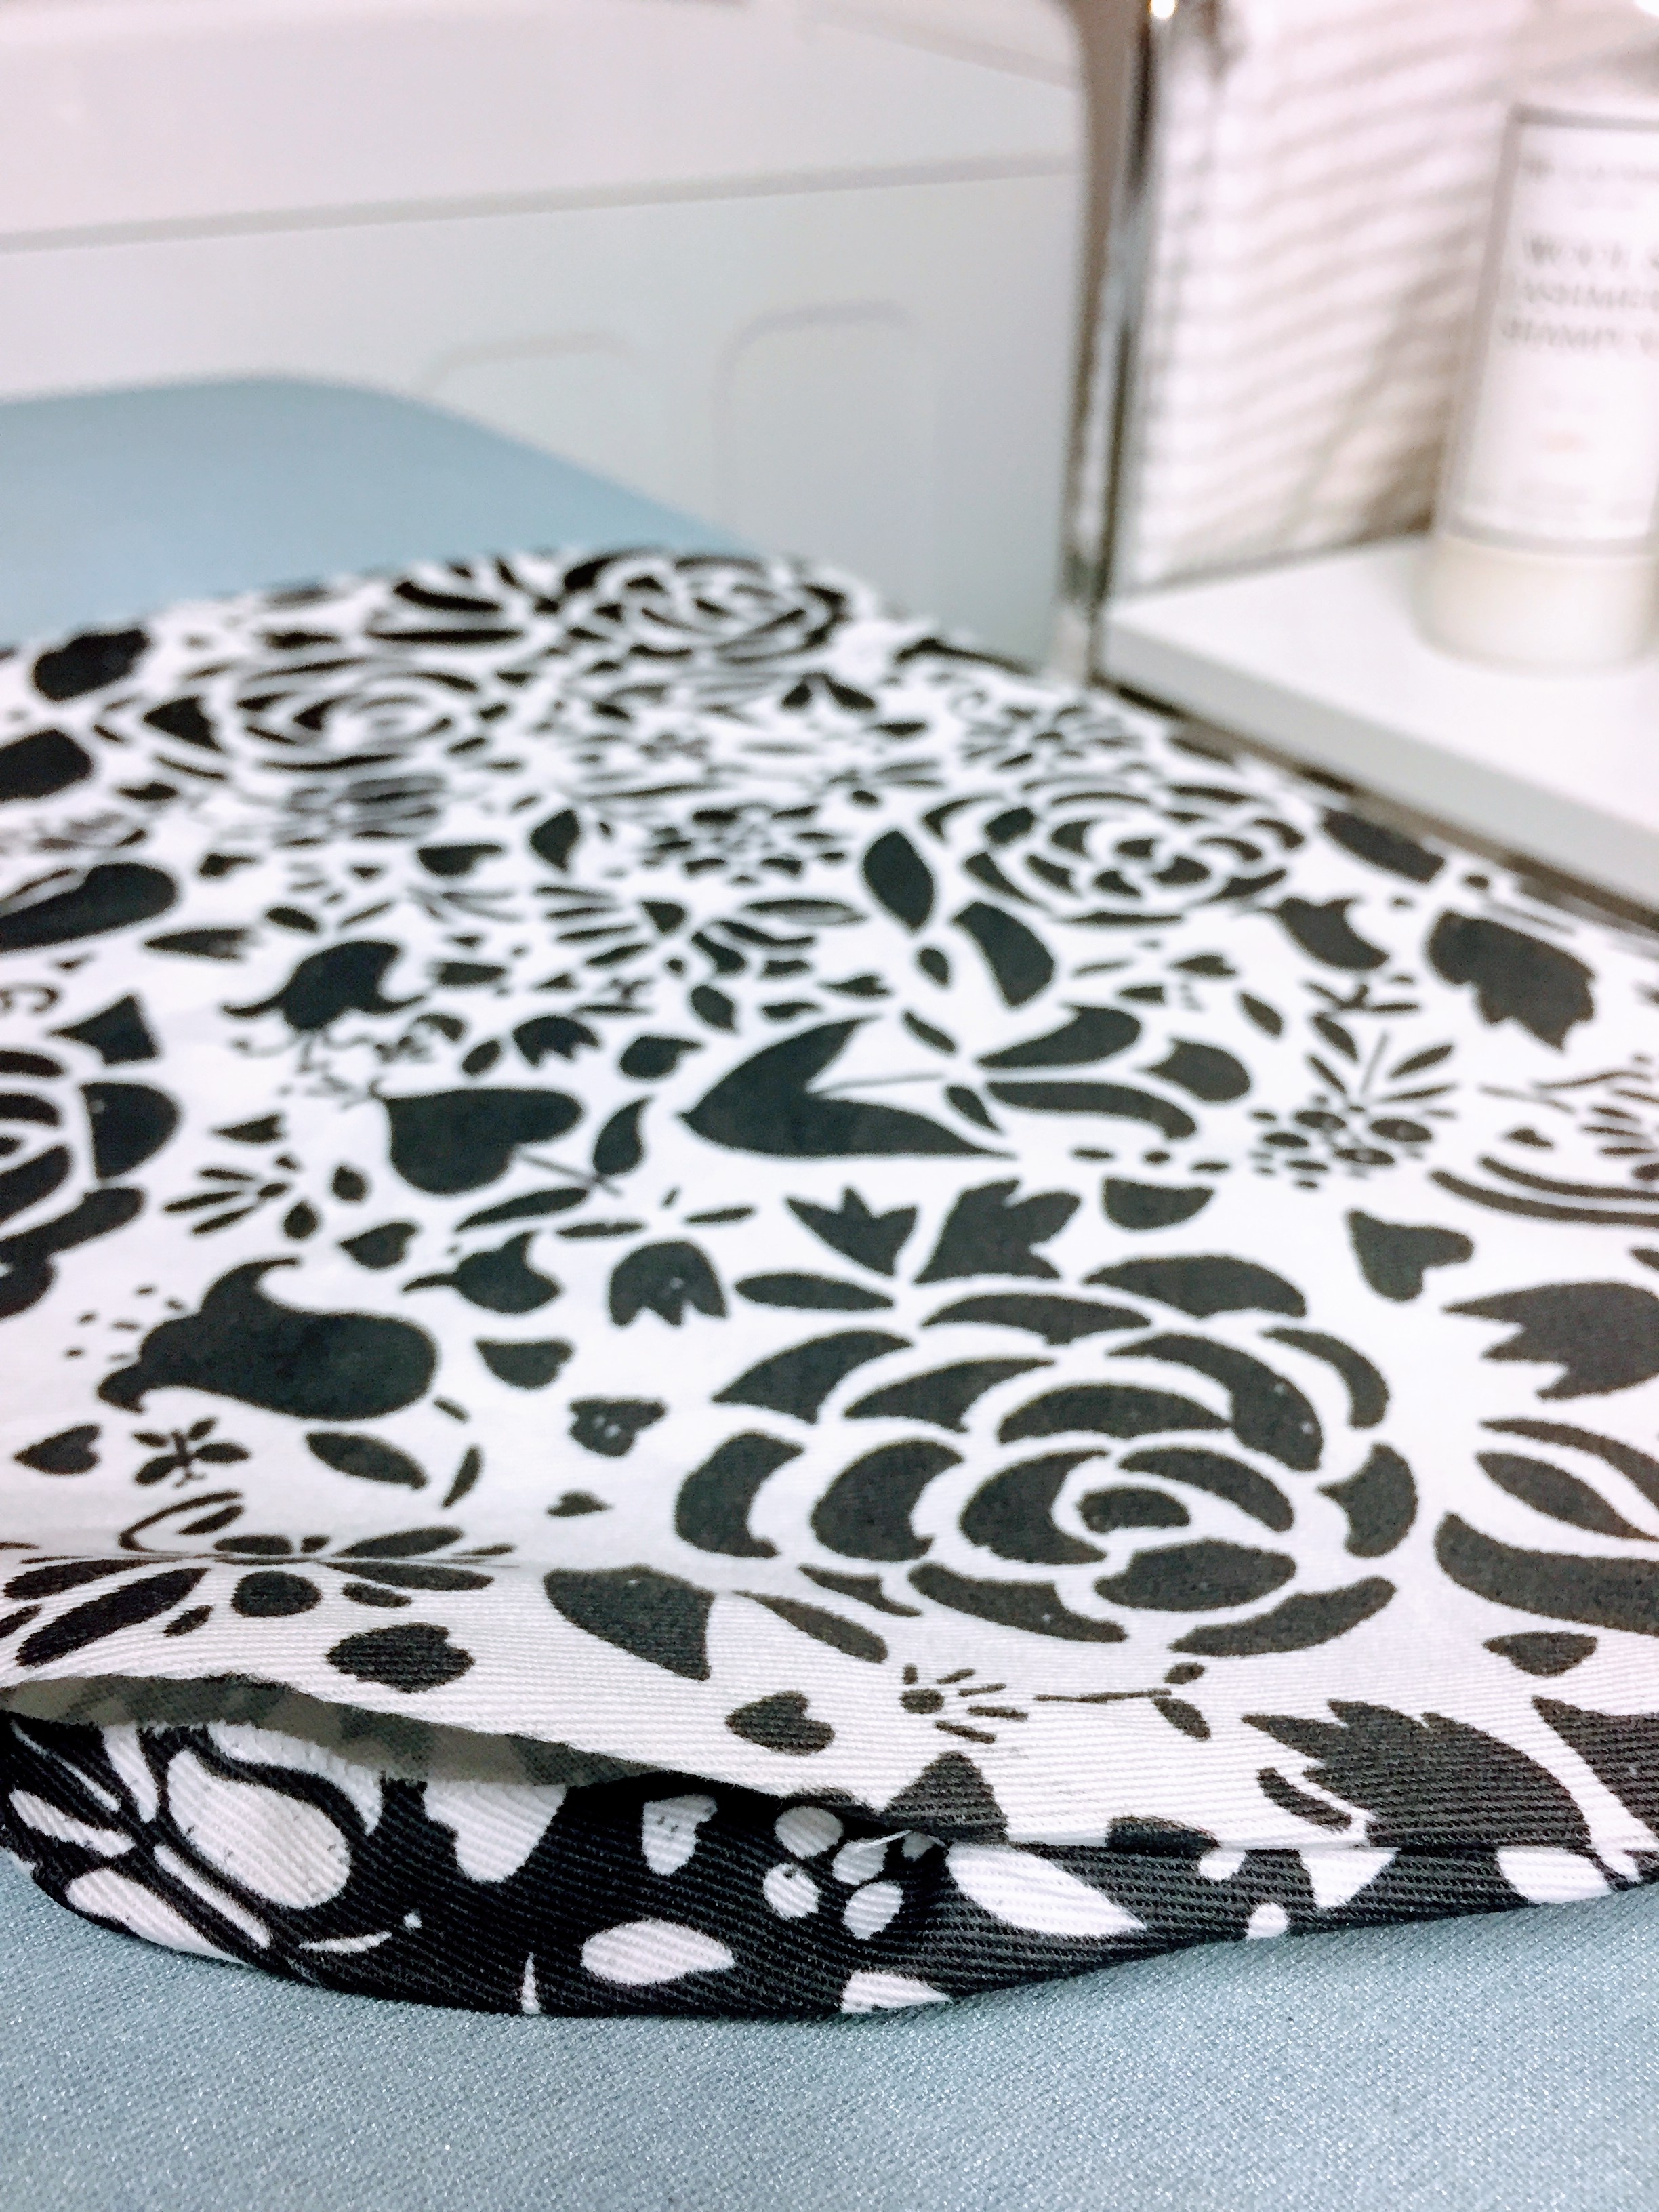
Step 5: Sew the inner seam
Topstitch the fabric with a 1/2” seam allowance all the way around the circumference of the circle using a backstitch at the end to secure the threads. Clip threads. You’ve now created the channel for the elastic.

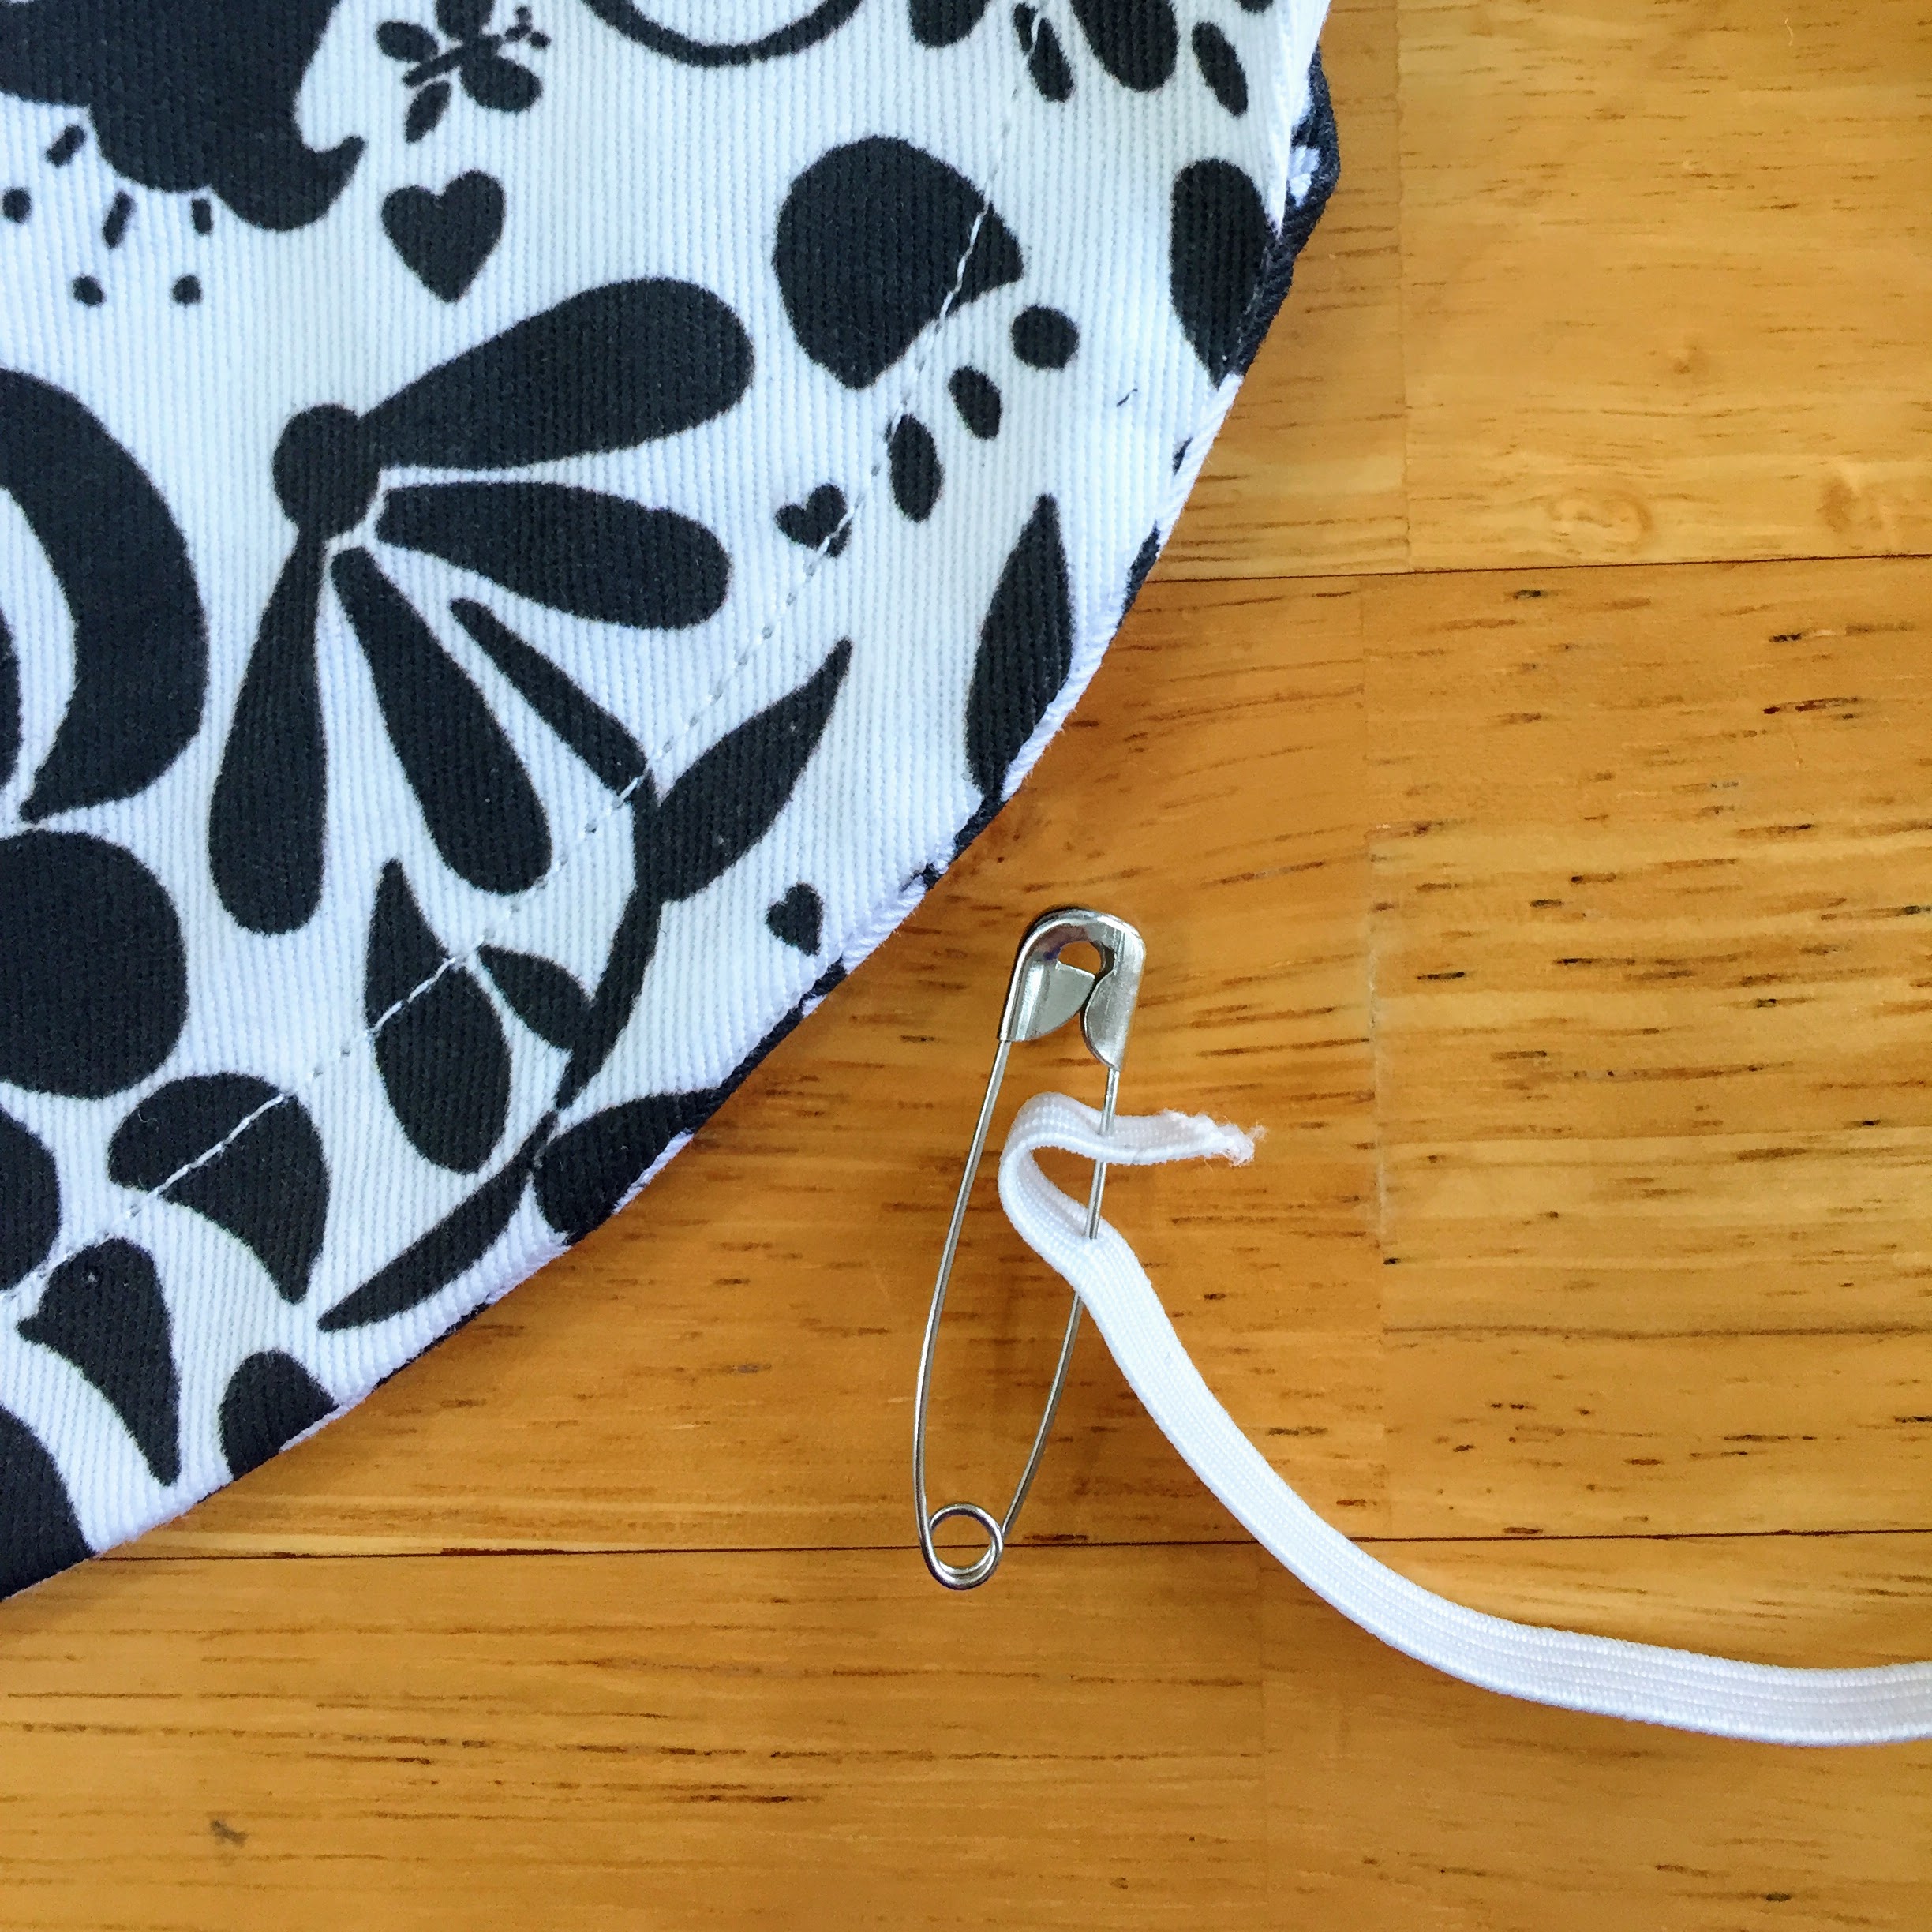
Step 6: Add elastic
Clip a safety pin to the end of your elastic. Do not cut your elastic just yet. Begin the mind-numbing process of feeding your elastic through the 2” opening into the channel. The fabric will start to bunch up like a shower cap, which is good. Once you’re through the channel to the other side, hold the safety pin end with your hand and spread out the bunching as evenly as you can.
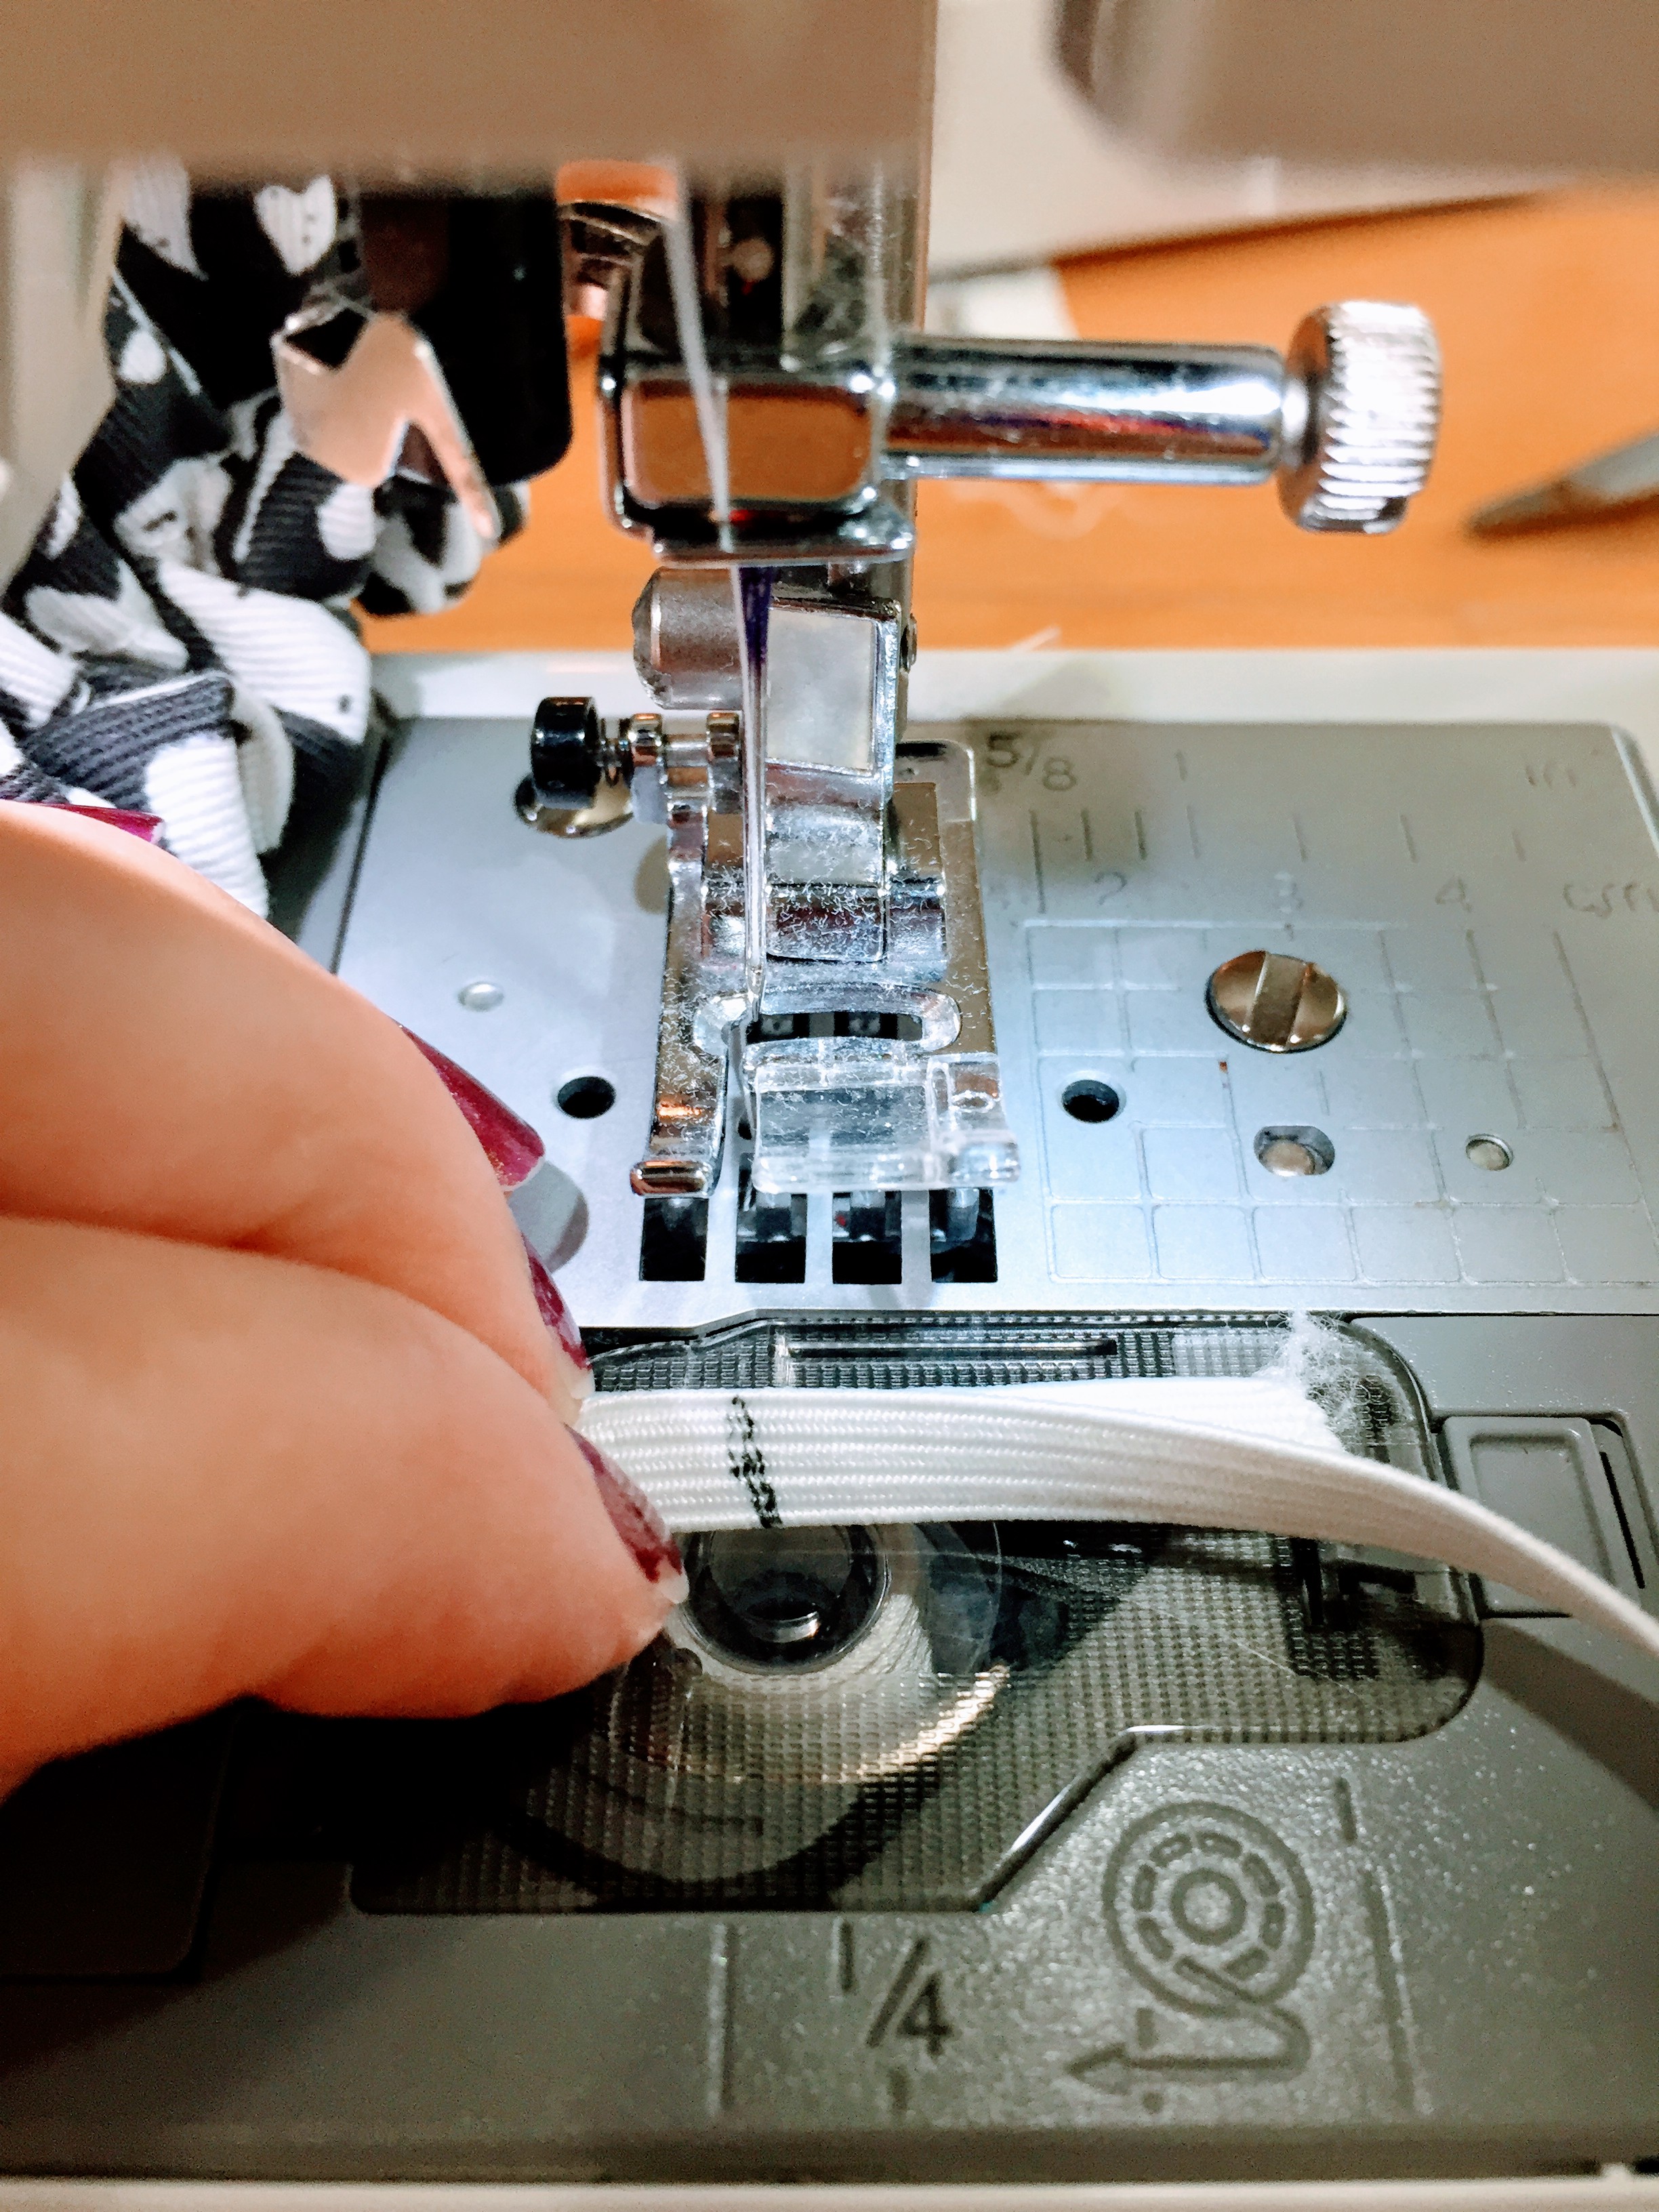
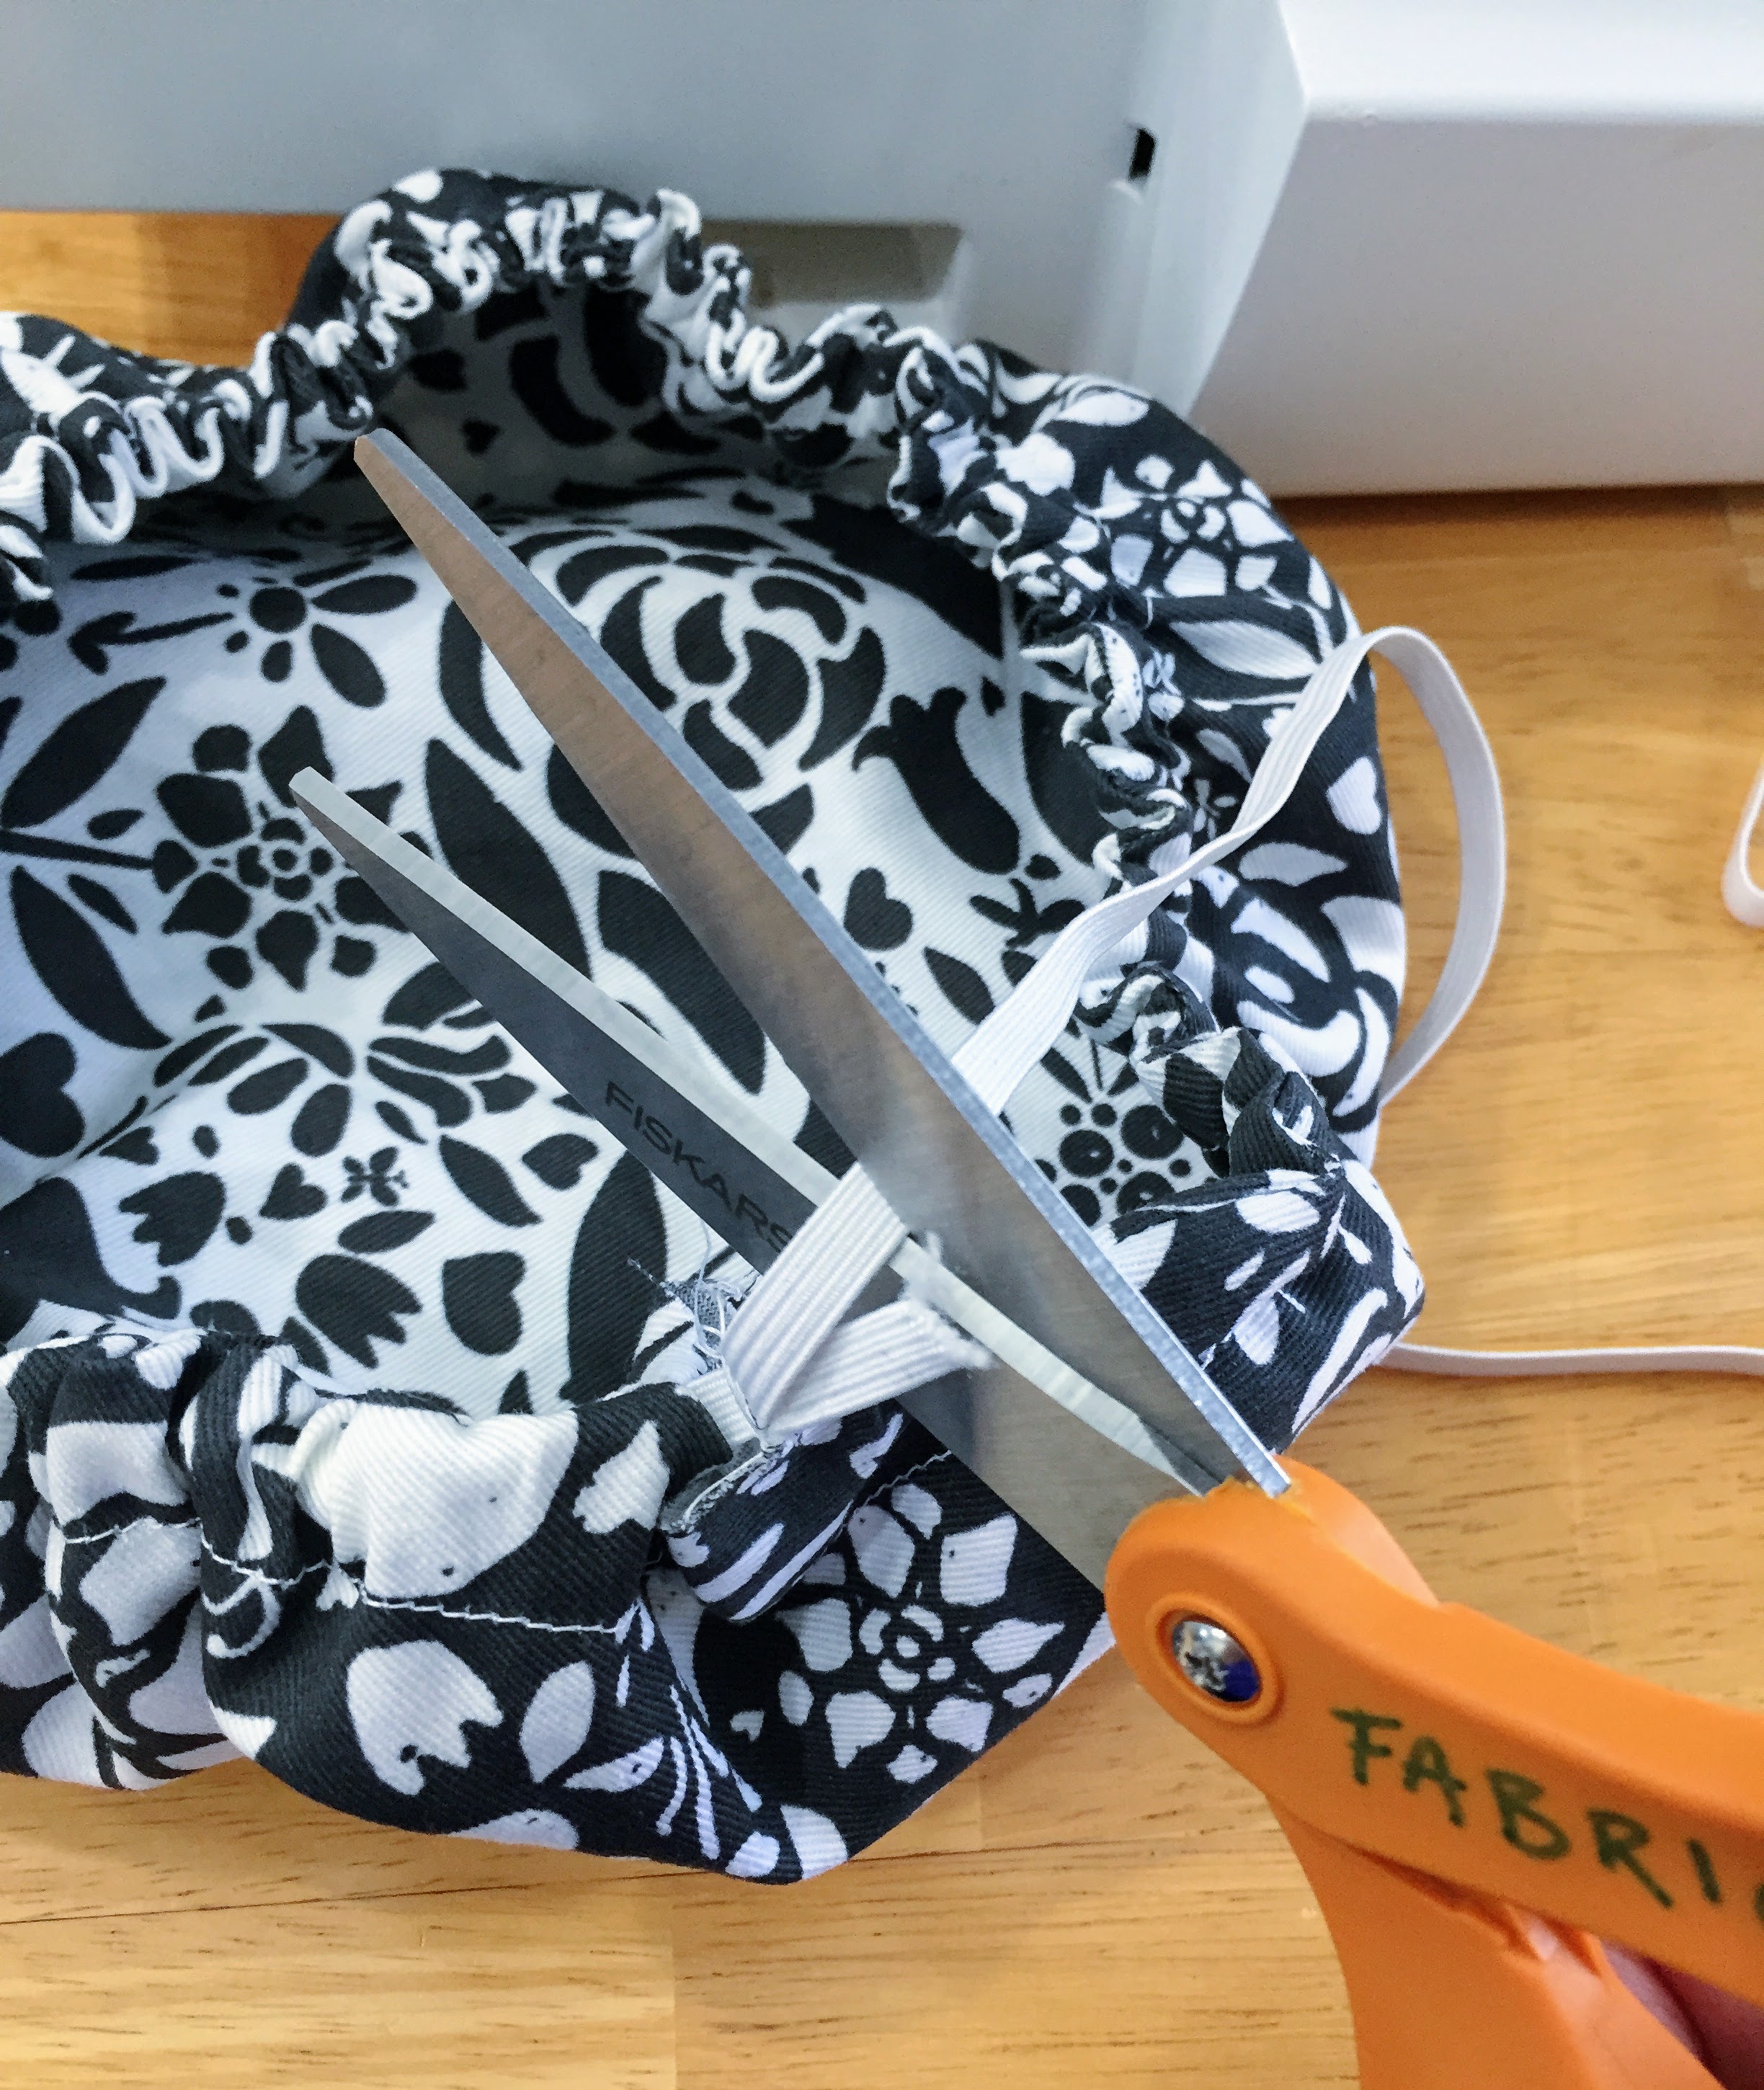
Step 7: Measure and sew elastic
Grab your bowl and place the cover over it. Tighten the elastic (always holding on to the safety pin) so it will be secure around the bowl. Mark your preferred length on the elastic with a pen or marker, remove the bowl cover, and then sew the elastic together. The elastic should still be inside the channel. Trim the extra elastic approx. 1/4” past your stitches.

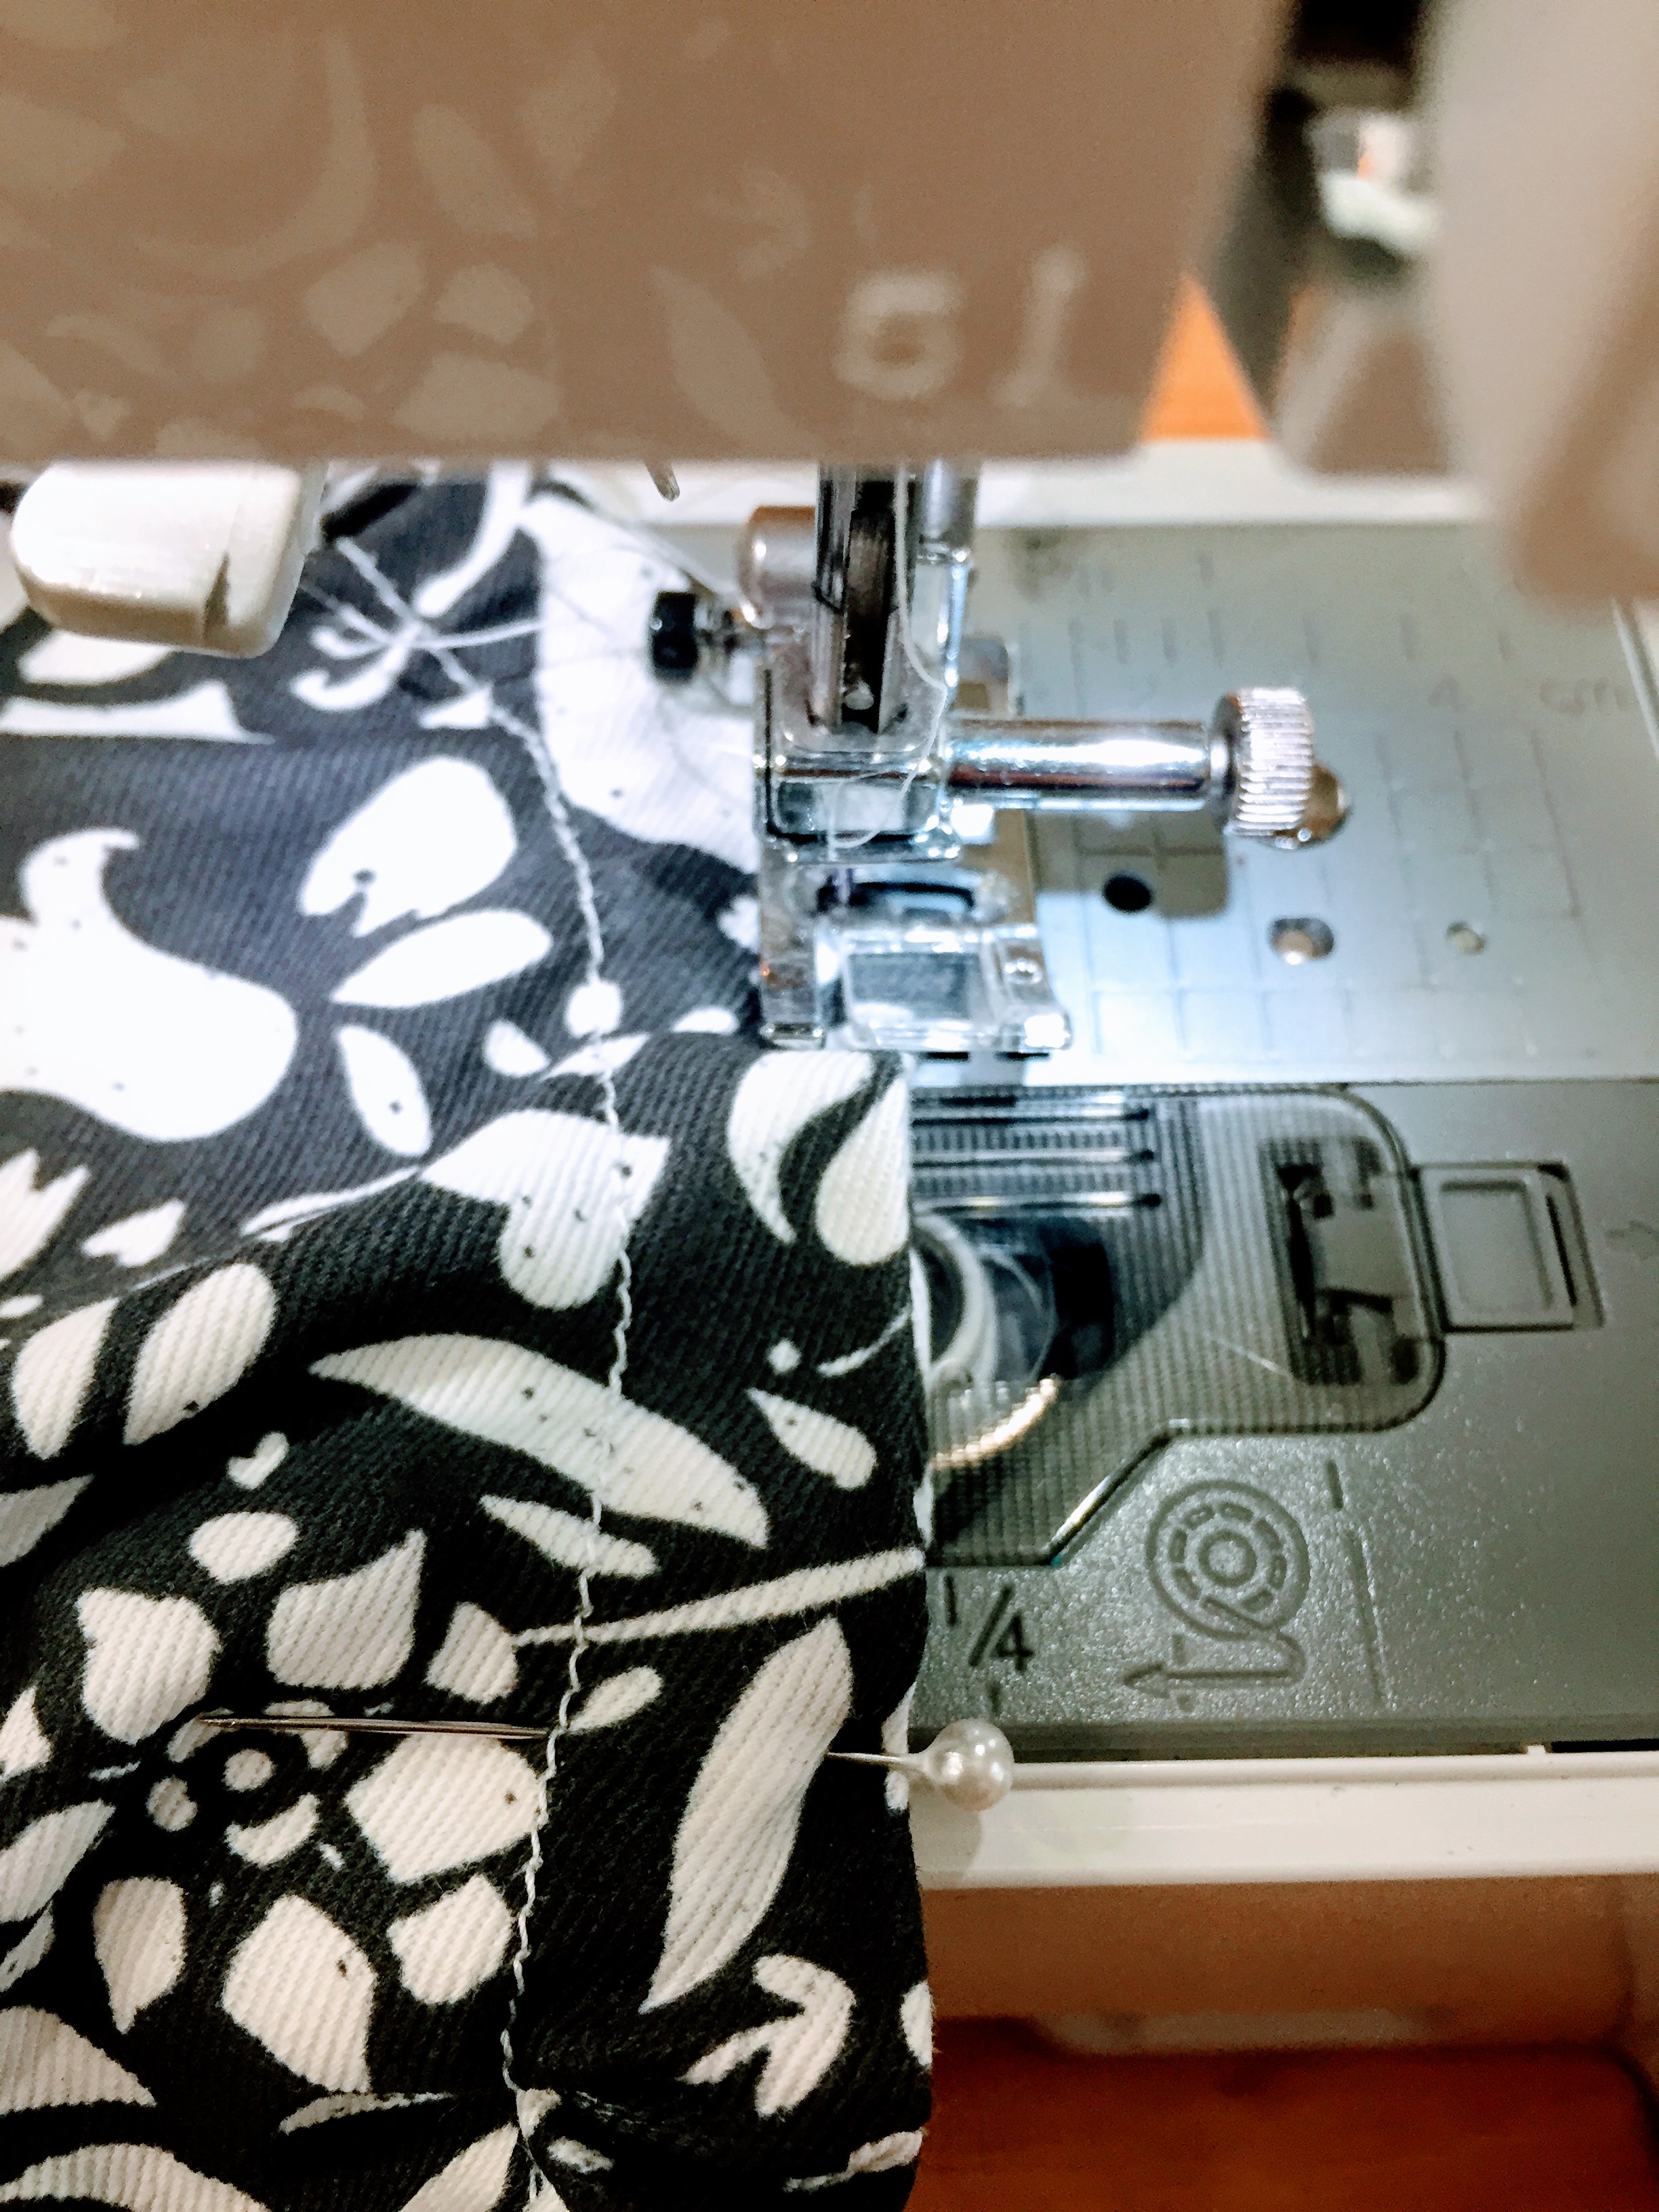
Step 8: Close opening
Tuck the elastic into the opening. Use one or two pins to hold the opening closed for added security. Stretch your fabric out gently and edgestitch with a seam allowance of 1/8” around where you left the 2” opening. Trim threads.
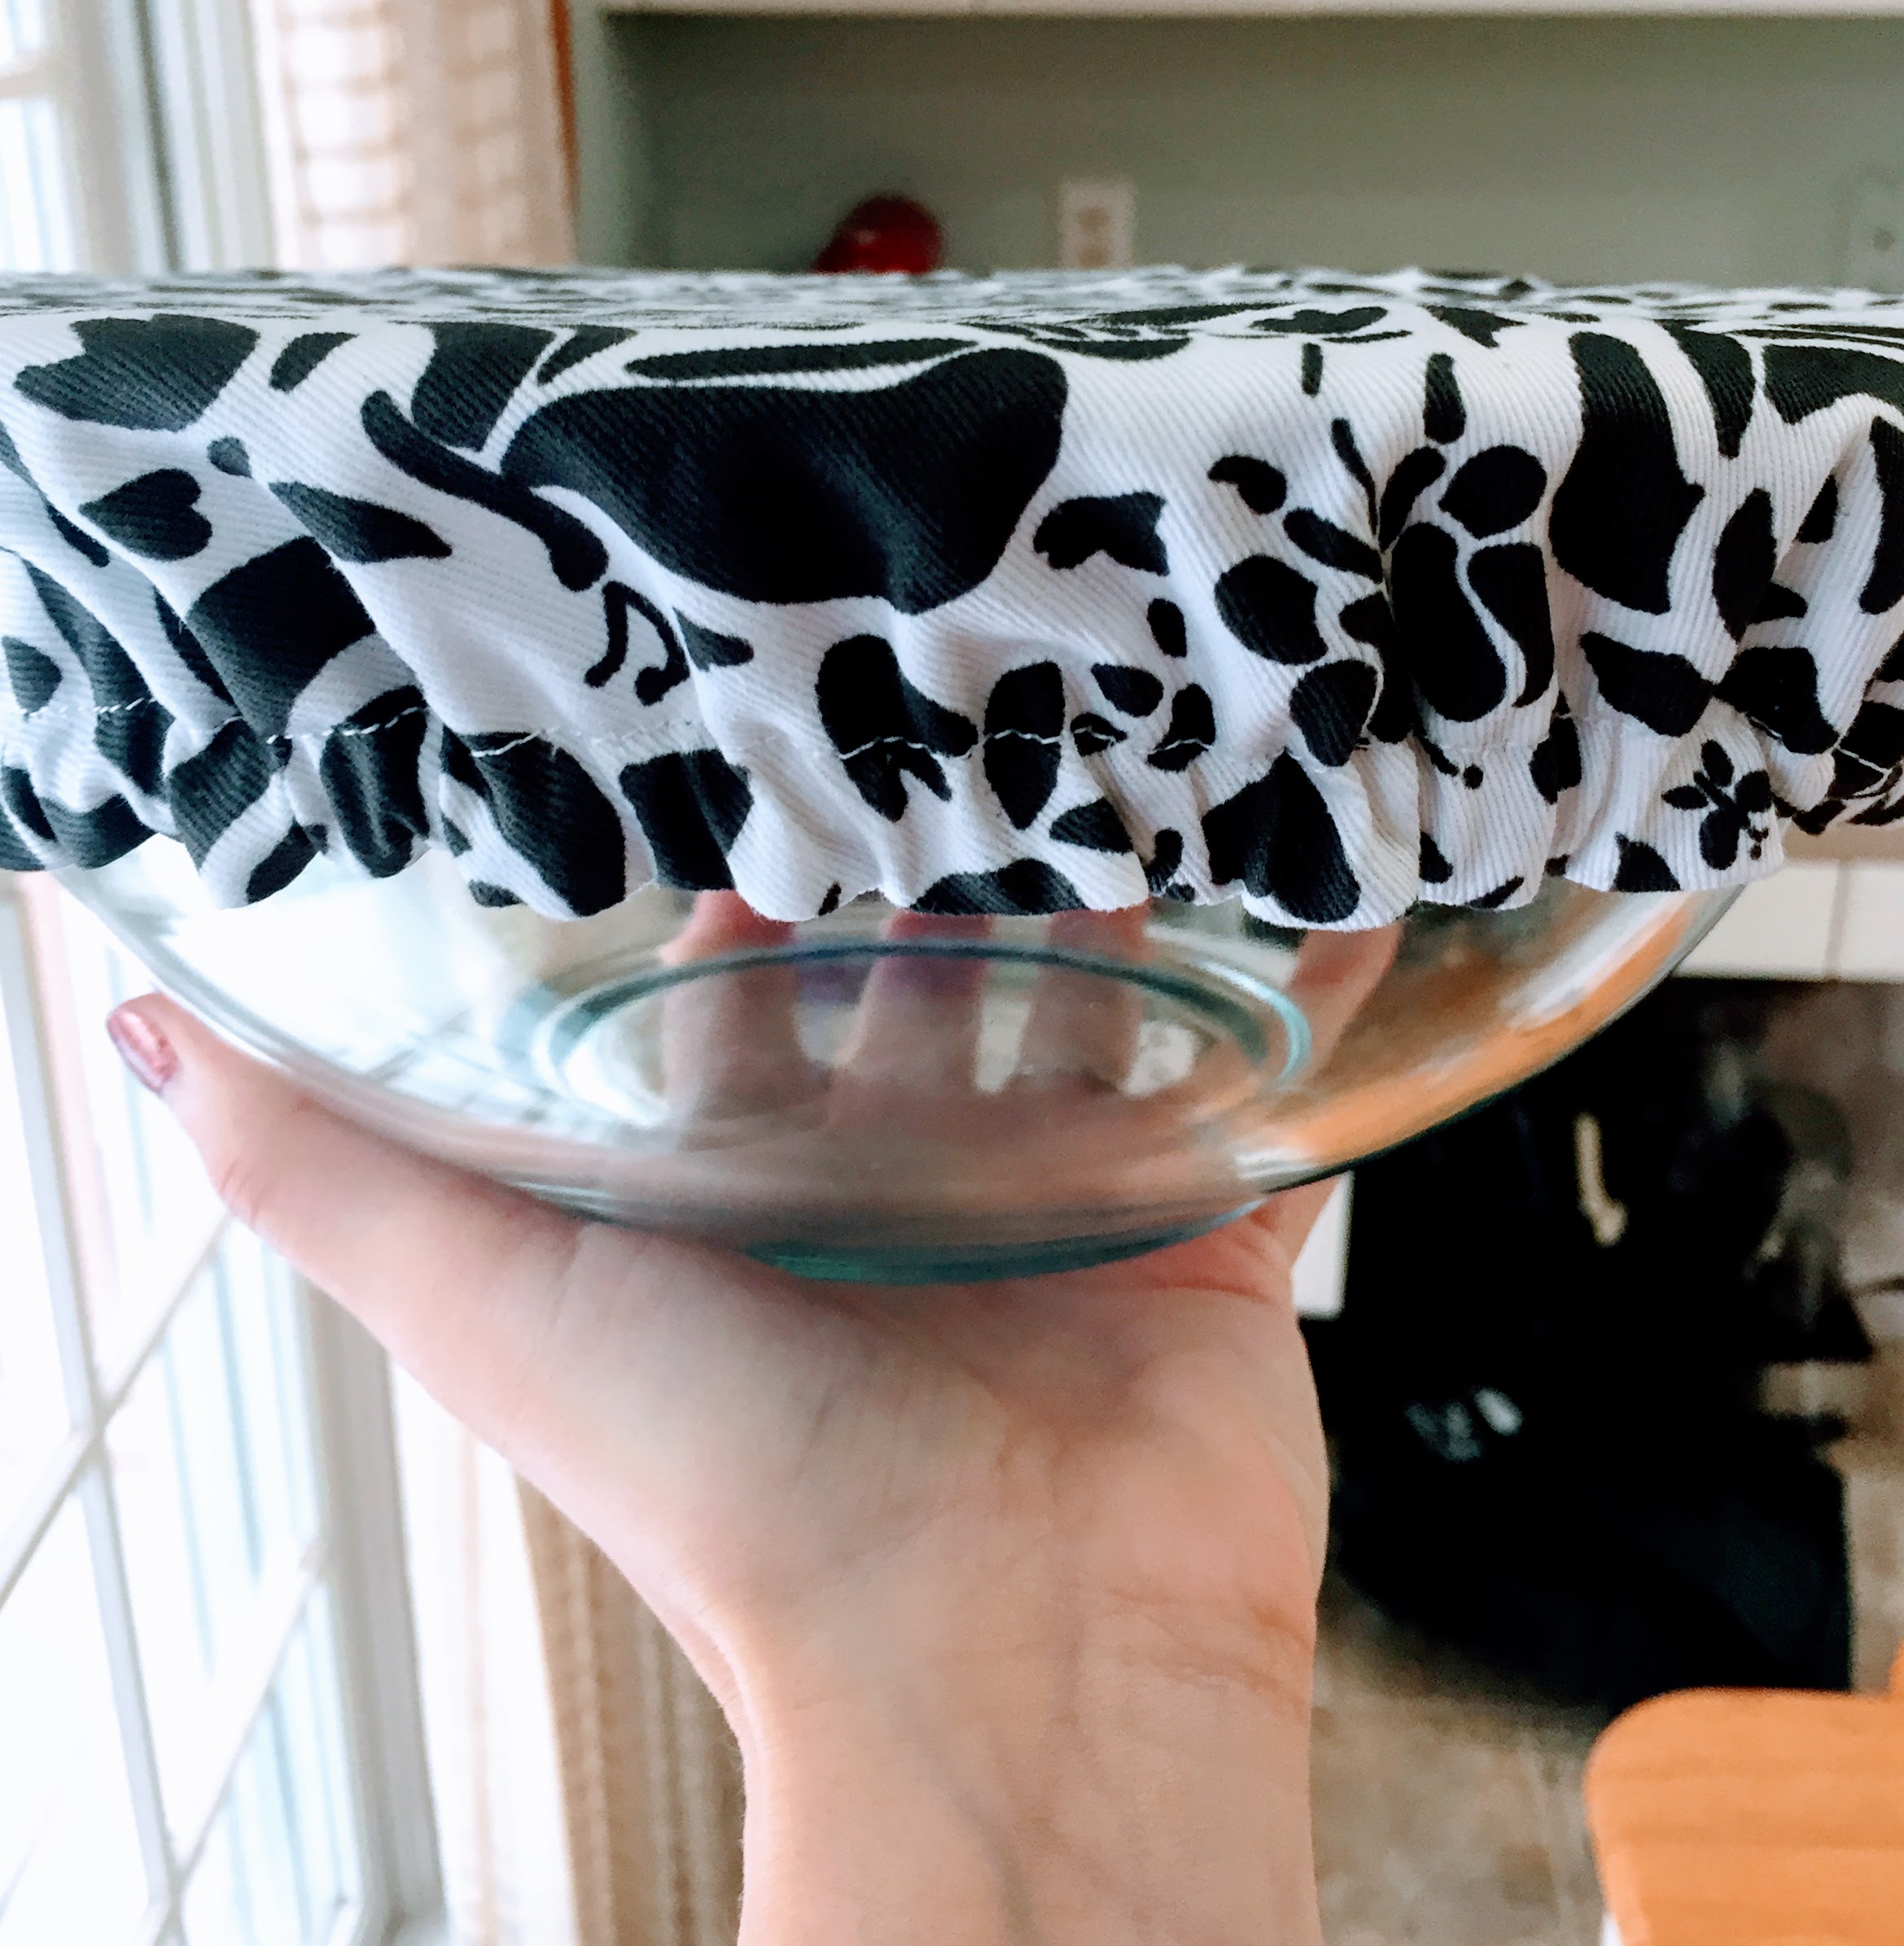
Now step back and admire your beautiful bowl cover!
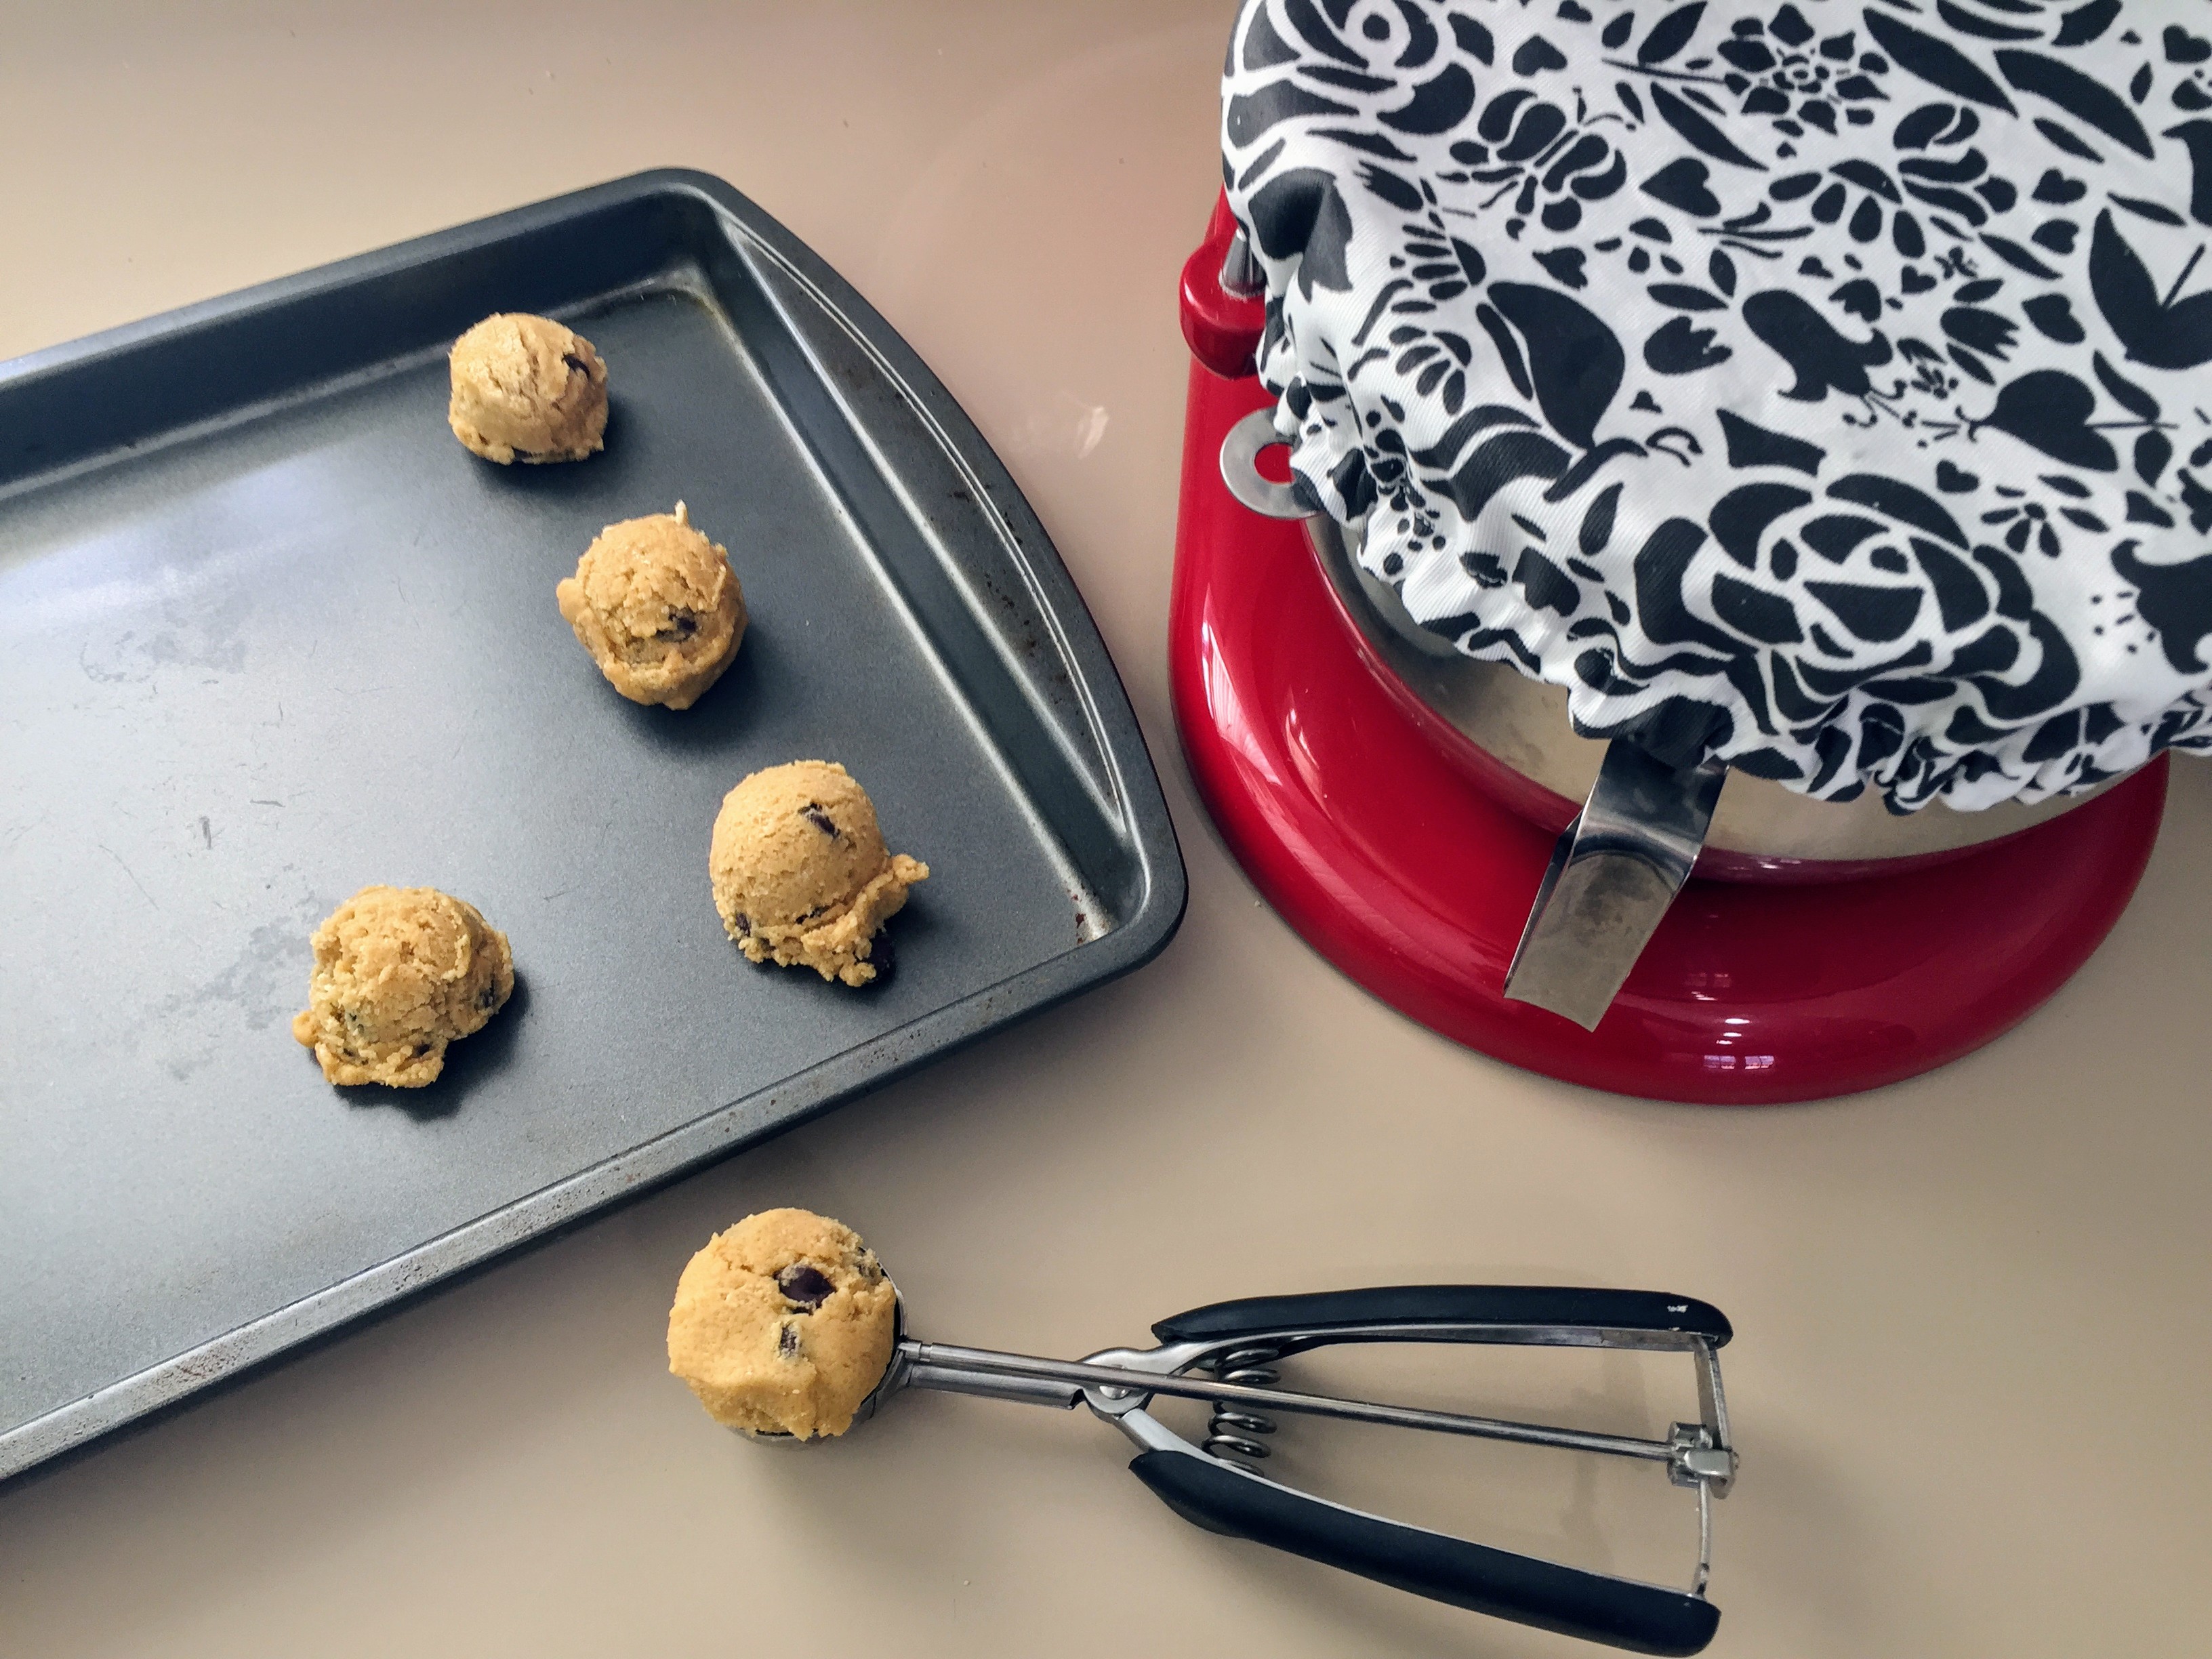
I made three of these in about two hours, but advanced sewists could churn them out even faster. I can’t wait to give a set of these as a bridal shower gift or make some seasonal ones to take for covered food for summer picnics or cook-outs.

Oh and if you’re looking to make some delicious chocolate chip cookies, I highly recommend this recipe. I use Trader Joe’s semi-sweet chocolate chips in place of the fancy disks, but the flaky sea salt is a must.

Share your finished projects on social with #Spoonflower; I can’t wait to see what you create!
Suz


Do you sew your elastic on the material or do you slip it through as if you were making hair schrunchies? Just wondering for clarification.
Hi Angela,
I slipped the elastic through like a hair scrunchie. I haven’t had any trouble with it twisting so far! Thanks for the question, and hope it works out for you.
Suz from Spoonflower
I accidentally ordered organic cotton interlock. Can I use this for the inside liner ofvthe bowl covers?
Hi Janet,
We haven’t given that a try, as wovens and knits don’t always mix well, but that’s not to say it can’t be done. One tip is to try not to stretch the knit fabric while sewing or there may be puckering in the seam. In addition, the elastic might make the seam less noticeable if it does waver. Let us know if it works out for you!
Best,
Suz from Spoonflower
I seem to have stockpiled on flannel. Is flannel okay to use?
Hi Kascia,
I don’t see why not! Like the woven cotton I used, it would probably be best to use those bowl covers for decorative coverage and/or on foods that won’t dry out (dough, pie, chips, etc!)
Best,
Suz from Spoonflower
I really like this stuff an going to make it today! Thank you
How did you know I was looking through my stash to do just this? Great tutorial!
I was also thinking about adding beeswax to the fabric, your thoughts?
Thank you
Hi Sherry,
That’s a great idea! If you haven’t tried it out, you can see our tutorial on beeswax wraps here. I hope that helps, but if you have any more questions don’t hesitate to ask!
how to share finished project w fabric from Spoonflower please?
Hi Melissa,
You can tag your project on Instagram with #Spoonflower! We’d love to see your finished bowl covers.
Best,
Suz from Spoonflower
So could you treat these with pure beeswax, organic jojoba oil and natural tree resin; so the could be used to store food like food wraps?
Hi L.J.,
You could certainly treat these with beeswax to create food wraps. We have a complete tutorial on how to do so here!
I would love to make some of these covers, thank you for posting the instructions! Is there a way to get a print version?
Nice project!! Thankyou for sharing! I’ll b making some of this covers for potluck at church!!
Thanks for sharing 🙂 Looking forward to making these.