


What happens when you combine Spoonflower’s Cotton Spandex Jersey, the brilliant mind of SammyK, and the winter cold and flu season? An adorable tissue-cozy swatch project, that’s what! Spoonflower friend and designer Samarra Khaja (SammyK) stops by the blog to bring you a swatch project that’s adorable, practical, and you can finish it up in just a few quick seams. Enjoy!
Samarra: Okay, before we go an inch further, make sure you have switched out your regular sewing machine needle for a ballpoint needle that’s specifically for jersey/knits. Yes, this matters. A lot. If you don’t, your sewing machine is very likely to gleefully chomp up and mangle your beautiful jersey swatch like it’s nobody’s business, rendering you a frustrated, frenetic mess and we don’t want that madness. No, no, no, not on my watch.
With that sorted, let’s get right to it:
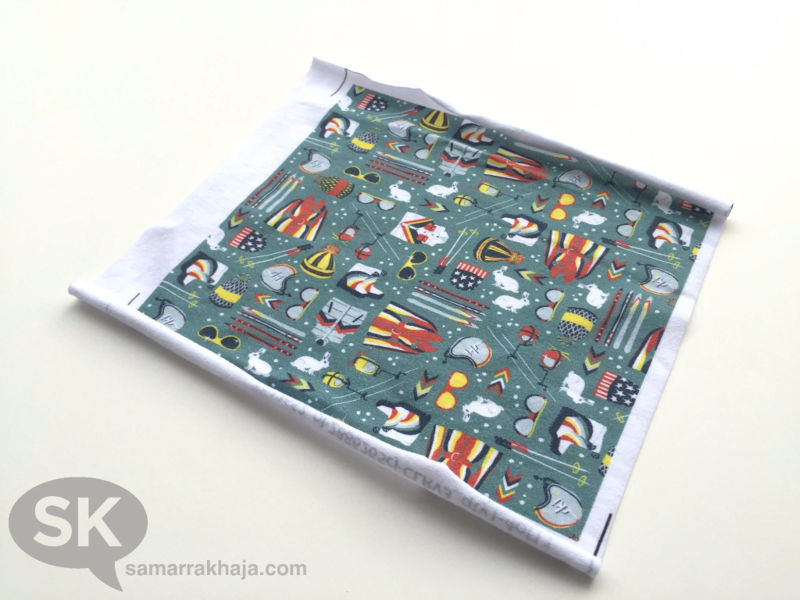
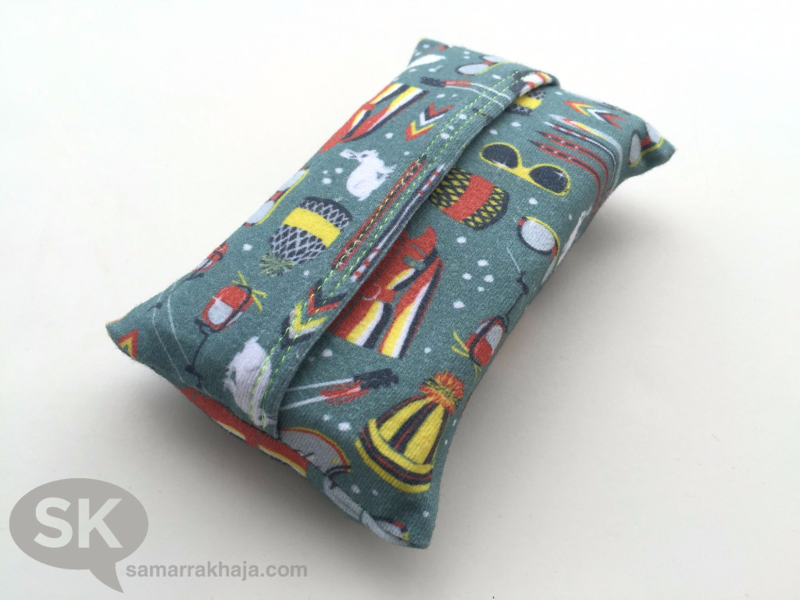
1. First, admire the glorious swatch you’ve just received. Go on. Stretch it, pet it, you know you want to. I chose my 1970s Retro Ski print for my Cotton Spandex Jersey swatch since I get more colds in the winter and figured it was a fun substitute to look at when you’re too ill to get jazzy on any real bunny slopes. Next up: thread. It’s the one thing between you and personal travel tissue glory, so pick happily. I chose a fabulous zippy neon yellow for mine because contrast stitching is, hello, downright fun!
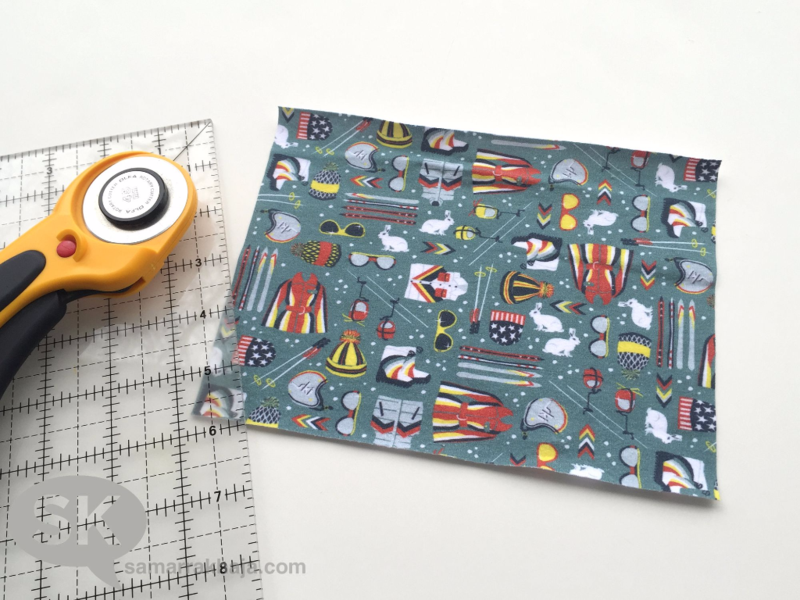
2. Trim your handy dandy swatch down to a rectangle measuring 6”h x 8”w.
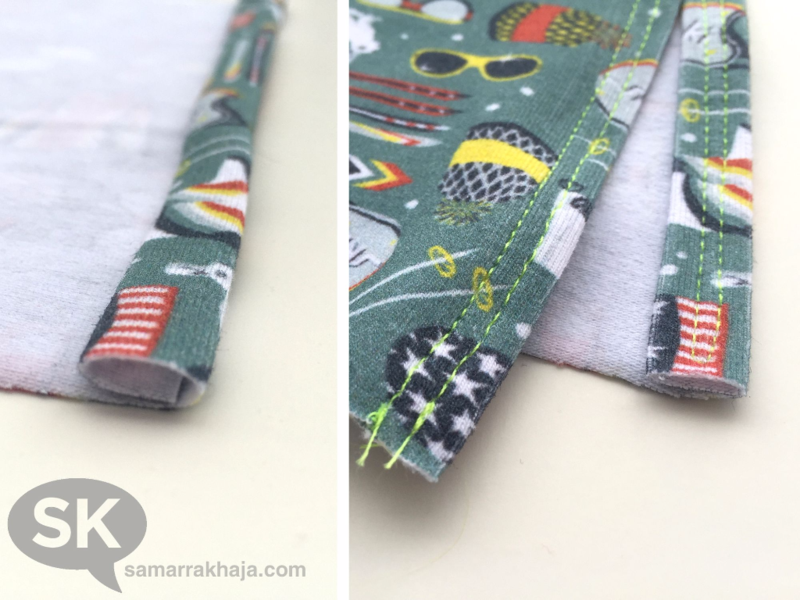
3. With the wrong side of the fabric facing up, fold each of the 6” edges in 1/4” once, and then a second time, to fully contain the raw edge. Pin if needed and sew in place. I used a decadent double stitch just for kicks.

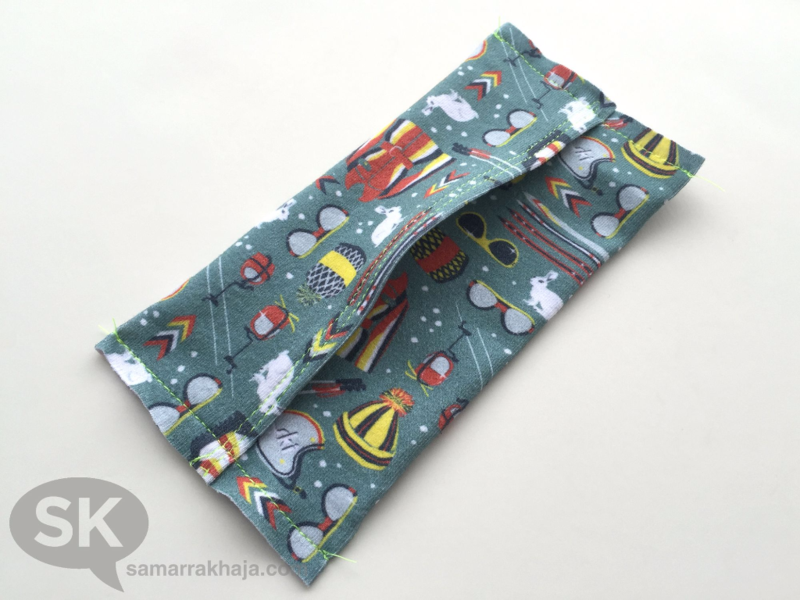
4. With rectangle laying flat with the wrong side up, fold each of the newly finished 6” sides over onto one another, overlapping slightly. I overlapped mine 1/2”. Pin in place if needed.
Fun fact: Travel tissue packs vary slightly in overall size and tissue count depending on country and manufacturer (who knew!), so depending on what lovely land you live in, you might need to adjust your measurements accordingly. The good thing is this is spandex jersey and like an ever-reliable bear hug, it will forgivingly cling and adjust to any slight variations in size. Hello, fabulous score!
5. Keeping the right side of the fabric facing out, sew each end closed using a 1/4″ allowance. Trim away extra threads. This is our first step toward French seam bliss, my good friends. Ooh la la, mes amis!

6. Flip the entire case inside out. Now sew up those same two ends again, this time using a 1/2″ allowance. KABOOM! You’ve just finished your sweet, sweet ever-so-cleanly-finished French seams and this bad boy is now ready to fill up with a stash of travel-sized tissues. Remove your tissues from their commercial plastic wrap first because you don’t need that excess nonsense.
Ta-da! Ummm, how perfect is this? Sure, you may not be able to enjoy any actual French Alps skiing since you’re a hot contagious mess, but you can at least wipe your nose in the ski lodge with finesse and French seams. Do us proud, you crazy winter cold nose-blower!
Behold your pocket-sized accomplishment!

You did it, you clever thing, you!
Easy peasy, get ready, get sneezy!

Samarra Khaja is an artist, illustrator, textile designer and the author of new sewing book, Sew Adorkable: 15 DIY Projects to Keep You Out of Trouble and coloring book, Off the Bookshelf: 45+ Weirdly Wonderful Designs to Color for Fun & Relaxation. She’s also a proud lefty. See more of what inspires her at http://www.samarrakhaja.com/ and follow her on Instagram.


Why is the double stitch considered decadent? I like it.
I don’t know what I love more- the hilarious quips, adorable fabric, or the fact I now have a small easy Christmas gift I can make people!? You’ve possibly changed my life Samarra
This is very interesting I wanna try this.Thanks a lot.
Loved this and so easy
Samarra does have a very witty, enjoyable writing style–glad you enjoyed the post, Amy!
I had no interest in doing this until I read the actual writing. Now I’m fired up!