


If you’re anything like Spoonflower team member Meredith, you’ve probably snapped your fair share of Instagram photos. If you’re also like Meredith, you’ve probably never printed any of those artfully filtered photos! Today, see how she changed her ways by creating 36 custom Instagram photo magnets for under $10! (Note: Meredith created this project with our Woven Wallpaper, which we retired in 2022. However, you can recreate this project with our Peel and Stick Wallpaper too!)
If “never printing your camera phone photos” was a sport, I’d be the grand champion. However, this holiday season, I’ve finally decided to change my ways while also making the perfect personalized gift! With the help of Instagram, Photoshop and just one swatch of Spoonflower’s Peel and Stick wallpaper, I used photos that may have never seen the light of day and transformed them into beautiful photo magnets! Follow along as I show you how I made this personalized gift.
Materials
- 1 Peel and Stick Wallpaper Swatch
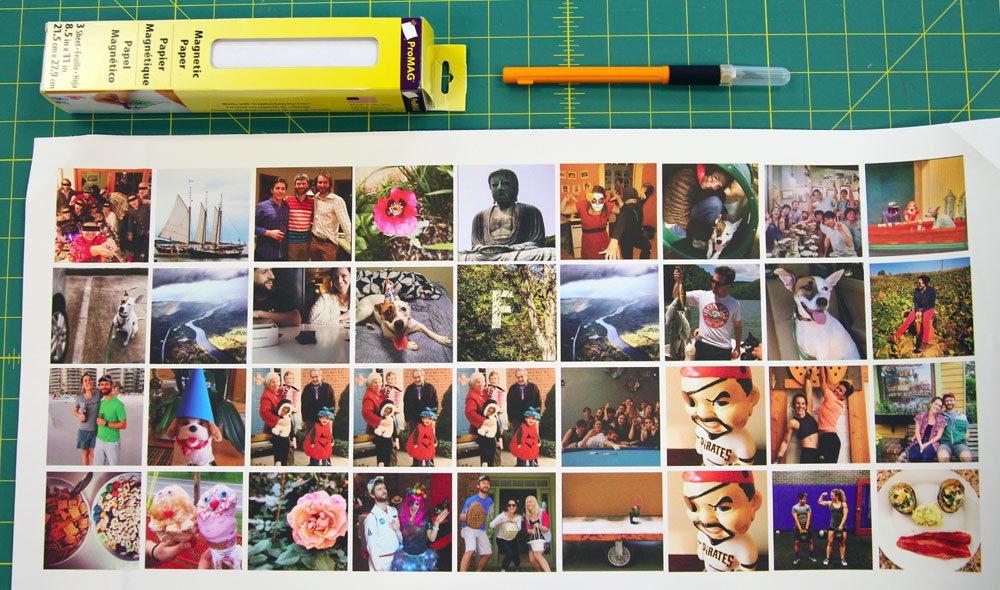
- Magnetic Paper
- X-ACTO Knife
- Ruler
- Computer with a design program like Photoshop
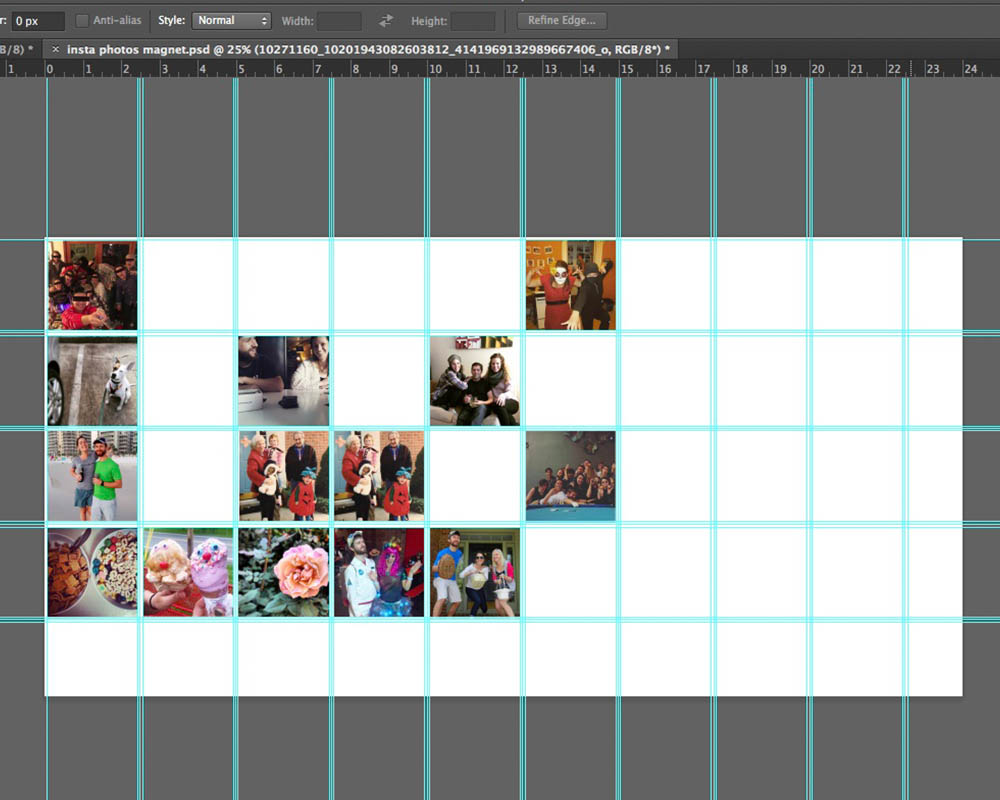
1. Create your Photoshop canvas and select your photographs.
In Photoshop or another design program, create a file the size of a wallpaper sample swatch, 24” x 12”, set at 150 dpi.
Using the ruler on your canvas, create a grid to mark the size of each photo. My images are about 2″ squares with a 1/4″ white border.
Take screenshots of your chosen Instagram photos and place them on your 24” x 12” canvas. Resize accordingly. Once you’ve filled your canvas, save your swatch as a JPG or PNG.
2. Upload your file to Spoonflower.
On the wallpaper design page, select the Peel and Stick Wallpaper and swatch options. Once you’re satisfied with what you have, add the swatch to your cart and purchase.
Need help with uploading your images? Learn more at this link.
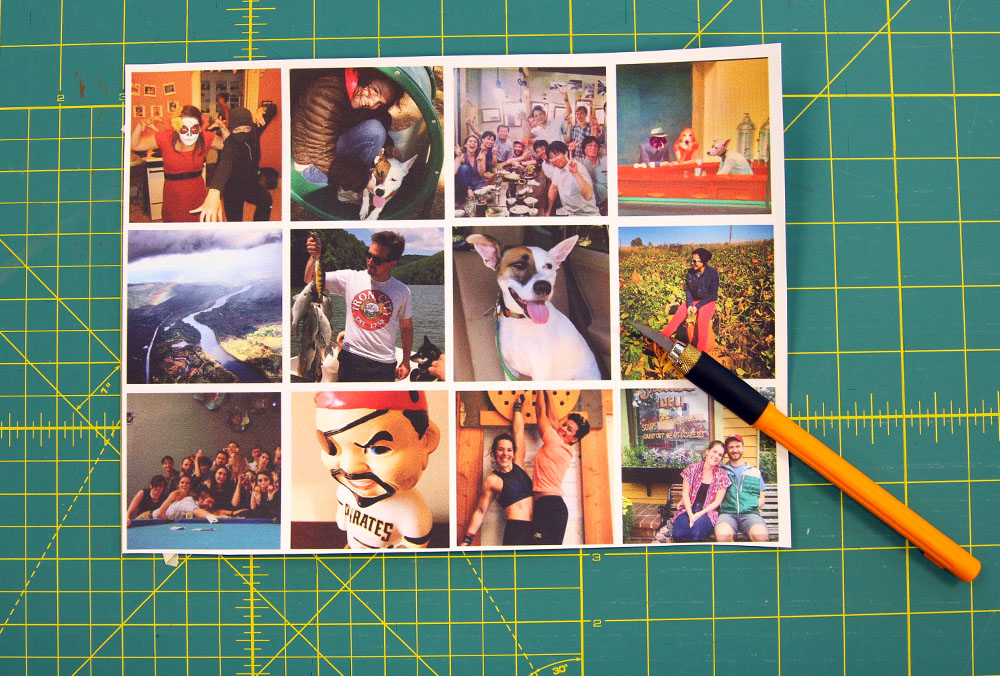
3. Once your swatch has arrived, cut down your swatch to fit the size of your magnetic paper to create the photo magnets.
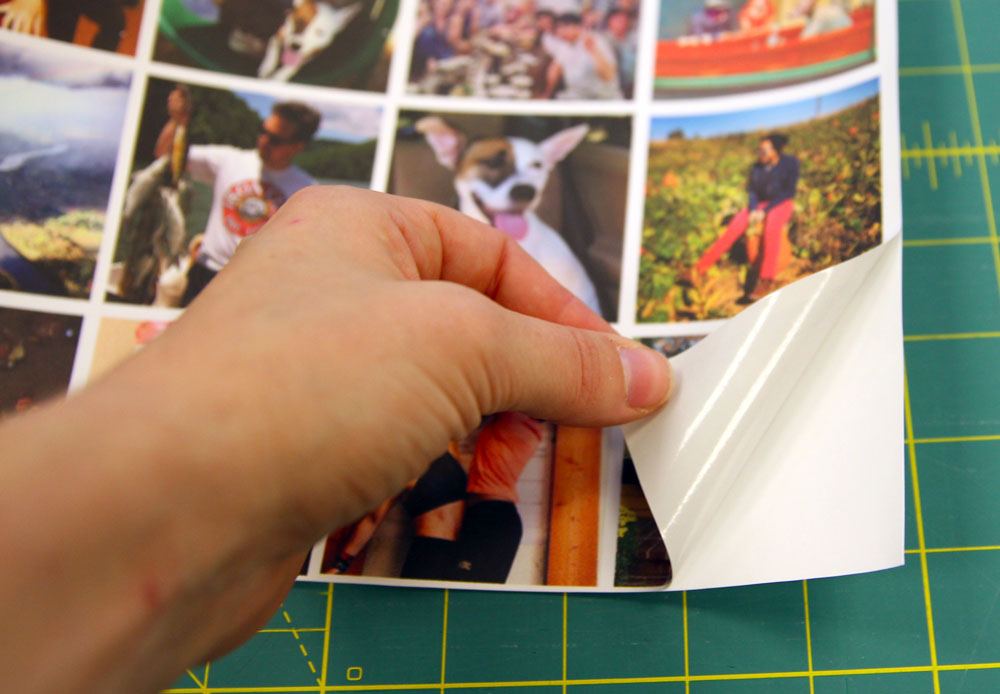
4. Next, peel off the paper backing and adhere the Peel and Stick swatch to the magnetic paper (on the non-magnetic side).
I like to use a credit card or the provided plastic squeegee to press out any air bubbles as I go.
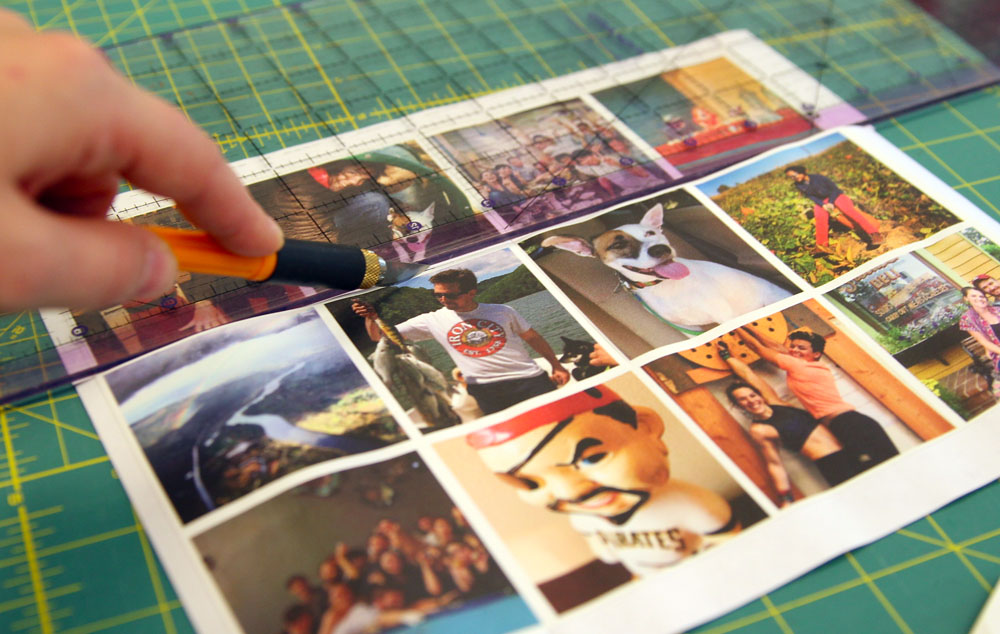
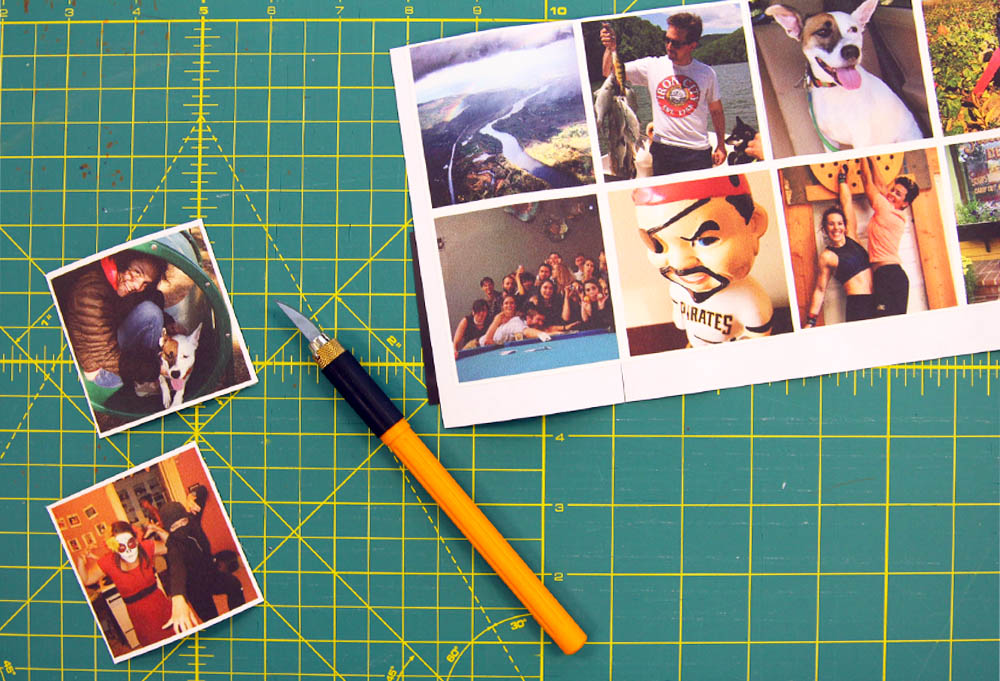
5. Using a ruler and X-ACTO knife, cut between each photo, making sure not to cut off the white border.
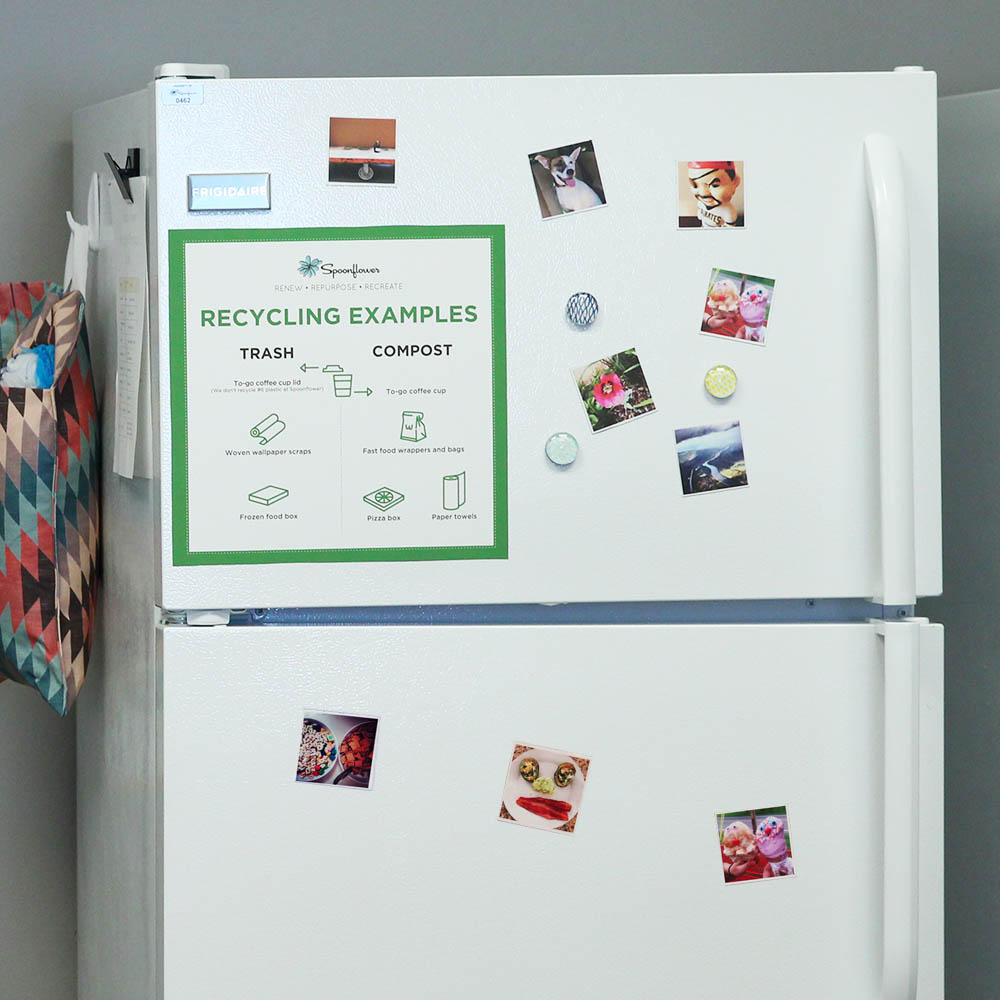
6. If you’re gifting the magnets, you can have so much fun creating different ways to package them!
I used embroidery thread but you could put them in a decorative tin, a mini envelope or stick them right on the ‘fridge!


I am going to try the custom magnets for gifts.
Awesome! These DIY magnets are the perfect personalized gift – I’m making some for my family for the holidays this year, too!
Feel free to tag us on social media if you decide to post photos of your finished magnets, we’d love to see!
-Anna
Spoonflower
What a cool idea! I previously purchased a wallpaper swatch for creating decals, but this opens up a whole bunch of new ideas… like custom labels for glass jars for those who make their own goodies for gift giving.
Thanks so much for stopping by the blog! Custom labels for glass jars is such a great idea! With the woven wallpaper, the ideas are limitless. If you make any labels for holiday gift giving this season, please do let us know!