


Today’s #SFDesignADay Challenge features the unique hand dyed techniques used by Pam Layton York of The Playful Crow. Giving us a closer look at her step-by-step process, she shows us how she takes her fabric from dyed to digital. Read on for detailed photos of the entire process and try your hand at the hand-dyed technique at home!
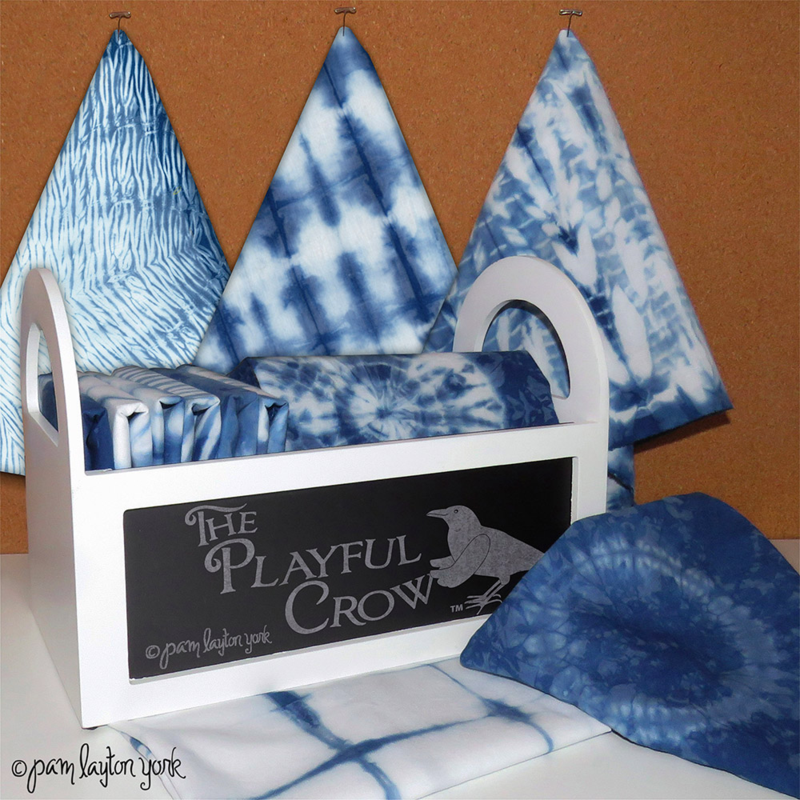
Pam: “Shibori” is an ancient Japanese tie-dying technique. Patterns were created by folding, compressing, binding and stitching fabric in various ways prior to dying to create different patterns. Unlike modern multi-colored tie-dyed items, the Shibori technique used only one color. Indigo was the most popular.
I started with some of the traditional methods of stitching and folding and then added a few of my own to create the designs.
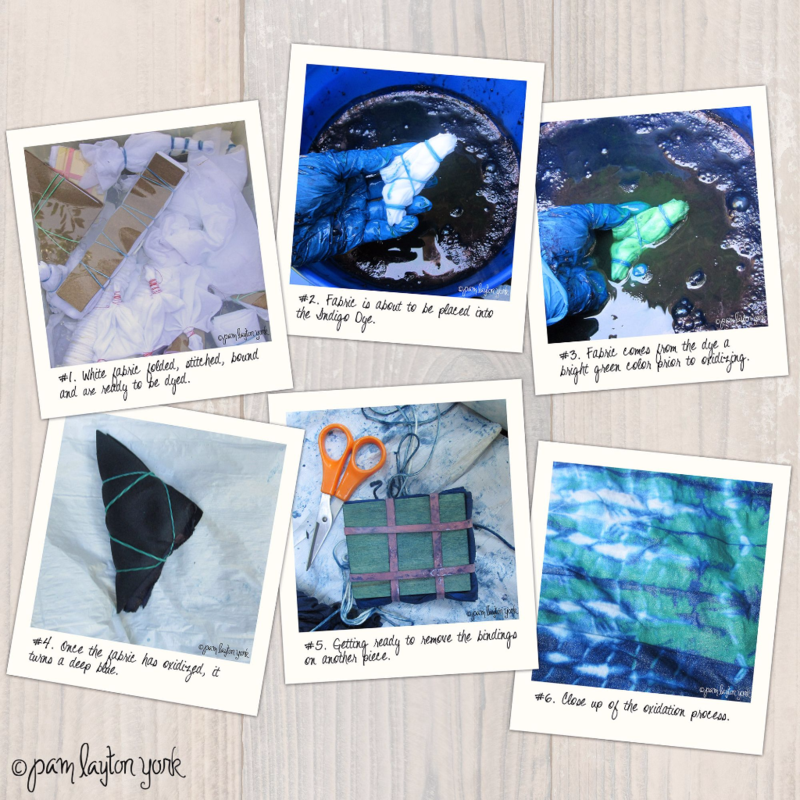
Working with Indigo Dye was amazing. The fabrics were bright green when they first came out of the dye and then oxidized to a beautiful deep blue. After I took the bindings off of the fabrics, I rinsed, dried and ironed them prior to scanning. Working in Photoshop, I created a standard square repeat of each design and copyrighted them prior to uploading to Spoonflower.
Spoonflower makes it easy to upload designs to make them available for your projects or to be purchased by others. I encourage purchasers my designs to share photos of their finished projects!

Now that you’ve learned more about Pam’s technique, try it out yourself! Only have 15 minutes to spare? Try using a marker and a damp paper towel for a faux dyed affect! When you’re done, share your design on any social media platform you like (Instagram, Facebook, Twitter, Pinterest) and tag it with #SFDesignADay. We can’t wait to see what you create!


Shibori seems like a lot of fun! I was wondering about the copyright of items before uploading to Spoonflower, mentioned by Pam. Is this something you recommend? If so, is it easy to do? I thought my art was protected.
Hi Giliane,
Thanks so much for your question! You retain copyright at all time to the designs you upload to Spoonflower and you can learn more about our terms here. I hope that helps, but if you have any more questions don’t hesitate to ask! – Meredith
Hi Amy,
We’re so glad to hear you’re going to give shibori a try! We love the way Pam’s designs have turned out using this technique but certainly agree it’s worth waiting for warmer weather! We’d love to see photos when you’re done.
Awesome! I’ve always wanted to try shibori. I’ll probably wait until summer so I can do it outside, and use a different method for the challenge. Thanks for the great post!