


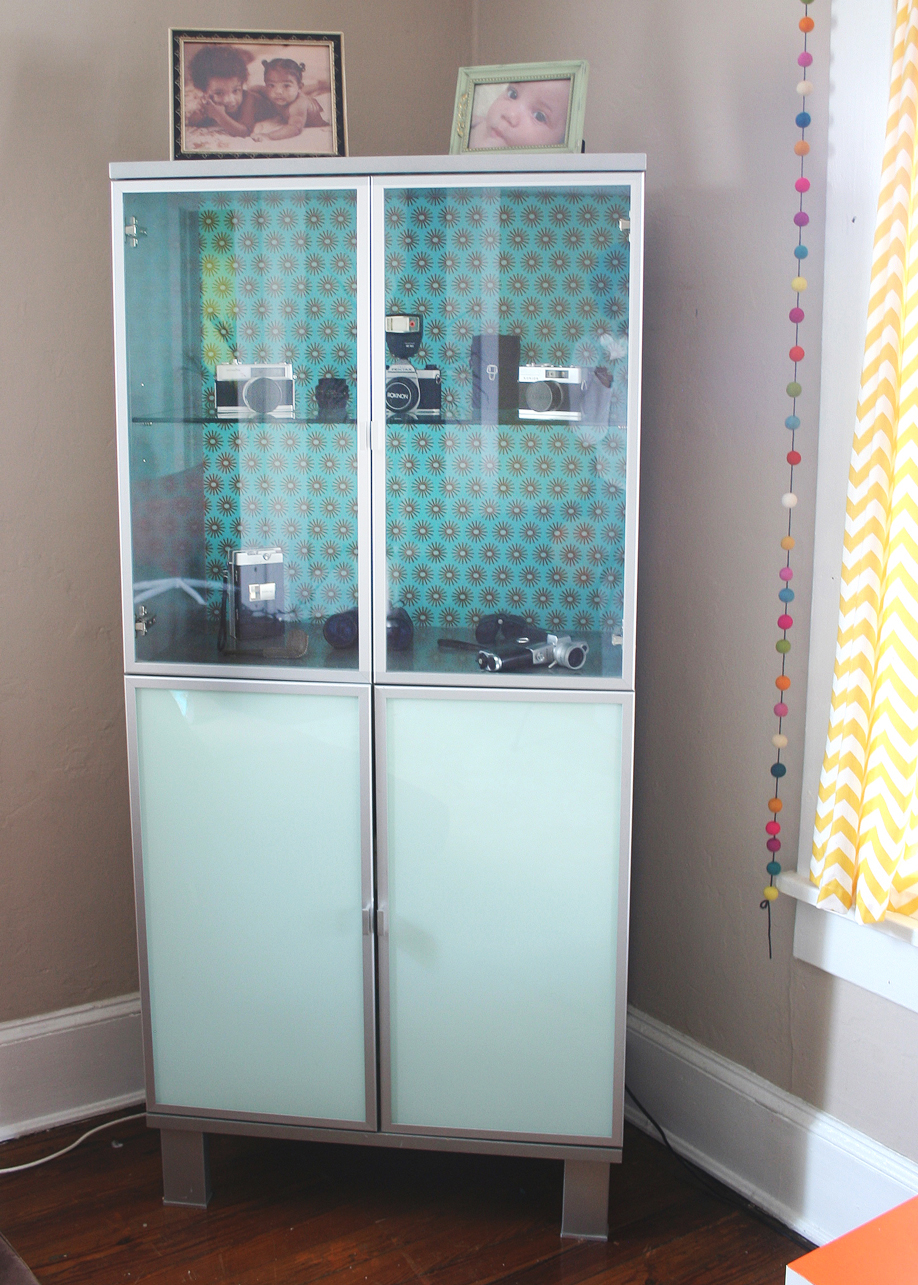
A dear sweet friend & neighbor was getting rid of this lovely cabinet and asked if I'd like to take it off her hands. It's beautiful, so why would I say no? I wasn't quite sure where I would put it–or even what I would put IN it for that matter–so it sat in our hallway for a few weeks before I figured it out. I decided to display my late grandfather's prized possessions, now my prized possessions, his vintage cameras, binoculars, tape recorder and the pipe he never smoked.

Everything looked great, but the pretty cabinet seemed so sad to me sitting in the corner with my grandpa's belongings inside. I love color and patterns oh so much and decided that's what was missing. So I ordered up some wallpaper from Spoonflower, 'Fireworks' in 'Mint' by Holli Zollinger. She's one of my favorite designer's on the site. Love her stuff!
This cabinet revamp was super quick and easy to do.

I took everything out of the cabinet and measured the length and width of the back. The width of Spoonflower's wallpaper is about an inch skinnier than the width of my cabinet, so I had to cut two panels from my roll and overlap them, matching up the design. I decided to put the seam in the middle of the cabinet and this worked great! The first strip I cut measured exactly half of the cabinet's width plus one inch for the overlap.
First I cleaned out the cabinet for dust, then I sprayed the left side of the back of the cabinet with spray adhesive (with my windows open so I wouldn't pass out). I carefully applied the first strip of wallpaper to the back of the cabinet. I started at the top and smoothed it out as I went along. The beauty of using the spray adhesive is that you can lift the paper up slooooowly and reposition it if need be. I'm pretty OCD, but I've learned to let some things go and didn't worry about it being perfect. Life's too short!

Be careful when spraying so that you don't get glue all over the place like I did. D'oh! If I do this again, I'd probably spray the paper instead, then stick the paper to the cabinet. I ended up doing some scraping up of dried adhesive on the bottom of the cabinet after I finished, but luckily it wasn't too much.
Speaking of the cabinet bottom, I cut the wallpaper length a wee bit too long when I was preparing. (Hey, I have three kids under six, okay? Cut me some slack! ^_~ ) Anyway, to fix that I just took an acrylic ruler and slid the edge down the wallpaper until it lined up with the bottom. Then I took my X-Acto knife and cut the bottom off using the ruler as a guide. Easy peasy.

Next, I just sprayed the other side of the cabinet, lined up my design motifs (which I'd made sure to do while I was cutting my strips earlier) and installed the other piece of wallpaper. All done!

Such a simple DIY, but it made a huge difference! I think my grandfather would love it!
Okay, actually, he'd probably have a fit, but that's okay. ^_^


Thank you PinkSodaPop! I really enjoyed doing this project and so pleased to display my sweet grandfather’s treasures in such a special way. Thank you for your comment!
~R
That is a very nice story, and the upgrades are perfection!
Well done.
^_^